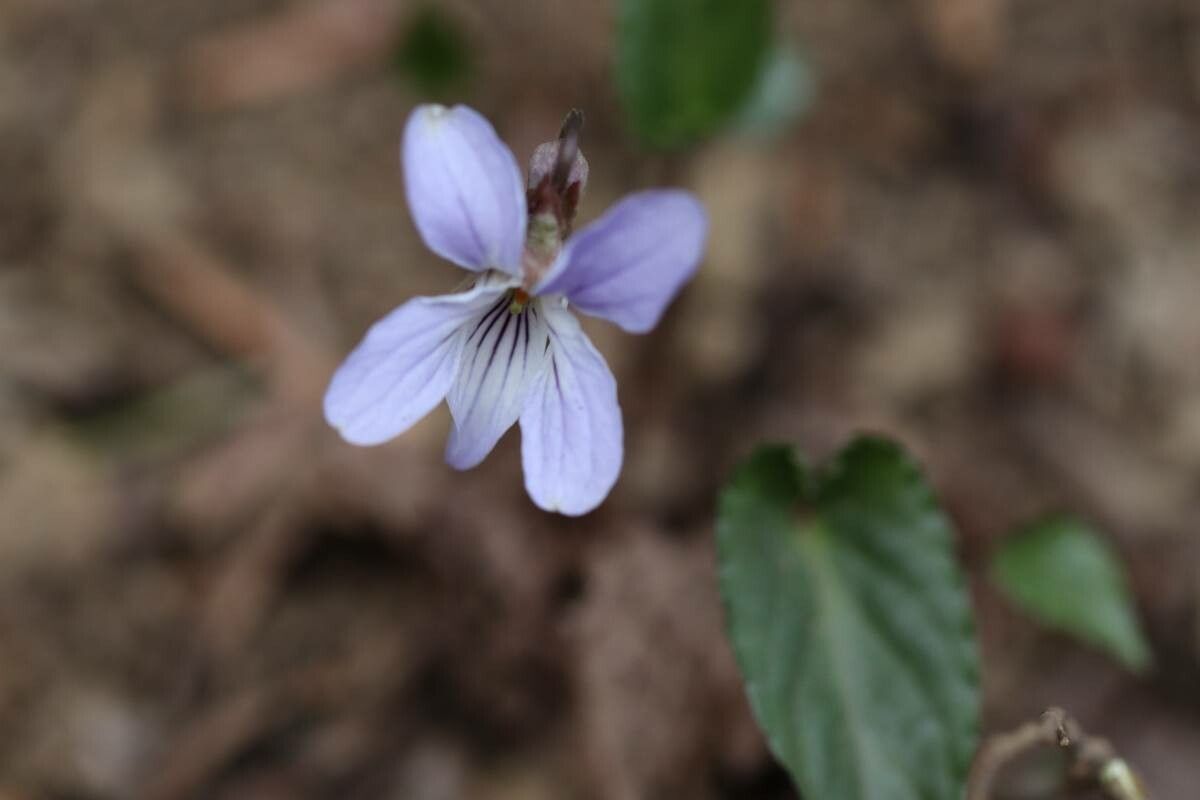
Hello fellow garden enthusiasts! Today, we’re diving into the delightful world of Viola bissetii. If you’re not familiar with this little gem, imagine shy, velvety-purple blossoms peeking out from woodland settings. It’s a plant that brings a quiet charm to any shaded corner, and there’s something incredibly satisfying about coaxing new life from your existing plants. Propagating Viola bissetii is absolutely achievable, even for those of you just starting your gardening journey. Don’t be intimidated; we’ll go through it together!
The Best Time to Start
For the most robust new plants, spring is your golden ticket. When the plant is actively growing after its winter rest, it has the energy to dedicate to new root development. Aim for a time when the days are getting longer and the weather is consistently mild, but before the summer heat truly sets in. You can also have good success with late summer or early fall propagation, giving the young plants a chance to establish a bit before winter.
Supplies You’ll Need
Here’s a quick rundown of what you’ll want to have on hand:
- Sharp Pruning Shears or a Knife: Cleanliness is key for preventing disease.
- Well-Draining Potting Mix: A mix designed for seedlings or a blend of peat moss, perlite, and a little compost works beautifully.
- Small Pots or Seedling Trays: Whatever you have that’s clean and has drainage holes.
- Rooting Hormone (Optional but Recommended): This gives your cuttings a helpful boost.
- Watering Can with a Fine Rose: To water gently without disturbing your cuttings.
- Plastic Bags or a Propagator Lid: To create a humid environment.
- Labels: So you remember what’s what!
Propagation Methods
Let’s get our hands dirty! We’ll focus on the most straightforward method for Viola bissetii: stem cuttings.
Stem Cuttings: This is my go-to for increasing my collection of violets like Viola bissetii.
- Take Your Cuttings: Select healthy, non-flowering stems from your established plant. You’re looking for stems that are a few inches long and have at least two or three sets of leaves. Gently twist or snip them off close to the base of the plant. Avoid stems that are too woody or too soft and flimsy.
- Prepare the Cuttings: Remove the lower leaves from your cuttings, leaving just a couple of sets at the very top. This prevents them from rotting in the soil. If you’re using rooting hormone, dip the cut end of each stem into the powder, tapping off any excess.
- Plant Your Cuttings: Moisten your potting mix. Make small holes in the soil with a pencil or your finger, then gently insert the base of each cutting. Firm the soil gently around them.
- Create a Humid Environment: Water the pots lightly. Then, either cover the pots with a clear plastic bag (propping it up with a skewer so it doesn’t touch the leaves) or place them inside a propagator with a lid. This traps humidity, which is crucial for cuttings to root.
- Find a Suitable Spot: Place your cuttings in a bright location, but out of direct sunlight. A windowsill that gets bright, indirect light is perfect.
The “Secret Sauce” (Pro Tips)
Here are a few tricks I’ve learned over the years that can make a big difference:
- Don’t Let the Leaves Touch the Water (if you were to try water propagation): While I recommend soil for Viola bissetii, if you were experimenting with water, always ensure the leaves are well above the water line. Submerged leaves are a fast track to rot.
- Bottom Heat is Your Friend: If you have a heated propagator or can place your pots on a gentle seedling heat mat, this can significantly speed up the rooting process. Warmer soil encourages root development.
- Patience is Paramount: I know I said it in the closing, but it bears repeating! Sometimes, cuttings take their sweet time. Don’t despair if you don’t see roots immediately. They are working diligently underground.
Aftercare & Troubleshooting
Once you start seeing signs of new growth – tiny new leaves unfurling at the top – that’s a good indicator your cuttings have rooted! You can gently tug on a cutting; if there’s resistance, it’s likely got roots.
Care for your young plants as you would a delicate seedling: water them when the top inch of soil feels dry. Gradually remove the plastic cover over a few days to acclimate them to normal humidity. Once they’ve grown a bit larger and look sturdy, you can transplant them into their own small pots.
The most common issue you’ll face is rot. If a cutting turns mushy and black, it’s usually a sign of too much moisture and not enough air circulation. Ensure your soil is adequately draining and you’re not overwatering, especially in cooler conditions. If you see signs of rot, it’s often best to discard the affected cutting to prevent it from spreading.
A Encouraging Closing
Propagating plants is a journey of observation and a wonderful way to connect with the natural world. Be patient with your Viola bissetii cuttings, celebrate each tiny success, and most importantly, enjoy the process of growing your garden from scratch. Happy planting!
Resource:
https://identify.plantnet.org/k-world-flora/species/Viola%20bissetii%20Maxim./data