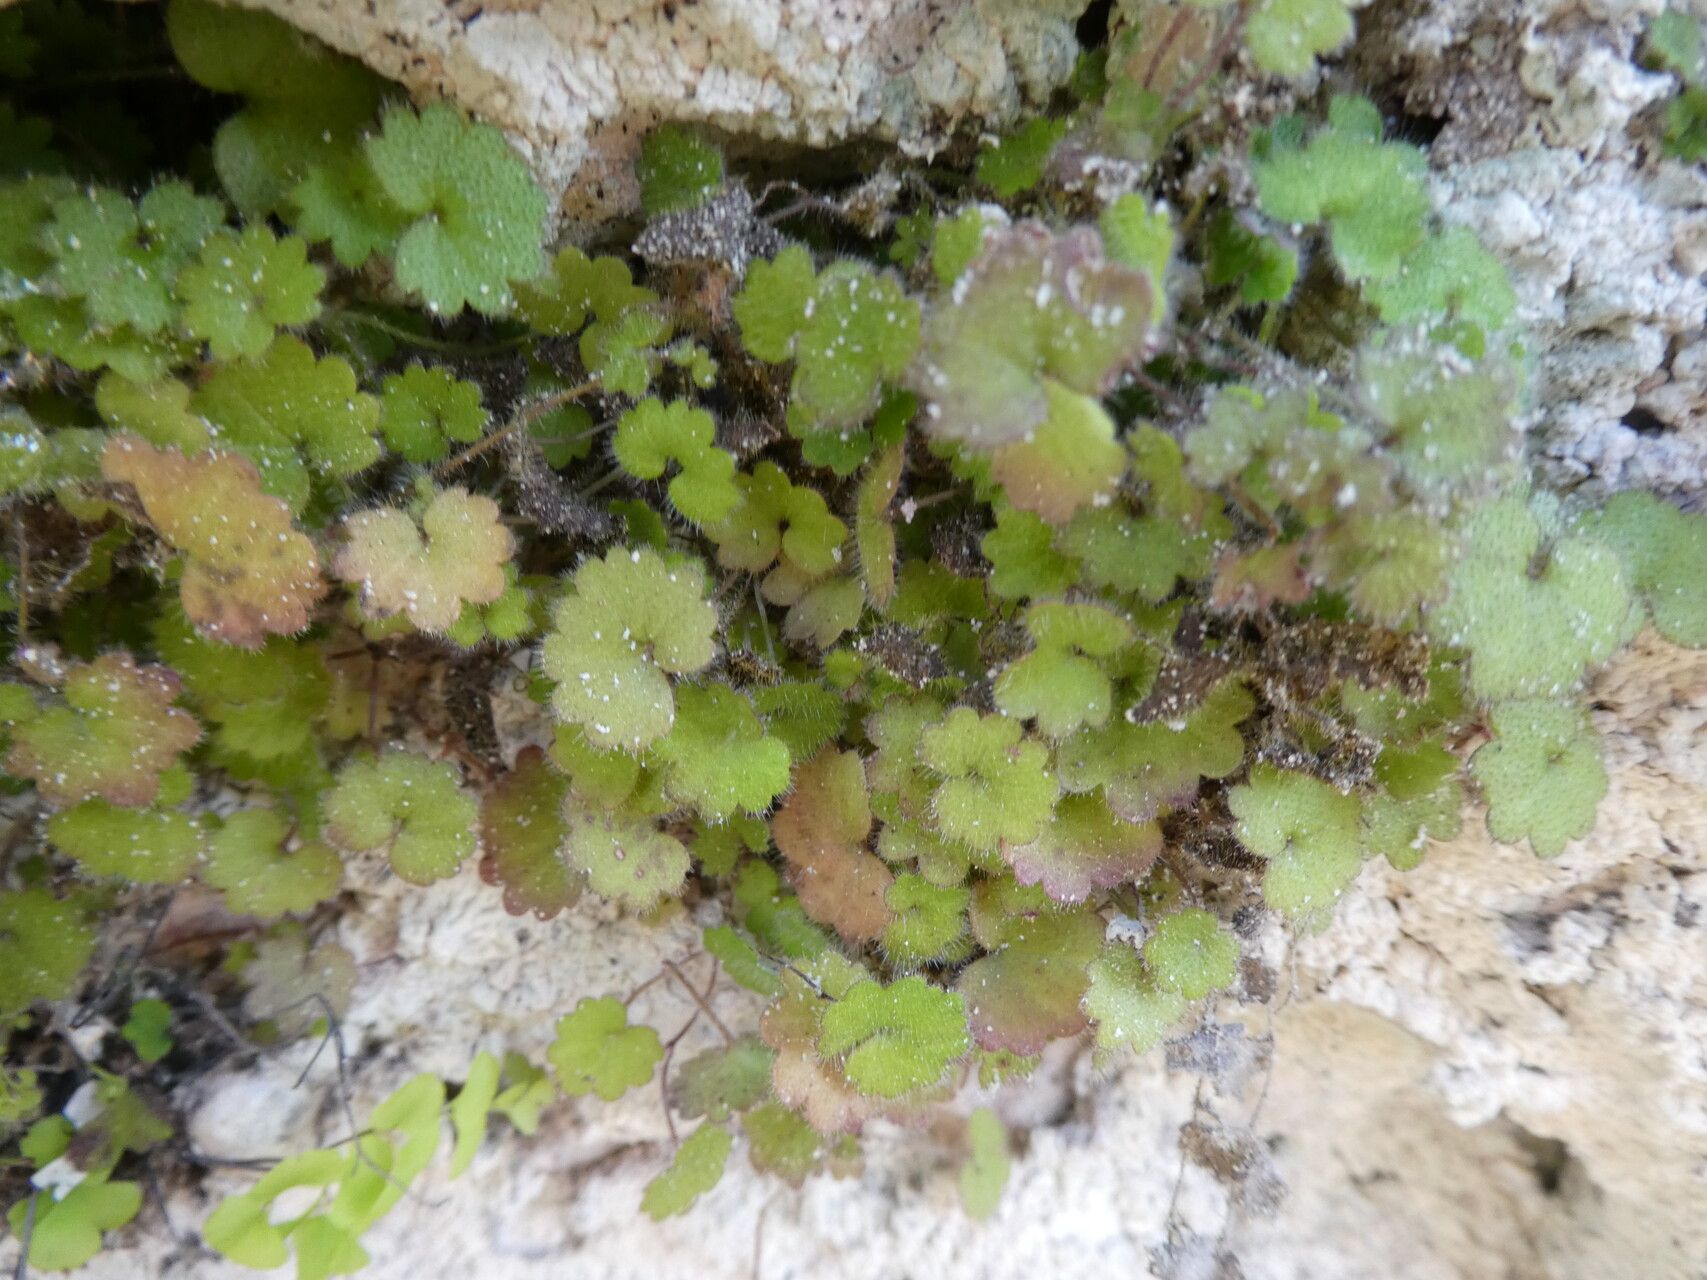
Oh, hello there! Pull up a chair, let’s chat about a little gem I’ve grown to adore: Sibthorpia africana. If you’re anything like me, you’re drawn to plants that bring a touch of the wild and the wonderfully unusual to your garden or home. Sibthorpia africana, often called “Creeping Moneywort” or “Afrikabokblom,” is just that. It’s a low-growing, spreading plant, cloaked in delicate, rounded leaves that shimmer with a lovely bronze hue, especially when the light hits just right. It cascades beautifully from pots or tumbles over rockeries.
The real joy, though, comes from coaxing new life from it. Propagating Sibthorpia africana is incredibly rewarding. You get to witness that tiny spark of potential transform into a thriving new plant, essentially growing your collection for free! For me, this plant falls into the “moderately easy” category for propagation. It’s not as foolproof as, say, a spider plant, but with a little attention, you’ll be successful.
The Best Time to Start
When it comes to getting the most bang for your buck with propagation, spring and early summer are your best friends for Sibthorpia africana. This is when the plant is actively growing and has plenty of energy to put into developing new roots. You can also take cuttings later in the summer, but you might find they take a little longer to establish before the cooler weather sets in. Try to avoid propagating from plants that are stressed or during extreme heat.
Supplies You’ll Need
Here’s what I like to have on hand before I dive in:
- Sharp, clean pruning shears or a sharp knife: Cleanliness is crucial to prevent nasty infections.
- A rooting hormone powder or gel (optional but helpful): This really gives those cuttings a boost. Look for one that contains IBA (Indole-3-butyric acid).
- A well-draining potting mix: I use a blend of about 50% coco coir or peat moss and 50% perlite or coarse sand. This ensures excellent aeration and prevents waterlogging. You can also buy a specialized seed starting or propagation mix.
- Small pots or propagation trays: Clean and with drainage holes, of course!
- A clear plastic bag or a propagation dome: This helps maintain humidity, which is key for cuttings.
- Watering can or spray bottle: For gentle watering.
Propagation Methods
I’ve found two methods work particularly well for Sibthorpia africana:
Stem Cuttings
This is my go-to. It’s efficient and gives you a good chance of success.
- Select your parent plant: Choose a healthy, vigorous specimen. Look for stems that are neither brand new and floppy nor old and woody. A semi-hardwood cutting, which has started to firm up a bit, is ideal.
- Take your cuttings: Using your clean shears, snip off lengths of stem about 3-4 inches long. Aim for stems that have at least two or three sets of leaves.
- Prepare your cuttings: Gently strip off the leaves from the bottom half of each cutting. You want to expose a few nodes (the points where leaves emerge) as this is where roots will form. If the remaining leaves are very large, I like to cut them in half horizontally. This reduces water loss through transpiration while still allowing the leaf to photosynthesize.
- Apply rooting hormone (optional): Dip the cut end of each stem into your rooting hormone, tapping off any excess.
- Plant your cuttings: Make a hole in your prepared potting mix with a pencil or your finger, then insert the cutting, ensuring the nodes are buried. Firm the soil gently around the stem.
- Water gently: Water thoroughly but gently, so you don’t dislodge the cuttings.
- Create a humid environment: Place your pots or trays into a clear plastic bag, sealing it loosely with a twist tie, or cover them with a propagation dome. This locks in humidity.
- Provide light and warmth: Place the cuttings in a bright spot out of direct sunlight. They don’t need intense light, just good ambient light. If you have a heat mat, placing the trays on it will significantly speed up rooting.
Water Propagation
This is a lovely, visual way to see roots develop, and Sibthorpia africana does quite well with it.
- Take cuttings: Follow steps 1 and 2 from the stem cutting method.
- Prepare cuttings for water: Remove all leaves that would sit below the waterline. This is crucial to prevent rot.
- Place in water: Put the cuttings into a clean jar or vase filled with room-temperature water. You can use a clear container so you can watch the magic happen! I usually put a few cuttings in each jar.
- Positioning: Make sure no leaves are touching the water’s surface. Only the bare stem should be submerged.
- Location: Place the jar in a bright, indirect light location.
- Change water regularly: Change the water every 2-3 days or whenever it looks cloudy. This keeps it fresh and oxygenated.
- Pot up when rooted: Once you see decent roots forming (about an inch or so long), it’s time to pot them into your well-draining potting mix. Treat them like your other cuttings.
The “Secret Sauce” (Pro Tips)
After many years of coaxing plants to grow, I’ve picked up a few tricks that seem to make a difference:
- Don’t rush to pot up: With stem cuttings, resist the urge to check for roots too early. Leave them be for at least 4-6 weeks. Wiggling them can damage developing roots. Patience is truly a gardener’s virtue here.
- Use bottom heat: If you can, using a gentle bottom heat source, like a seedling heat mat, is a game-changer for stem cuttings. It encourages root development from below, making the whole process faster and often more successful.
- Mist judiciously: While humidity is important, especially in a closed dome, don’t let the leaves get constantly soggy. A gentle misting once a day or every other day is usually enough. If you see any signs of mold or rot, increase ventilation and reduce misting.
Aftercare & Troubleshooting
Once you see good root development – you’ll notice new leaf growth or feel a gentle tug when you try to pull the stem out – it’s time to transition.
- For water-propagated plants: Gently pot them into your well-draining mix. Water them in well, and for the first week or two, keep them in slightly more humid conditions, perhaps under a loosely tented plastic bag, to help them adjust.
- For soil-propagated cuttings: Once roots are well-established (again, after 4-6 weeks or more), you can water them as you would a mature plant, but still be mindful of overwatering. Gradually acclimatize them to lower humidity by opening the plastic bag or dome a little more each day over a week before removing it entirely.
Troubleshooting: The most common issue you’ll face is rot. This usually happens if the cuttings sit in soggy soil or if leaves are submerged in water. If you see a cutting turn black and mushy, sadly, it’s likely gone. Remove it from the others to prevent it from spreading. Another sign of failure is if the cuttings simply shrivel and die without rooting; this could be due to lack of humidity, poor light, or a lack of willingness from that particular cutting. Don’t be discouraged; just try again with fresh cuttings!
A Encouraging Closing
Propagating Sibthorpia africana is such a satisfying endeavor. There’s a quiet poetry in taking a piece of a plant you love and nurturing it into its own life. It takes a little patience, a keen eye, and a willingness to get your hands dirty, but the rewards are immense. So go ahead, give it a try! Enjoy the journey, celebrate every tiny new leaf, and soon you’ll be sharing your beautiful Sibthorpia africana with friends. Happy propagating!
Resource:
https://identify.plantnet.org/k-world-flora/species/Sibthorpia%20africana%20L./data