Hello there, fellow garden enthusiasts! It’s wonderful to connect with you today, my hands still a little smudged with soil from my morning routine. We’re going to chat about a plant that often flies a little under the radar, but truly deserves a spot in our hearts and gardens: Angelica pyrenaea.
A Touch of Wild Elegance: Why Propagate Angelica pyrenaea?
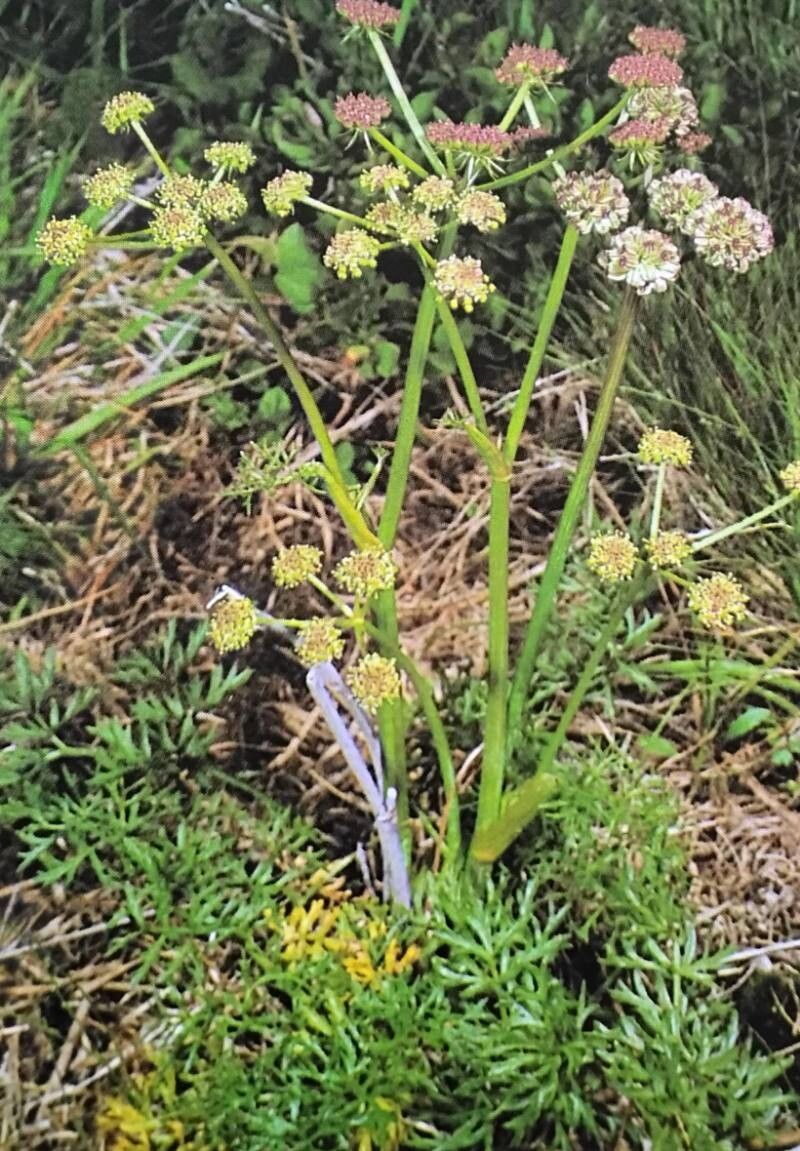
I’ve always been drawn to plants that bring a touch of wildness and natural beauty to a garden. Angelica pyrenaea, with its delicate, airy foliage and lovely umbels of flowers (though often smaller than its larger cousins), has a subtle charm that I find quite captivating. It’s perfect for naturalistic plantings, cottage gardens, or even just a quiet corner where it can add a touch of green elegance. Propagating it is a fantastic way to expand your collection, share with friends, or simply experience the joy of growing a new plant from a tiny piece of an existing one. Now, if you’re a beginner, I’d say Angelica pyrenaea is a moderately easy plant to propagate. It’s not as straightforward as a spider plant, but with a little care and attention, you’ll do wonderfully.
When to Get Your Hands Dirty: The Best Time to Start
For Angelica pyrenaea, timing is key, and the late spring to early summer is generally your golden window. This is when the plant is actively growing, which means it has plenty of energy to dedicate to rooting. Look for new, healthy growth that hasn’t yet flowered. If you’re working with established plants, dividing them in early spring, just as they begin to emerge from dormancy, is also incredibly effective.
Your Propagator’s Toolkit: Supplies You’ll Need
Before we dive into the how-to, let’s gather our supplies. Having everything ready makes the process so much smoother.
- Sharp Pruning Shears or a Clean Knife: Sterilize them with rubbing alcohol to prevent disease.
- Well-Draining Potting Mix: I like a blend of peat moss or coco coir, perlite, and a little compost. For divisions, plain garden soil mixed with compost works too.
- Small Pots or Seed Trays: Clean ones, of course!
- Watering Can with a Fine Rose or Spray Bottle: Gentle watering is crucial.
- Rooting Hormone (Optional but Recommended): This can significantly increase your success rate.
- Clear Plastic Bag or Propagator Lid: To create a humid environment.
- Labels and a Pen: Always label your experiments!
Bringing New Life: Propagation Methods
Angelica pyrenaea can be propagated through a couple of methods, but division is usually the most reliable and straightforward for this particular plant.
Method 1: Division (My Favorite for Angelica pyrenaea)
This is like giving your established plant a haircut and a new lease on life!
- Dig Up Your Plant: In early spring, when new shoots are just appearing, carefully dig up your Angelica pyrenaea. Try to get as much of the root ball as you can.
- Gently Separate: Once it’s out of the ground, gently shake off excess soil. You’ll see that the plant often forms clumps. Using your hands or a clean trowel, carefully tease apart these clumps. You want each division to have at least a few healthy roots and a couple of shoots or buds.
- Inspect and Trim: If any roots are damaged, trim them back cleanly. Remove any old, woody stems that don’t look like they’ll sprout.
- Pot Up Your Divisions: Plant each division in its own pot filled with your well-draining potting mix. Make sure the crown (where the roots meet the shoots) is at soil level.
- Water Gently: Water thoroughly but avoid waterlogging.
Method 2: Stem Cuttings (A Bit More Fiddly for Angelica)
While possible, stem cuttings from Angelica pyrenaea can be a little trickier, as they prefer to root from below ground. However, if you’re keen to try:
- Take Cuttings: In late spring or early summer, select a healthy, non-flowering stem. Cut a piece about 4-6 inches long, just below a leaf node.
- Prepare the Cutting: Remove the lower leaves, leaving only a couple at the top. If the leaves are large, you can cut them in half to reduce water loss.
- Dip in Rooting Hormone: Dip the cut end into rooting hormone, tapping off any excess.
- Insert into Potting Mix: Fill a small pot with your moist, well-draining potting mix. Make a small hole with a pencil or dibber and insert the cutting, ensuring the node is buried.
- Create a Humid Environment: Water gently and then cover the pot with a clear plastic bag, tying it loosely around the rim, or use a propagator lid.
The “Secret Sauce” for Success
Now, for a few little tricks I’ve picked up over the years that really make a difference:
- Don’t Overwater Early On: This is especially important for cuttings. Too much moisture can lead to rot before roots even have a chance to form. A slightly damp soil is better than soggy soil.
- Tap Into the Power of Bottom Heat (for Cuttings): If you’re attempting stem cuttings, placing your pot on a heated propagator mat can dramatically speed up root development. It mimics the warmth of spring soil and encourages those roots to get going.
- Patience is a Virtue, Especially with Divisions: When dividing, you might be tempted to see new growth immediately. Give the plant a little time to settle. Sometimes the energy is going into root establishment below the surface before you see much above.
Aftercare & Troubleshooting: Nurturing Your New Growth
Once your divisions are planted or your cuttings have hopefully started to develop roots (you can sometimes give a gentle tug to feel resistance – that’s a good sign!), it’s time for nurturing.
- Gradual Acclimatization: If you’ve used a plastic bag or propagator lid, gradually increase ventilation over a week or two before removing it entirely. This helps the new plant adjust to normal humidity.
- Consistent Moisture: Keep the soil consistently moist but not waterlogged. Water when the top inch of soil feels dry to the touch.
- Light: Place your new plants in a spot with bright, indirect light. Avoid harsh, direct sun, which can scorch delicate new growth.
- Fertilizing (Later): Wait until you see robust new growth before thinking about feeding. Start with a diluted liquid fertilizer about half strength.
Troubleshooting:
- Wilting: This is often a sign of underwatering, but it can also happen if the roots are too wet, preventing them from taking up water. Check the soil moisture.
- Rot: A mushy, brown stem base or blackening roots are classic signs of rot, usually caused by overwatering and poor drainage. If you catch it early, you might be able to salvage healthy parts, but often, it’s best to start again. Ensure good air circulation.
- No Growth: This could be due to lack of warmth, incorrect light, or simply needing more time. Be patient!
Happy Growing!
Propagating Angelica pyrenaea is such a rewarding experience. It’s a chance to connect with nature on a deeper level, to understand the life cycle of your plants, and to bring more of that lovely green beauty into your life. Don’t be discouraged if your first attempt isn’t perfect – gardening is a journey, and every plant we nurture teaches us something new. So, grab your tools, get your hands dirty, and enjoy the magic of growing! Happy gardening!
Resource:
https://identify.plantnet.org/k-world-flora/species/Angelica%20pyrenaea%20(L.)%20Spreng./data