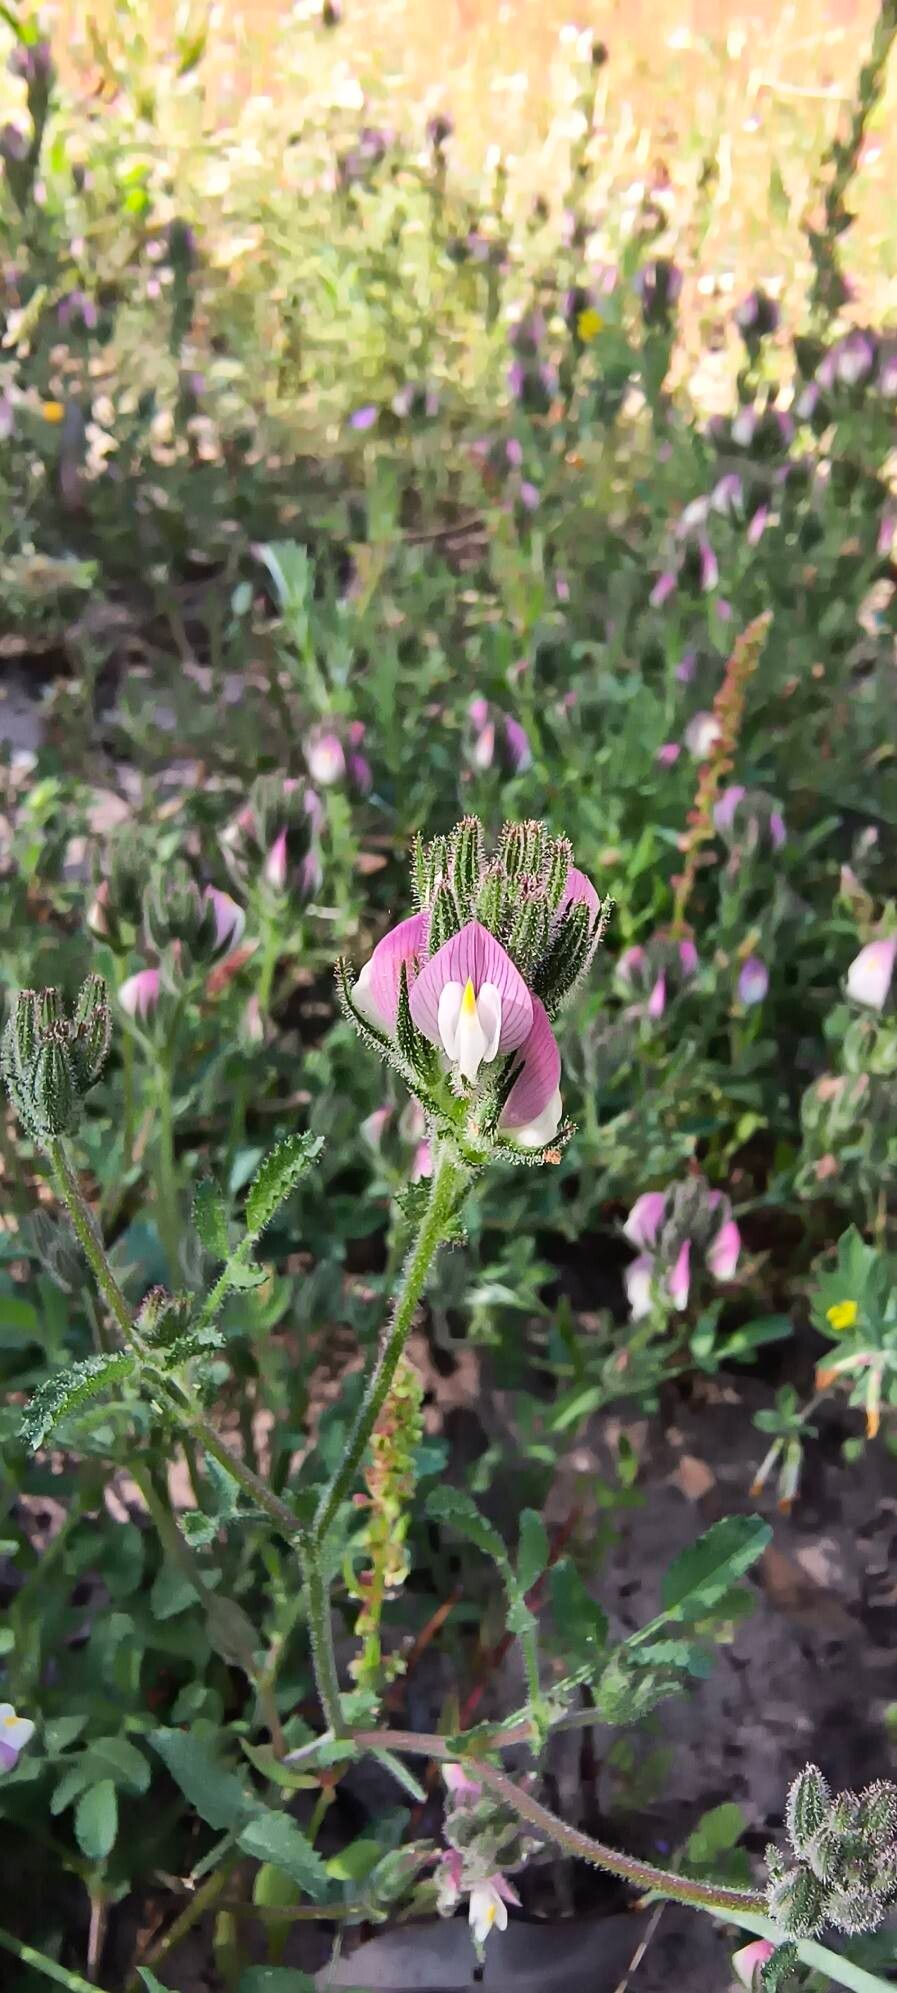
Oh, my dear gardening friends, let’s talk about a plant that truly brings a smile to my face: Ononis baetica. If you’re looking for a delightful splash of color and a wonderfully forgiving plant to work with, you’ve found your match. Known for its charming pea-like flowers that bloom for ages, Ononis baetica can transform any sunny spot into a vibrant display. And the best part? It’s surprisingly easy to propagate, making it a fantastic choice for even the most novice green thumbs among us. There’s a deep satisfaction in nurturing a tiny cutting into a thriving plant, knowing you’ve brought more beauty into the world yourself.
The Best Time to Start
For Ononis baetica, the sweet spot for propagation is undeniably late spring to early summer. This is when the plant is in its active growth phase. You’ll find the new, soft stems are most amenable to rooting. Waiting until after the initial flush of spring growth is key, so the plant isn’t weakened by taking cuttings too early.
Supplies You’ll Need
Here’s a quick rundown of what you’ll want to have on hand:
- Sharp pruning shears or a clean knife: For making clean cuts.
- Rooting hormone (optional but helpful): A powder or gel that encourages root development.
- Well-draining potting mix: I like to use a blend of peat moss or coco coir, perlite, and a bit of sand.
- Small pots or seed trays: With drainage holes, of course!
- Clear plastic bags or propagation domes: To create a humid environment.
- Watering can or spray bottle: For gentle watering.
- Labels: To keep track of your precious cuttings!
Propagation Methods
Ononis baetica is a champion of propagation through stem cuttings. It’s straightforward and yields great results.
-
Taking the Cuttings:
- Select healthy, non-flowering stems. You want stems that are somewhat flexible but not woody – think about the thickness of a pencil.
- Using your sharp pruning shears or knife, take cuttings that are about 4-6 inches long. Make the cut just below a leaf node (where a leaf attaches to the stem). This is where the magic happens for root formation.
- Remove the lower leaves from your cuttings. You want to leave just a couple of sets of leaves at the top. This prevents them from decaying in the soil and directs the plant’s energy towards root growth.
-
Preparing for Rooting:
- If you’re using rooting hormone, dip the cut end of each cutting into the powder or gel. Tap off any excess. This step is like giving your cutting a little superpower boost!
- Moisten your well-draining potting mix in your pots or trays. It should be damp, not waterlogged.
-
Planting the Cuttings:
- Make a small hole in the soil with your finger or a pencil.
- Gently insert the cut end of the cutting into the hole, ensuring the lower leaf nodes are below the soil surface.
- Firm the soil gently around the base of the cutting.
- Water lightly to settle the soil.
The “Secret Sauce” (Pro Tips)
Here are a few little tricks I’ve learned over the years that can really make a difference:
- Don’t let those lower leaves touch the water (if you were to try water propagation, which I usually steer clear of for Ononis baetica). This is a big one for any cutting. Any leaves submerged in water or sitting in soggy soil are just invitations for rot. Keep things clean and airy.
- Bottom heat is your best friend. Placing your pots or trays on a propagation mat that provides gentle warmth from below can dramatically speed up root formation. It mimics the natural conditions a plant would prefer for sprouting new life.
- Patience, dear gardener! Sometimes, you need to resist the urge to constantly check. Let those cuttings sit undisturbed in their cozy, humid environment. Peeking too often can disturb developing roots and increase the risk of contamination. Trust the process!
Aftercare & Troubleshooting
Once your cuttings have happily rooted – and you’ll know this when you see new leaf growth or feel a gentle resistance when you lightly tug on the cutting – it’s time for them to graduate to a bit more independence.
- Gradual Acclimatization: Slowly begin to introduce your new plants to less humid conditions. You can start by opening the plastic bag or propagation dome for a few hours each day.
- Watering: Water as needed, allowing the top inch of soil to dry out between waterings. Good drainage is crucial here, just as it was for the cuttings.
- More Light: Gradually increase the light exposure. Start with bright, indirect light and slowly move them to a spot where they can enjoy more direct sunshine over a week or two.
Now, what if things don’t go as planned? Don’t despair! The most common setback is rot. If your cuttings turn black, mushy, or simply fall apart, it’s usually a sign of too much moisture and not enough aeration. Ensure your soil is well-draining and avoid overwatering. It’s also possible that the cuttings simply didn’t root. This can happen for many reasons, from the time of year to the health of the parent plant. Just try again! Every seedling is a lesson, and every gardener has had their share of failures.
So there you have it! Propagating Ononis baetica is a wonderfully rewarding endeavor. Be patient, follow these steps, and remember that even the most experienced gardeners learn something new with every season. Enjoy the journey of nurturing these little beauties into your garden! Happy growing!
Resource:
https://identify.plantnet.org/k-world-flora/species/Ononis%20baetica%20Clemente/data