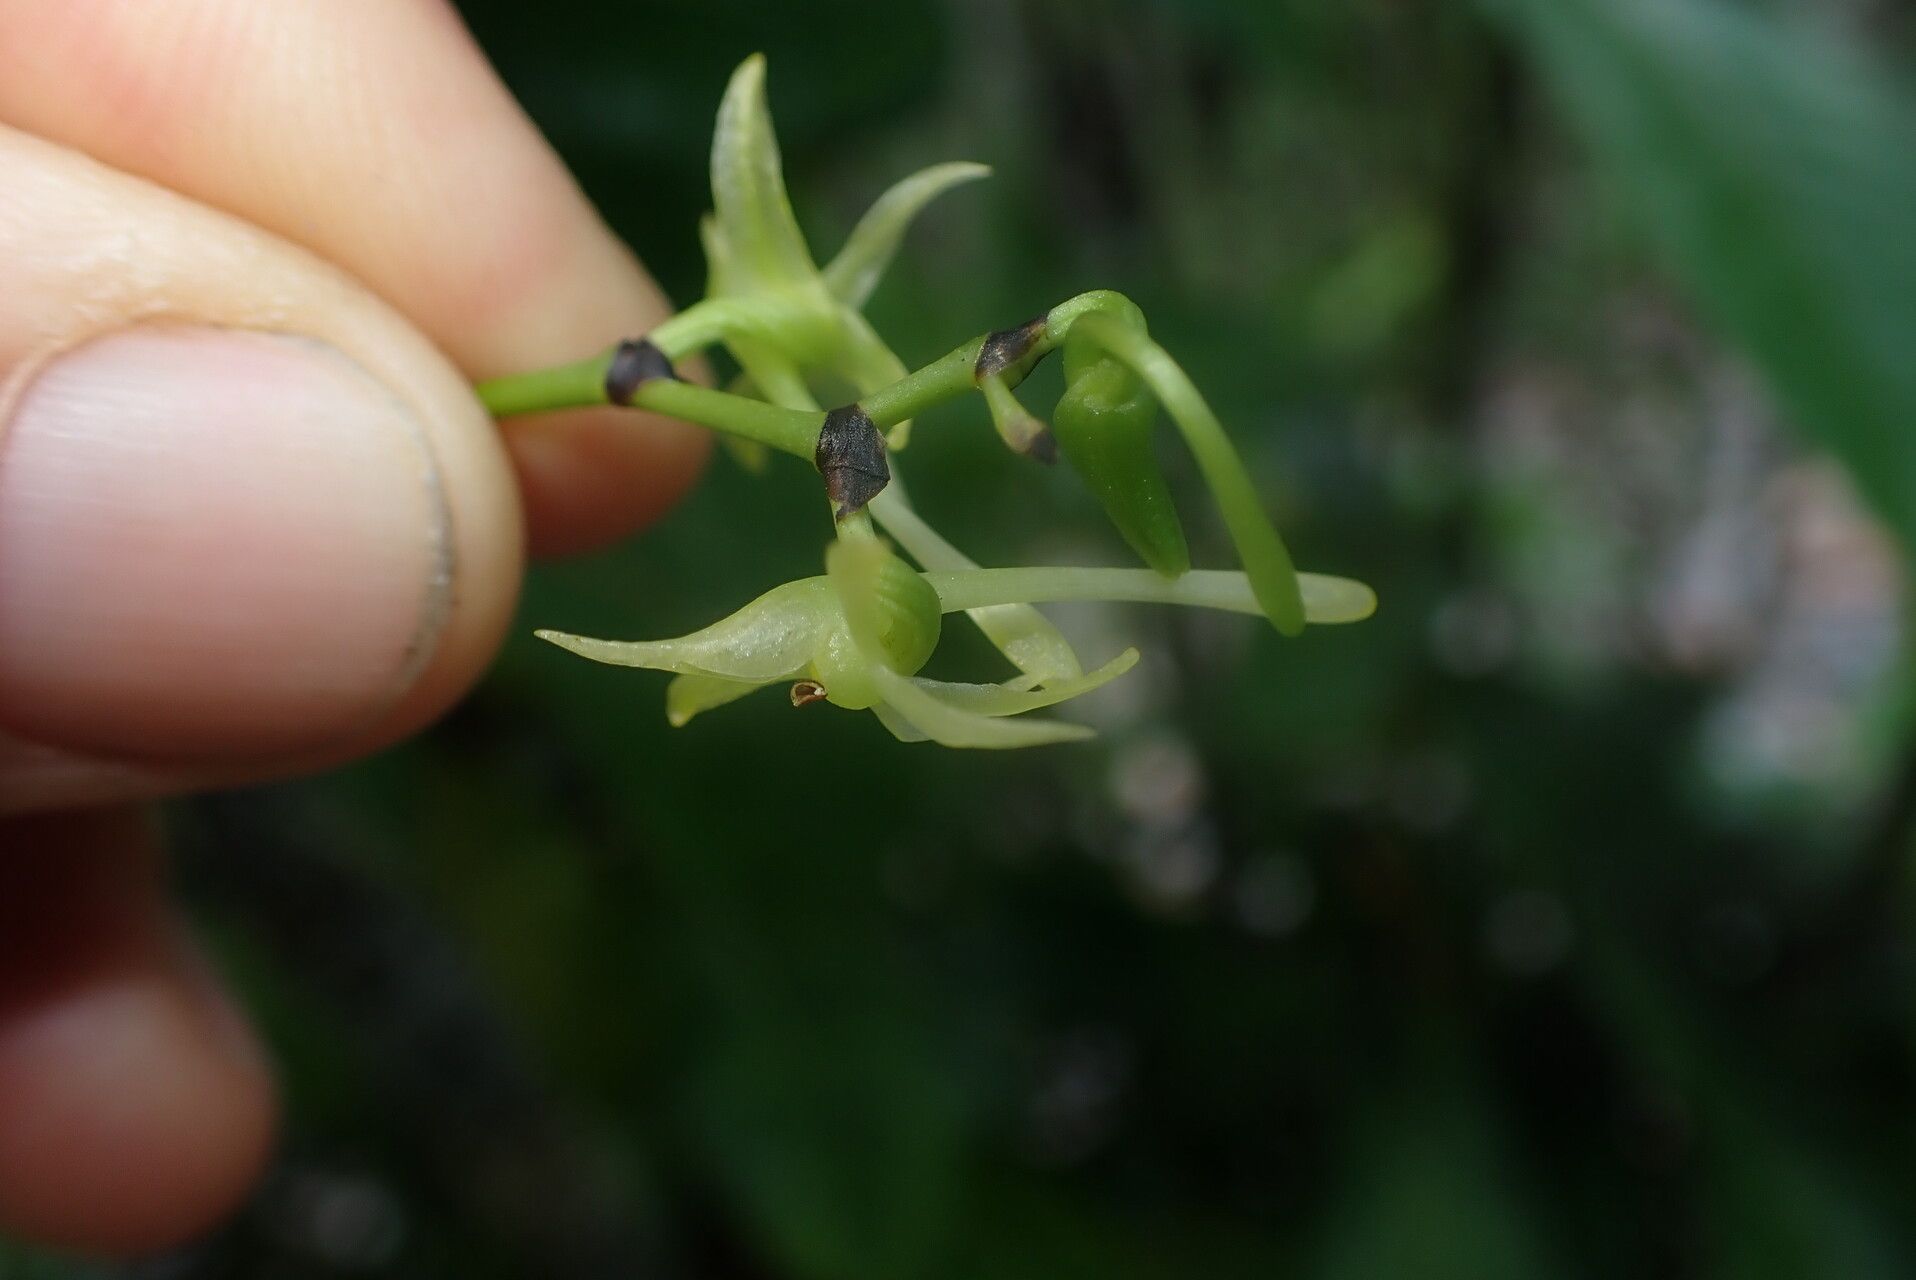
Hello, fellow plant lovers! Today, we’re diving into the enchanting world of Angraecum calceolus. If you’re drawn to orchids with a wild, architectural beauty and a delightful fragrance, this one’s for you. Seeing a new tiny plant emerge from a cutting you’ve nurtured feels like pure magic. Angraecum calceolus can be a bit of a sensitive soul, so it might not be the absolute easiest orchid for a complete beginner, but with a little care and attention, you can absolutely succeed.
The Best Time to Start
The sweet spot for propagating Angraecum calceolus is during its active growing season. For most of us, that means late spring or early summer. You’ll see new roots and leafy growth starting to emerge then. Trying to propagate when the plant is resting is like asking a sleepy bear to run a marathon – it just won’t have the energy.
Supplies You’ll Need
- Sharp, sterile pruning shears or a clean knife: Essential for making clean cuts and preventing disease.
- Well-draining orchid mix: I prefer a blend of medium-grade bark, perlite, and charcoal. Some growers also like adding a bit of peat moss for moisture retention.
- Small pots or trays: Clean, appropriate-sized containers for your new plants.
- Rooting hormone (optional but recommended): A powdered or liquid product can give your cuttings a helpful boost.
- Clear plastic bags or a propagation dome: For creating a humid environment.
- Spray bottle: For misting.
- Potting label and marker: To keep track of your efforts!
Propagation Methods
Angraecum calceolus is typically propagated through division, or sometimes by coaxing new growths from mature pseudobulbs if you’re lucky. Let’s focus on division, as it’s the most reliable method.
Division:
- Observe your plant: Look for healthy, mature growths that have at least two or three pseudobulbs and ideally, a developing root system.
- Gently remove from pot: Carefully take your Angraecum out of its current pot. Loosen the old potting medium from the roots.
- Identify natural divisions: You’re looking for sections of the plant that are connected by a rhizome but can be cleanly separated.
- Make the cut: Using your sterile shears or knife, make a clean cut between the divisions. Try to ensure each new division has at least one healthy pseudobulb and a decent amount of roots. If a division has no roots, don’t despair! We can encourage them.
- Prepare the cutting: If any of the cut surfaces look moist or suspect, you can dab a tiny bit of cinnamon on them – it’s a natural fungicide. Let the cut surface air dry for a few hours, or even overnight. This helps prevent rot.
- Pot it up: Plant your division in a small, clean pot filled with your prepared orchid mix. The new plant should sit at a similar depth it was before.
- Water sparingly: Don’t drench it immediately. Lightly water once, then wait. The goal is to let the roots settle and any cuts heal.
The “Secret Sauce”
- Don’t overcrowd the roots: When dividing, it’s better to have a few strong roots on a division than a tangled mess. If you have to trim back some old, mushy roots to make it manageable, do so.
- Humidity is your best friend: After potting, place your division in a humid environment. A clear plastic bag tented over the pot, or a small propagation dome, works wonders. This prevents dehydration while the plant is trying to establish new roots.
- Bottom heat can be a game-changer: If you have a seedling heat mat, placing your potted divisions on it can significantly speed up root development. Think of it as a warm little spa for your new orchid baby!
Aftercare & Troubleshooting
Once your division is potted, mist the leaves lightly every other day or so, and water the potting mix when it’s almost dry. You’ll start to see a new leaf or shoot emerge from the base as a sign of success.
The most common issue you’ll face is rot. This usually happens if the plant is kept too wet, especially if the cuts didn’t heal properly. Signs of rot include mushy, blackening leaves or pseudobulbs, or a foul smell. If you see this, gently remove the affected part with sterile tools. Sometimes, if rot is severe, it’s best to discard the cutting and start with a fresh, healthy piece. Patience is key here; it can take several weeks, or even months, for significant root growth to appear.
A Encouraging Closing
Propagating orchids, especially those as special as Angraecum calceolus, is a journey of observation and gentle encouragement. Don’t be discouraged if your first attempt isn’t perfect. Learn from each experience, celebrate the successes, and enjoy the process of nurturing new life. Happy growing!
Resource:
https://identify.plantnet.org/k-world-flora/species/Angraecum%20calceolus%20Thouars/data