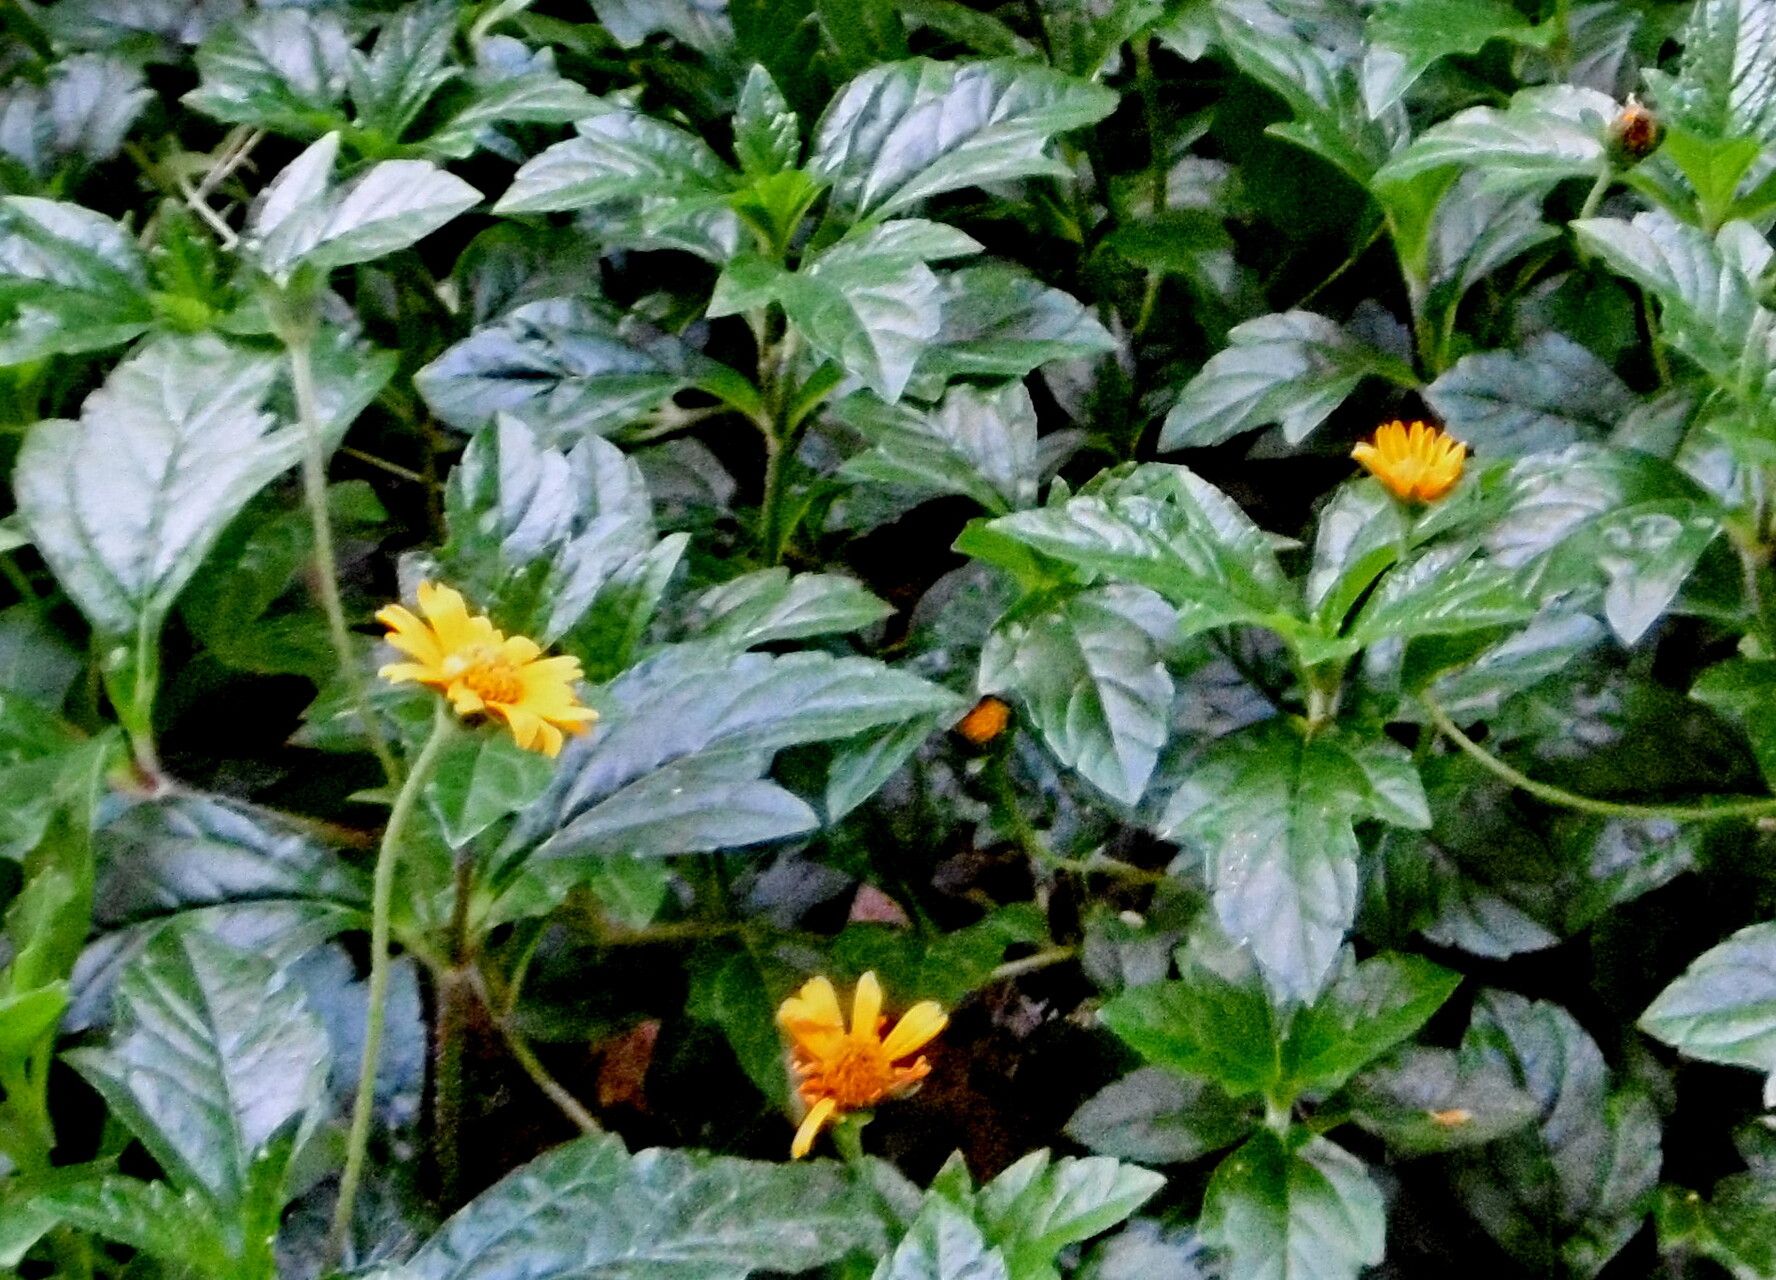
Oh, hello there! Come on in, grab a cuppa. Today, we’re diving into the wonderful world of propagating Sphagneticola trilobata, or as some of us affectionately call it, “trailing daisy” or “Singapore daisy.” If you’ve ever seen this delightful groundcover, you know its appeal – those bright yellow, daisy-like flowers and its ability to quickly fill in a space with lush greenery. It’s a real sunshine-maker!
The Joy of More Greenery
The best part about Sphagneticola trilobata is that it’s incredibly easy to propagate. Seriously, if you’re new to the gardening game and want a quick win, this is your plant. It’s forgiving and generous, almost as if it wants to spread its happy vibes around your garden. Sharing these little babies with friends is just so rewarding, don’t you think?
When to Get Started
The absolute sweetest spot for propagating Sphagneticola trilobata is during its active growing season. For most of us, this means late spring through summer. You’ll have the most success when the plant is vigorously putting out new growth. Think of it as harvesting from a plant that’s already feeling its best and brightest!
What You’ll Need for Success
Here’s a little checklist to get you prepped. Nothing too fancy, just the basics to give these cuttings a great start:
- Sharp Pruning Shears or Scissors: Clean tools are crucial to prevent disease.
- A Small Trowel or Dibber: For making holes to plant your cuttings.
- Potting Mix: A good quality, well-draining potting mix is ideal. You can also add perlite for extra aeration.
- Small Pots or Seedling Trays: Anything that can hold your cuttings and allow for drainage.
- Watering Can with a Fine Rose: To water gently without disturbing your new plantings.
- (Optional) Rooting Hormone: While not essential for Sphagneticola, it can give an extra boost.
Getting Those New Plants Started
There are a couple of super simple ways to get more Sphagneticola going.
Method 1: Stem Cuttings (My Favorite!)
This is by far the easiest and most effective method for this plant.
- Take Your Cuttings: Look for healthy stems that are about 4-6 inches long. Ideally, they should have some leaves, but not be flowering heavily. Make a clean cut just below a leaf node (where a leaf attaches to the stem). This is where the magic of root formation begins!
- Prepare the Cuttings: Gently remove the lower leaves from the cutting, leaving just a few at the top. If you’re using rooting hormone, dip the cut end into it now.
- Plant Them Up: Fill your pots or trays with your well-draining potting mix. Make small holes with your finger or a dibber.
- Insert the Cuttings: Place the cut end of each cutting into the hole, ensuring at least one leaf node is buried under the soil.
- Water Gently: Water the soil thoroughly but gently. You want it moist, not soggy.
Method 2: Water Propagation
This is a fun, visual way to see the roots develop!
- Take Similar Cuttings: Prepare your cuttings as described in Method 1, making sure to remove most of the lower leaves.
- Place in Water: Fill a clean jar or glass with fresh water.
- Submerge the Nodes: Place the cuttings in the water, ensuring that the leaf nodes you stripped of leaves are submerged. You want them in the water to encourage root growth.
- Change Water Regularly: Change the water every few days or whenever it looks murky. This keeps it fresh and prevents rot.
The “Secret Sauce” Secrets
Here are a few little tricks I’ve picked up over the years that can really help your cuttings along:
- Keep Them Humid: Cuttings need a humid environment to prevent drying out before they can root. If you’ve planted them in pots, you can put a plastic bag or dome over them, making sure it doesn’t touch the leaves too much. For water propagation, the jar itself helps, but keeping it in a bright, draft-free spot is key.
- Find the Sweet Spot: Bright, indirect light is the goal. Too much direct sun can scorch delicate cuttings, while too little light will slow down root development. An east-facing window is often perfect!
- Don’t Rush the Move: For water-propagated cuttings, wait until the roots are at least an inch long before you pot them into soil. This gives them a stronger start and reduces transplant shock.
Looking After Your New Sprouts
Once you see signs of new growth, or those lovely roots developing (in water or in soil), you’re on the right track!
- For Potted Cuttings: Continue to water them when the top inch of soil feels dry. Once they’re looking robust and have clearly established themselves – usually after 3-4 weeks – you can start treating them like mature plants.
- For Water-Propagated Cuttings: Gently transplant them into small pots filled with potting mix. Water them in well and follow the same watering advice as above.
Troubleshooting: The most common issue you might encounter is rot. If your cutting starts to look mushy or discolored, it’s likely a sign of too much moisture and not enough airflow. If you catch it early, you can try to trim away the rotten parts and repot in fresh, dry soil. Sometimes, unfortunately, it’s just a sign that the cutting just didn’t take. Don’t get discouraged – there’s always more plant material to work with!
Happy Growing!
Starting new plants from cuttings is one of the most satisfying aspects of gardening. It’s a little act of faith in nature’s resilience. Be patient with your Sphagneticola trilobata cuttings, offer them a little love and the right conditions, and before you know it, you’ll have a whole new patch of sunny blooms to enjoy. Happy propagating!
Resource:
https://identify.plantnet.org/k-world-flora/species/Sphagneticola%20trilobata%20(L.)%20Pruski/data