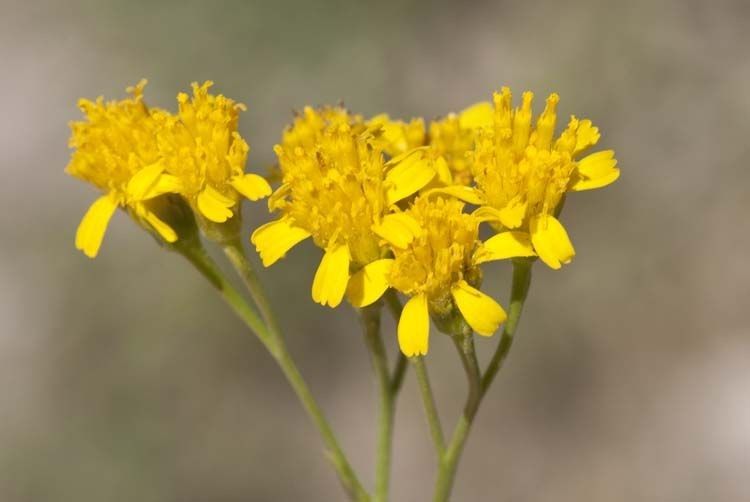
Oh, Hymenothrix wislizeni! Isn’t it just a stunner? Those cheerful, sunny blooms are such a delight in the garden, especially when so many other plants are winding down. I’ve grown it for years, and there’s something incredibly satisfying about seeing a whole new plant sprout from a tiny piece of the original. It’s a rewarding process, and I promise, you can do it too! While it’s not the absolute easiest plant for a complete beginner, with a little guidance, you’ll be well on your way to multiplying your Hymenothrix wonders.
The Best Time to Start
For Hymenothrix wislizeni, your best bet is to take cuttings in late spring or early summer. This is when the plant is actively growing and has plenty of energy to put into rooting. You want to select stems that are somewhat mature but not woody – think of them as being in that “just right” stage, like a perfectly ripe peach. Trying to root very soft, new growth can sometimes lead to mushiness, and overly old, firm stems might struggle to root.
Supplies You’ll Need
Here’s what you’ll want to have on hand before you get started:
- Sharp, clean pruning shears or a sharp knife: Cleanliness is key to preventing disease.
- Rooting hormone (optional but recommended): This little powder or gel can significantly boost your success rate. Look for one containing IBA.
- Well-draining potting mix: A good blend of peat moss or coco coir, perlite, and a little bit of sand works wonders. You want it to hold some moisture but drain freely.
- Small pots or trays with drainage holes: Whatever you use, make sure water can escape!
- A plastic bag or a clear plastic dome: This will help create a humid environment.
- Watering can with a fine rose: Gentle watering is best.
Propagation Methods
I’ve found the most reliable way to propagate Hymenothrix wislizeni is through stem cuttings. Here’s how I do it:
- Select Your Cuttings: Choose a healthy, actively growing stem from your mature plant. Aim for a cutting about 4-6 inches long.
- Make the Cut: Using your clean shears or knife, make a clean cut just below a leaf node. A leaf node is that slightly swollen bump on the stem where a leaf grows. This is where the magic will happen, where roots are most likely to form.
- Prepare the Cutting: Gently remove the leaves from the bottom half to two-thirds of the cutting. You want to expose those nodes. If the remaining leaves are very large, you can even cut them in half to reduce water loss through transpiration.
- Apply Rooting Hormone (Optional but Recommended): Dip the cut end of the stem into your rooting hormone, tapping off any excess.
- Plant the Cutting: Fill your small pots or trays with your prepared potting mix. Make a small hole with your finger or a pencil, then insert the cutting, ensuring the nodes are buried in the soil. Gently firm the soil around the base of the cutting.
- Water Gently: Water the soil thoroughly but gently. You want the soil to be moist but not waterlogged.
- Create a Humid Environment: Place a plastic bag over the pot, securing it loosely with a rubber band, or cover your tray with a clear plastic dome. This traps moisture and keeps your cutting from drying out.
The “Secret Sauce” (Pro Tips)
Over the years, I’ve learned a few little tricks that really make a difference:
- Don’t let the leaves touch the water. If you’re doing water propagation (which I find a bit less successful for Hymenothrix), it’s crucial that no leaves are submerged. They’ll just rot and take your cutting with them. With soil cuttings, this isn’t as much of an issue, but it’s good to keep in mind.
- Bottom heat is a game-changer. If you can, place your pots on a heating mat designed for seedlings. This extra warmth encourages roots to form much faster. It’s like giving them a cozy blanket to grow under!
Aftercare & Troubleshooting
Once your cuttings are planted, find a bright spot for them that receives indirect sunlight. Too much direct sun can scorch those tender new cuttings. Keep the soil consistently moist but not soggy.
You’ll know your cutting has rooted when you see new leaf growth or gentle resistance when you tug on the stem. This usually takes anywhere from 3-6 weeks. Once you see good root development, you can start to gradually acclimate it to lower humidity by slowly opening the plastic bag or dome over a few days. Then, you can transplant it into its own pot.
The biggest thing to watch out for is rot. If your cutting turns mushy, black, or starts to fall apart, it’s likely succumbed to rot. This is usually caused by too much moisture and poor drainage. If you see any signs of rot, it’s best to discard the cutting and start again, making sure your soil mix is well-draining and you’re not overwatering.
A Encouraging Closing
Remember, gardening is a journey, and propagation is a wonderful part of that adventure! Don’t get discouraged if your first few attempts aren’t perfect. Be patient, be observant, and enjoy the process of nurturing these new life forms. Before you know it, you’ll have a whole garden full of your own Hymenothrix wislizeni, ready to share with friends! Happy propagating!
Resource:
https://identify.plantnet.org/k-world-flora/species/Hymenothrix%20wislizeni%20A.Gray/data