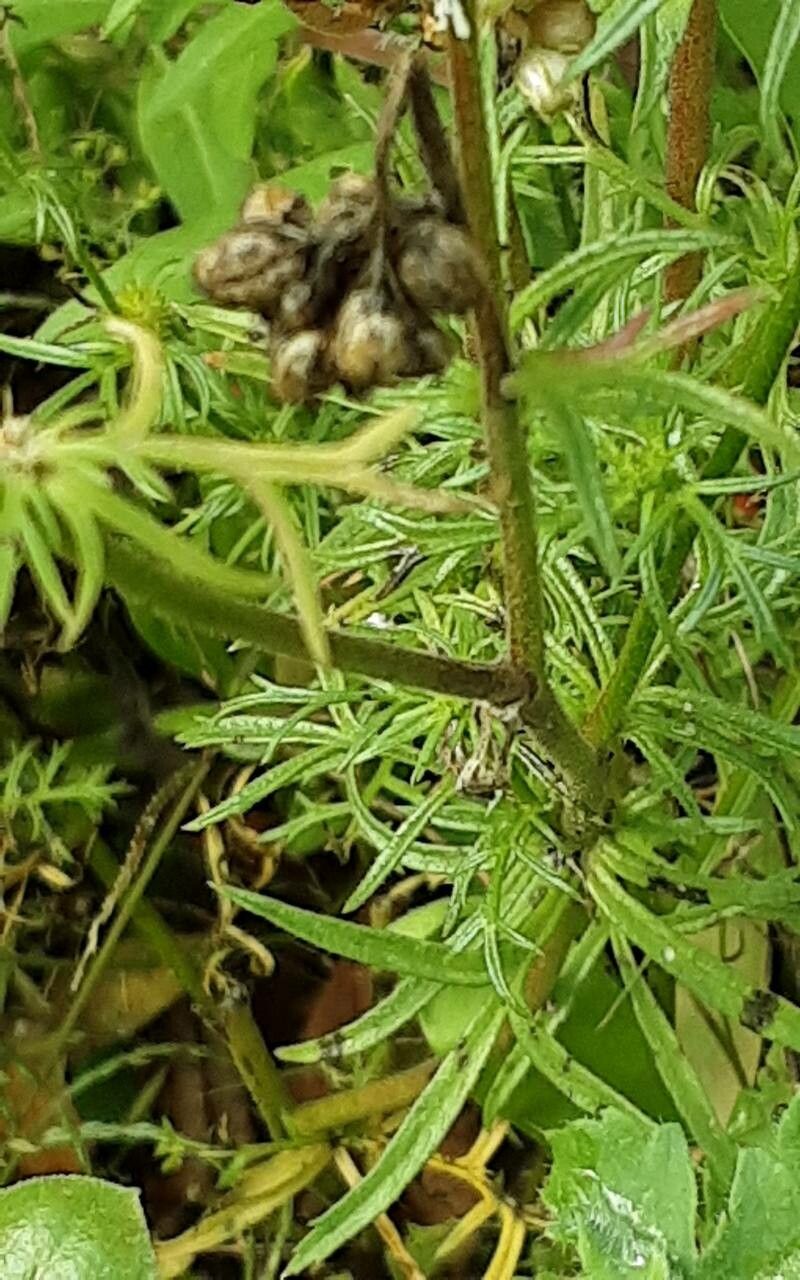
Oh, Gilia achilleifolia! What a delightful little plant to have in the garden. Its delicate, airy blooms, reminiscent of tiny aster fireworks, bring a touch of wild beauty that I just adore. And the best part? It’s surprisingly rewarding to multiply. You might find it a touch easier than some of the fussier annuals, making it a lovely project for even newer gardeners. There’s a real joy in nurturing a tiny seedling into a thriving plant, don’t you think?
The Best Time to Start
For Gilia achilleifolia, starting from seed is your absolute best bet, and spring is your golden window. Aim to sow seeds after your last frost date. This gives them the full growing season to establish and bloom. If you happen to have a greenhouse or a very bright, chilly spot indoors, you can start them a few weeks earlier. Timing is key; they don’t much care for being transplanted too late in the season.
Supplies You’ll Need
Getting your supplies ready makes the whole process smoother. Here’s what I usually have on hand:
- Seed-starting mix or a fine-textured potting soil. Avoid anything too heavy.
- Small pots or seed trays. I like the cells in trays for starting a bunch at once.
- Watering can with a fine rose or a spray bottle. Gentle watering is crucial!
- Labels and a pen. Trust me, you will forget what you planted where!
- A warm location for germination, like a sunny windowsill or a heat mat.
- Clear plastic domes or cling film to create a mini-greenhouse effect.
Propagation Methods
While Gilia achilleifolia can be grown from cuttings or division, seed is overwhelmingly the most straightforward and successful method. Trying to propagate this one by other means can be a bit hit-or-miss, and frankly, a bit more effort than it’s worth when seeds work so brilliantly. Let’s focus on the magic of seeds!
Sowing Seeds:
- Fill your pots or trays with your chosen seed-starting mix. Lightly moisten the soil so it’s damp but not soggy.
- Sow the seeds sparingly. Gilia achilleifolia seeds are tiny! You can often just sprinkle them over the surface. If you’re feeling fiddly, you can use a damp toothpick to pick them up and place them.
- Lightly cover the seeds with a thin layer of your mix, no more than about an eighth of an inch. They need a touch of darkness to germinate, but not much.
- Water gently. Use your spray bottle or the fine rose of your watering can to settle the soil without displacing the tiny seeds.
- Cover the pots or trays. A clear plastic dome or even a piece of cling film stretched over the top will help retain humidity, which is essential for germination.
- Place in a warm spot. A kitchen counter near a sunny window or a seedling heat mat is ideal. Aim for temperatures around 65-70°F (18-21°C).
The “Secret Sauce” (Pro Tips)
After years in the garden, you pick up a few little tricks!
- Don’t overwater initially. This is probably the most common mistake. Soggy soil is a recipe for damped-off seedlings, which is heartbreaking. Keep the soil consistently moist, but never waterlogged, until you see good growth.
- Consider stratification (a light chill). If you’re sowing very early or find germination a bit slow, some gardeners have had success with a bit of stratification. After sowing the seeds, place the tray in the refrigerator for about 2-3 weeks before moving it to a warm spot for germination. It mimics overwintering naturally.
- Harden off gradually. When your seedlings have a couple of sets of true leaves and the danger of frost has passed, don’t just shove them straight out into the garden. Gradually expose them to outdoor conditions over a week or two. Start with an hour or two in a sheltered spot, then increase the time and exposure daily. This prevents shock.
Aftercare & Troubleshooting
Once your seeds have sprouted and have a few sets of true leaves, it’s time for a little extra care.
- Thinning: If your seeds germinated too thickly, it’s time to thin them out. Gently pull out the weakest seedlings, leaving the strongest ones about 4-6 inches apart. This gives them room to grow.
- Watering: Continue to water regularly, especially during dry spells, but still avoid soggy conditions. Water the soil, not the leaves, to prevent fungal issues.
- Transplanting: Once your seedlings are a few inches tall and are well-established, you can transplant them to their final garden spot. Choose a sunny location with well-draining soil.
Common Issues:
- Seedlings wilting and falling over: This is usually damped-off, a fungal disease caused by overwatering and poor air circulation. Ensure good airflow and avoid soggy soil.
- No germination: Check your seed viability. Are they old? Was the temperature too low? Was the soil too wet or too dry? Sometimes a second sowing is needed.
- Leggy, weak seedlings: This almost always means they aren’t getting enough light. Move them to a brighter spot or consider a grow light.
A Bit of Patience, A Lot of Joy
Propagating Gilia achilleifolia from seed is a simple yet deeply satisfying gardening act. There’s a quiet magic in watching those tiny specks transform into delicate blooms. Be patient with your little charges, enjoy the process, and soon you’ll have your own beautiful bursts of starry flowers gracing your garden. Happy planting!
Resource:
https://identify.plantnet.org/k-world-flora/species/Gilia%20achilleifolia%20Benth./data