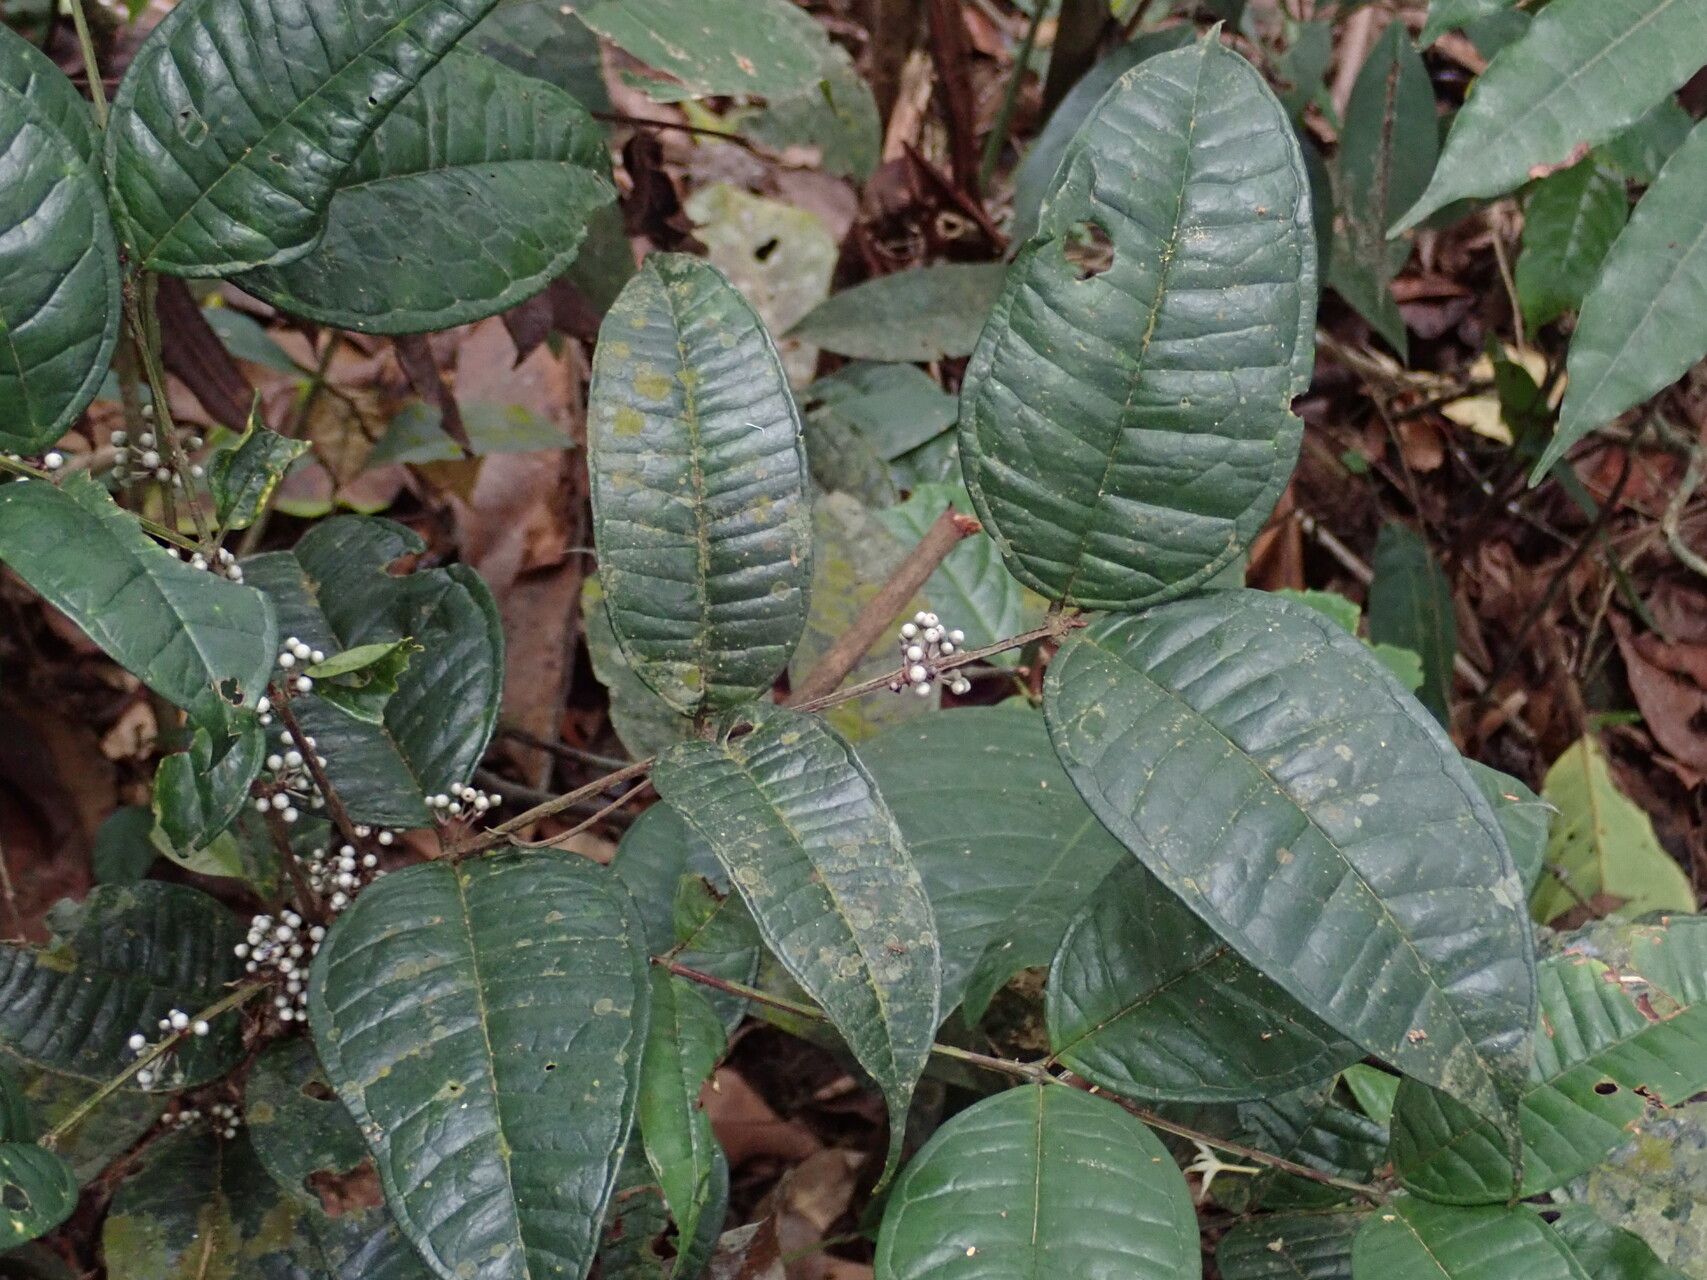
Oh, hello there! Come on in and grab a mug. I’ve been so excited to chat with you about Memecylon zenkeri. If you’re anything like me, you’re captivated by its delicate, almost ethereal blue flowers and its glossy, attractive foliage. It’s truly a gem that brings a touch of enchantment to any garden. And the best part? You can easily multiply this beauty yourself!
Propagating Memecylon zenkeri is a really rewarding venture. It’s not one of those notoriously fussy plants, which is fantastic news if you’re just dipping your toes into propagation. I’d say it’s quite beginner-friendly, especially if you’re willing to give it a little love and attention. Watching a tiny cutting transform into a new, thriving plant is just pure magic, isn’t it?
The Best Time to Start
For the highest success rate with Memecylon zenkeri, I always aim to take my cuttings in the late spring to early summer. This is when the plant is actively growing, and its stems are typically more pliable and full of life. You want to select semi-hardwood cuttings, which are neither too soft and floppy (like brand new growth) nor too woody and mature. Think of it as the “just right” stage, much like Goldilocks’ porridge.
Supplies You’ll Need
Gathering your supplies beforehand makes the whole process so much smoother. Here’s what I usually have on hand:
- Sharp Pruning Shears or a Clean Knife: For making clean cuts.
- Rooting Hormone (Powder or Gel): This is really helpful, though not always strictly necessary, it significantly boosts your success.
- Well-Draining Potting Mix: A good blend is crucial. I often use a mix of equal parts perlite and peat moss, or a commercial seedling mix. Some people like to add a bit of sand too.
- Small Pots or Seedling Trays: Clean, with drainage holes, of course.
- Plastic Bags or a Propagator Lid: To create a humid environment.
- Watering Can or Spray Bottle: For gentle watering.
- Labels and a Marker: So you don’t forget what you’ve planted!
Propagation Methods
There are a couple of ways to go about propagating Memecylon zenkeri, but my absolute favorite and the most reliable for this plant is through stem cuttings.
Stem Cuttings:
- Select Your Cutting: Find a healthy stem on your established plant. Look for one that’s about pencil-thick and has some growth, but isn’t flowering or fruiting at the moment. You want a section that’s roughly 6-8 inches long.
- Make the Cut: Using your clean pruning shears or knife, make a clean, angled cut just below a leaf node. A leaf node is a spot on the stem where a leaf grows, and it’s where roots are most likely to form.
- Prepare the Cutting: Gently remove the lower leaves, leaving just the top 2-3 leaves. This prevents them from rotting when they’re in the soil and helps the cutting conserve energy. If the remaining leaves are very large, you can even cut them in half to reduce further moisture loss.
- Apply Rooting Hormone: Dip the cut end of the stem into your rooting hormone, tapping off any excess.
- Plant the Cutting: Fill your small pots or trays with your prepared potting mix. Gently poke a hole in the center with your finger or a pencil. Insert the cut end of your Memecylon zenkeri cutting into the hole, ensuring it’s deep enough so the lowest leaf node is covered by the soil. Firm the soil gently around the stem.
- Water Gently: Water the soil thoroughly but gently, so you don’t displace the cutting.
The “Secret Sauce” (Pro Tips)
Now, for a few little tricks I’ve picked up over the years that can really give your Memecylon zenkeri cuttings a boost!
- Bottom Heat is Your Friend: A bit of gentle warmth from below can make a world of difference. I often use a propagation mat set to a low temperature, around 70-75°F (21-24°C). This encourages root development without drying out the top of the cutting.
- Don’t Let Those Leaves Get Soggy: When you water your cuttings, especially if you’re using a humidity dome, make sure the leaves don’t sit in standing water. This is an invitation for fungal issues. A light misting or watering from below if possible is best.
- Patience is a Virtue (Especially with Humidity!): Memecylon zenkeri loves a humid environment. Once planted, pop a clear plastic bag over the pot (making sure it doesn’t touch the leaves too much) or place the pots inside a propagator with the lid on. This traps moisture. Open it daily for a few minutes to allow for air circulation – this is really important to prevent mold.
Aftercare & Troubleshooting
Once your cuttings are planted and happily situated in their humid environment, the real waiting game begins. Keep the soil consistently moist but not waterlogged. You’ll know you’re on the right track when you start to see new leaf growth pushing out from the top of the stem. This usually takes anywhere from four to eight weeks, so don’t get discouraged if it seems slow at first.
The biggest challenge you might face is rot. If you notice your cutting turning black and mushy, or if the leaves start to yellow and fall off without any sign of new growth, it’s likely a sign of too much moisture or poor air circulation. Make sure your soil mix is draining well and try to increase air circulation slightly. If rot sets in, it’s usually best to discard the affected cutting and start again, making sure to address the potential cause.
A Encouraging Closing
And there you have it! Propagating Memecylon zenkeri is a journey of patience and observation, but the rewards are immense. You’ll soon have your own little “family” of these gorgeous plants to share or keep all to yourself. Don’t be afraid to experiment a little, and most importantly, enjoy the process. Happy gardening!
Resource:
https://identify.plantnet.org/k-world-flora/species/Memecylon%20zenkeri%20Gilg/data