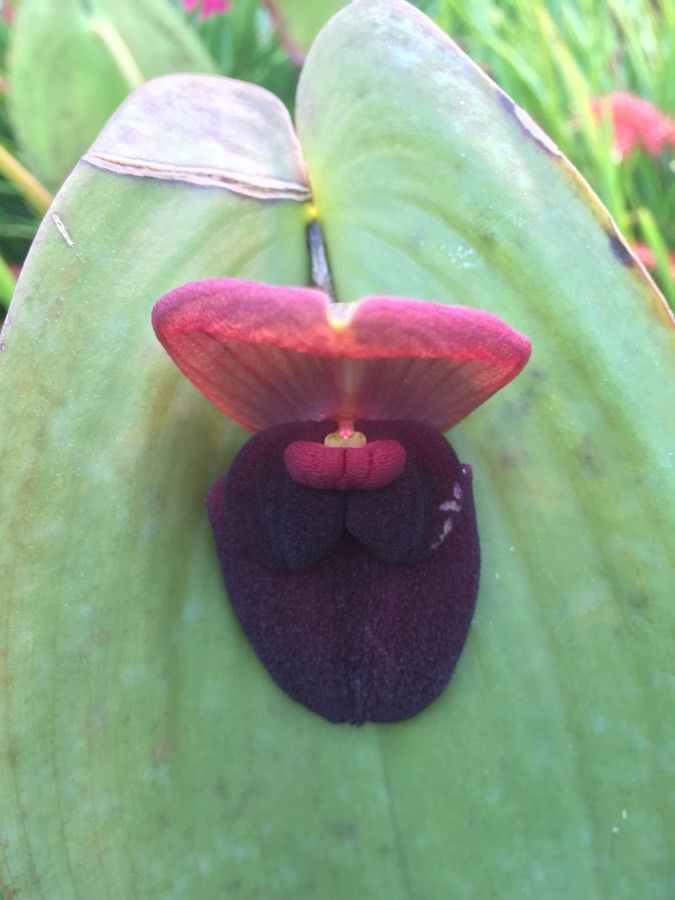
Oh, hello there! Come on in, grab a mug, and let’s chat about one of my absolute favorite little plants: Pleurothallis gargantua. If you’ve ever seen one of these beauties, you know what I mean. They’re not your typical splashy orchid, but there’s a quiet, intricate charm to them that just draws you in. The way their leaves unfurl, the delicate blooms—it’s like a tiny, living sculpture. And the best part? Bringing more of them into your life through propagation is a truly satisfying endeavor.
Now, before you get nervous, let me put your mind at ease. Pleurothallis gargantua isn’t the most challenging orchid to propagate, but it does ask for a little finesse. It’s a rewarding project for those who are ready to take their orchid care to the next level. Think of it as graduating from beginner status.
The Best Time to Start
For the highest success, I always look for the plant to be in its active growth phase. This usually means after it has finished blooming and is pushing out new leaves or pseudobulbs. For many Pleurothallis, this falls into the late spring or early summer months. The warmer temperatures and increased light levels give the new propagations a real boost.
Supplies You’ll Need
Here’s what I usually have on hand when I’m ready to get my hands dirty:
- Sharp, sterile pruning shears or a razor blade: Cleanliness is key to preventing infection.
- Fine-grade orchid bark mix: Something with good aeration, often labeled for miniature orchids or seedlings.
- Sphagnum moss: High-quality, long-fibered sphagnum is excellent for retaining moisture.
- Small pots or propagation trays: Tiny ones are perfect, as these plants don’t need much space initially.
- Rooting hormone (optional but recommended): A diluted solution can give cuttings a helping hand.
- Distilled or rainwater: Your orchids will thank you for it.
- A spray bottle: For gentle misting.
- Labels: So you don’t forget what you potted!
Propagation Methods
I find division is the most reliable method for Pleurothallis gargantua. These small orchids tend to form clumps over time, and separating them is a natural way to multiply your collection.
Division:
- Gently remove the plant from its pot. Sometimes, a little squeeze can help loosen it.
- Carefully tease away the old potting medium. You want to get a good look at the root system.
- Identify natural divisions. Look for areas where the rhizome (the creeping stem) has produced distinct new growths with their own roots.
- Using your sterile shear or blade, carefully cut through the rhizome. Make sure each new division has at least two to three healthy pseudobulbs or growths and a good chunk of roots.
- Dust any cut surfaces with a fungicide powder (optional but good practice, especially if you’re not certain of sterility).
- Pot each division into its own small pot with fresh, fine-grade orchid bark or a mix of bark and sphagnum moss. Ensure the roots are spread out and the pseudobulbs are just at or slightly above the surface.
The “Secret Sauce”
Here are a few things I’ve learned over the years that make a real difference:
- Don’t overwater right away. After dividing, the plant needs time to recover and form new roots. Mist lightly only when the potting medium starts to feel dry. Overwatering at this stage is a fast track to rot.
- Humidity is your friend. New divisions benefit immensely from high humidity. I often place them in a small terrarium or a covered propagation box for the first few weeks. Just make sure there’s some air circulation to prevent fungal issues.
- A gentle application of a very diluted orchid fertilizer (think 1/10th strength) a few weeks after potting can encourage new root and leaf growth, but only do this once you see signs of recovery and new growth.
Aftercare & Troubleshooting
Once your divided Pleurothallis starts to look happy—meaning you see new leaf growth or the beginnings of new roots probing the potting mix—you can gradually introduce it to its regular care routine. Keep it in a slightly shadier spot with good air movement.
The most common sign of trouble you’ll see is rot. This usually manifests as a soft, mushy base at the pseudobulb or roots turning black and slimy. If you catch it early, you can sometimes cut away the affected tissue with your sterile shears and try to let the plant air dry for a day or two before repotting in fresh, dry medium. If it’s extensive, sadly, that particular division might be lost.
A Encouraging Closing
So there you have it! Propagating Pleurothallis gargantua is a journey, and like all good gardening, it requires a bit of patience. Don’t be discouraged if your first attempt isn’t a runaway success. Every plant is an individual, and learning their quirks is part of the fun. Just give them a bit of love and attention, and before you know it, you’ll have more of these unique little gems to enjoy and share. Happy growing!
Resource:
https://identify.plantnet.org/k-world-flora/species/Pleurothallis%20gargantua%20Luer/data