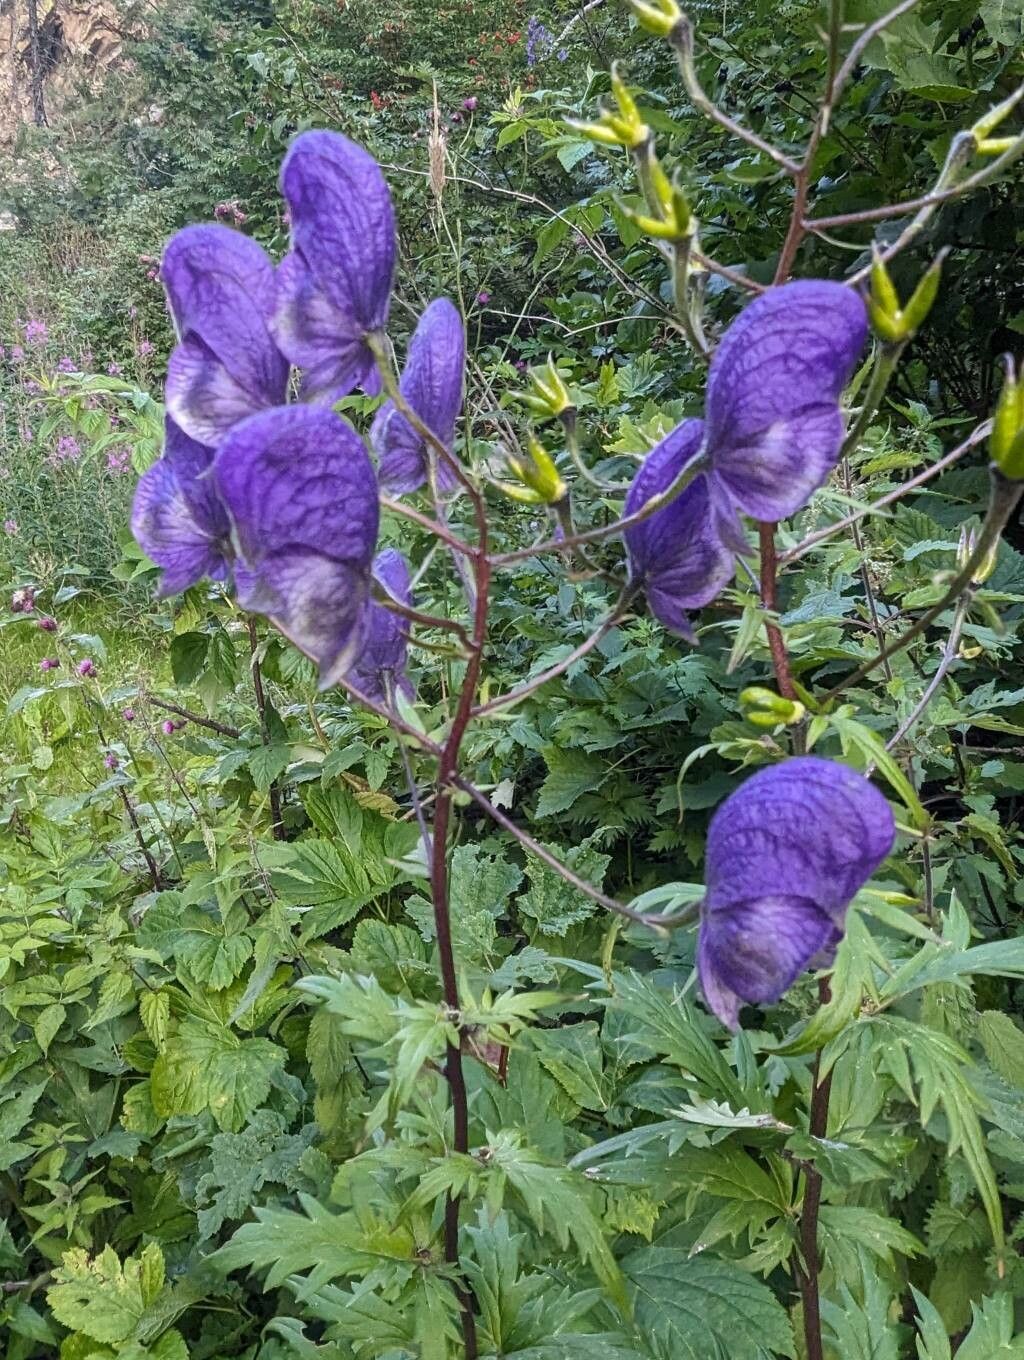
Hello, fellow plant enthusiasts! Today, we’re diving into the beautiful world of Aconitum degenii, also known as Monkshood. If you’re drawn to its stunning, hooded blooms in shades of deep blue and violet, you’re not alone. These striking plants bring such a dramatic flair to the garden. And the good news? Propagating them is a truly rewarding endeavor, allowing you to fill your garden or share these beauties with friends. Now, while Aconitum can be a little particular, don’t let that intimidate you. With a few key steps, even beginners can find success.
The Best Time to Start
For Aconitum degenii, the absolute sweet spot for propagation is spring, just as new growth emerges. Think of it as catching the plant at its most vigorous, ready to channel its energy into creating new life. You’re looking for those tender, new shoots that are about 3-4 inches long and haven’t yet started to toughen up. Trying to propagate later in the season can be done, but you’ll likely find your success rate dips a bit.
Supplies You’ll Need
Gathering your supplies beforehand makes the whole process much smoother. Here’s what I usually have on hand:
- Sharp, clean pruning shears or a craft knife: Sanitation is key to preventing disease.
- Rooting hormone (optional but recommended): This can give your cuttings that extra boost. I like one with a fungicide in it.
- A good propagation mix: This should be light and airy. A 50/50 mix of perlite and coco coir or perlite and seed-starting mix works wonderfully. Avoid heavy potting soil.
- Small pots or seed trays: Terra cotta pots are great for preventing overwatering as they allow the soil to breathe.
- Clear plastic bags or a propagation dome: To create a humid environment for your cuttings.
- Watering can or spray bottle: For gentle watering.
- A warm location: This might mean a heat mat if your home is cool.
Propagation Methods
While you can divide Aconitum degenii in the fall, my favorite and most reliable method for increasing your stock is through stem cuttings.
- Take Your Cuttings: Early in the morning, when the plant is well-hydrated, use your clean shears to snip off young shoots. Select stems that are actively growing and about 3-4 inches long. Make your cut just below a leaf node – that little bump where a leaf emerges.
- Prepare the Cuttings: Gently remove the lower leaves from the cutting. You want to expose at least one or two leaf nodes. If a leaf is particularly large, you can cut it in half to reduce water loss.
- Apply Rooting Hormone (Optional): Dip the cut end of the stem into your rooting hormone. Tap off any excess.
- Plant Your Cuttings: Fill your small pots or trays with your propagation mix. Make a small hole in the center with your finger or a pencil. Insert the prepared cutting, ensuring the hormone-coated end is snug in the soil. Gently firm the soil around the stem.
- Create a Humid Environment: Water the mix thoroughly until it drains from the bottom. Then, cover the pots with a clear plastic bag or a propagation dome. This traps humidity, which is crucial for cuttings to root. Place the pots in a warm location with bright, indirect light.
The “Secret Sauce” (Pro Tips)
You know, after years of tinkering, I’ve learned a few things that can really tip the scales in your favor.
- Bottom Heat is Your Friend: Aconitum cuttings really appreciate a little warmth from below. Placing your pots on a gentle seedling heat mat can significantly speed up root formation. Just a nice, consistent warmth, not hot enough to cook them!
- Humidity, Humidity, Humidity (but with air circulation): While you want to trap humidity, you don’t want stagnant air, which can lead to fungal issues. Every day or two, lift the plastic bag and gently waft some fresh air over your cuttings. This makes all the difference between success and rot.
- Don’t Overwater, Ever: This is probably the most common pitfall. The propagation mix should be consistently moist, like a wrung-out sponge, but never soggy. Overwatering is a fast track to root rot, and no one wants that!
Aftercare & Troubleshooting
Once your cuttings have started to show signs of life – usually a new leaf unfurling or a gentle tug resistance when you (very cautiously!) try to pull them – it’s time for a little transition.
- Gradual Acclimation: Slowly start to reduce the humidity. Open the plastic bag for longer periods each day.
- Move to a Brighter Spot: Once they look robust, you can move them to a slightly brighter location, but still avoid direct, scorching sun.
- Potting Up: When you see good root development (you might even see roots peeking out of the drainage holes), it’s time to pot them into slightly larger containers with a good quality, well-draining potting mix.
- Troubleshooting: The most common issue you’ll encounter is rot. If a cutting turns black and mushy, it’s usually a sign of too much moisture and poor air circulation. Unfortunately, these are usually beyond saving. If you see wilting but no rot, it could be that the environment is too dry, or the cutting hasn’t established roots yet. Just ensure consistent moisture and humidity.
A Little Patience Goes a Long Way
Propagating any plant takes a bit of faith and patience. Don’t get discouraged if your first few attempts aren’t perfect. Every gardener, myself included, has had their share of flops! Just keep at it, observe your cuttings, and enjoy the little victories. Watching a tiny cutting transform into a thriving new plant is one of gardening’s greatest joys. Happy growing!
Resource:
https://identify.plantnet.org/k-world-flora/species/Aconitum%20degenii%20Gáyer/data