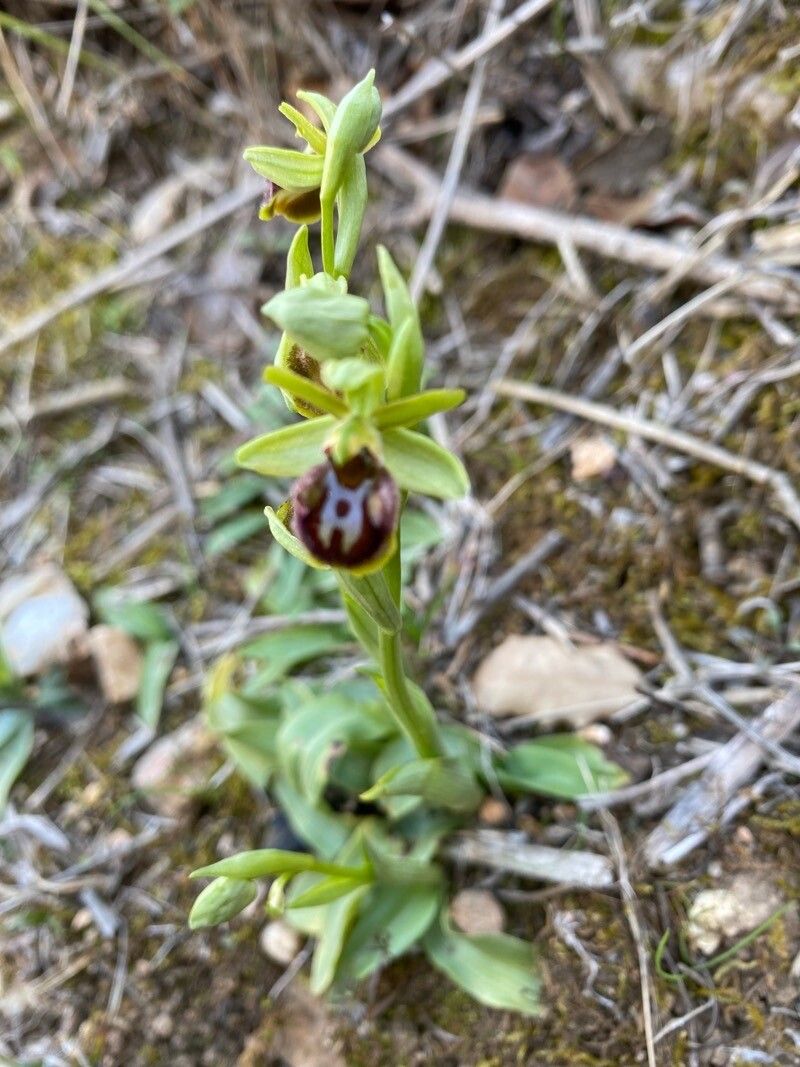
Oh, hello there! Pull up a chair and let’s chat about one of my absolute favorite treasures: Ophrys umbilicata. You know, those stunning Ophrys, often called “bee orchids,” that look so uncannily like tiny insects? Ophrys umbilicata is a particularly beautiful specimen, with its intricate markings and delicate charm. Growing them from scratch is such a deeply satisfying journey, a real testament to the magic of nature unfolding in your own hands. Now, I’ll be honest, these beauties aren’t the most straightforward for complete beginners. They have a bit of a specific personality, but with a little guidance, you can certainly succeed!
The Best Time to Start
For Ophrys umbilicata, the timing is everything. We’re generally looking at late summer to early autumn, right after the plant has finished its flowering cycle and the foliage is starting to mature. This is when the plant has stored up energy from the growing season, making it more resilient and ready for the propagation process. Trying to propagate too early or too late can really impact your success rate.
Supplies You’ll Need
Before we get our hands dirty, let’s gather our little toolkit. You won’t need anything too fancy, but having the right stuff makes all the difference:
- Sterilized small pots or trays: About 3-4 inches in diameter are perfect.
- Well-draining potting mix: I find a blend of orchid bark, perlite, and a bit of peat moss works wonders. You want something that dries out quickly.
- Sharp, sterilized pruning shears or a clean, sharp knife: Critical for clean cuts.
- Rooting hormone powder (optional but helpful): Especially if you’re a bit nervous.
- Watering can with a fine rose or a spray bottle: Gentle watering is key.
- Clear plastic bags or a propagator: To create a humid environment.
- Labels and a permanent marker: Don’t forget what you’ve potted!
Propagation Methods
While Ophrys umbilicata doesn’t lend itself well to simple stem cuttings or water propagation like many common houseplants, the most effective way to propagate it is through division of its corms. Think of these corms as tiny, underground energy storage units, similar to bulbs.
Here’s how we’ll do it:
- Gently Excavate: Carefully dig up the mature Ophrys umbilicata plant in the late summer/early autumn. Be very gentle to avoid damaging the corms. You’ll likely see one or more corms attached.
- Identify the Divisions: Look closely at the corm. You’ll often see small, rounded buds or offsets developing from the main corm. These are your potential new plants.
- The Art of Separation: Using your sterilized knife or shears, carefully cut the corm into sections. Aim for each section to have at least one healthy-looking bud and some good root development if possible. Don’t stress if they don’t look perfect; nature is forgiving! If you’re hesitant, it’s usually better to leave them slightly attached than to make a ragged tear.
- Let Them Breathe (Briefly): Allow the cut surfaces of the divided corms to air dry for a day or two in a dry, shaded spot. This helps callous over the cuts and prevents rot when they’re planted.
- Potting Them Up: Fill your prepared pots with your well-draining mix. Make a small indentation in the center of the mix.
- Planting the Corms: Place each corm division into its pot, with the bud pointing upwards. Plant them at approximately the same depth they were growing previously. Gently firm the soil around them.
- Initial Watering: Water very lightly, just enough to settle the soil. You don’t want to drench them at this stage.
The “Secret Sauce” (Pro Tips)
Alright, here are a couple of my little tricks that have served me well over the years:
- Avoid the Soggy Bottom Syndrome: This is a big one for orchids, and Ophrys umbilicata is no exception. Even after planting, don’t overwater. The goal is consistently mildly moist soil, not wet. If the mix stays too wet, those precious corms can rot in a heartbeat. It’s better to underwater slightly than to overwater.
- Patience is Truly a Virtue: These guys are not instant gratification plants. If you’ve used rooting hormone, you might see some minor root development within a few weeks, but don’t expect to see top growth immediately. They are busy establishing their root system underground first. Resist the urge to dig them up and check!
Aftercare & Troubleshooting
Once your corms are nestled in their new homes, the aftercare is all about creating a stable environment:
- Light: Place the pots in a bright, indirect light location. Think a north-facing window or a shaded spot outdoors if your climate is suitable. Direct sun can scorch them.
- Watering: Continue with light, infrequent watering. Let the top inch of soil dry out between waterings. In a propagator, you might see condensation; that’s a good sign of humidity, but still, check the soil moisture before reaching for the watering can.
- Humidity: The plastic bag or propagator helps maintain humidity, which is beneficial as the corms establish. Ventilate occasionally to prevent mold.
Now, for the common woes:
- Rot: This is the most frequent culprit for failure. If you notice your corm turning mushy and dark brown or black, it’s likely rot. This is usually caused by overwatering and poor drainage. Unfortunately, if rot sets in, it’s very difficult to save the corm.
- No Growth: If it’s been months and you see absolutely nothing, it could be a few things. Perhaps the corm wasn’t viable from the start, or it simply needs more time. Don’t give up too quickly! Sometimes they take a very long time to wake up.
A Encouraging Closing
Propagating Ophrys umbilicata might take a little more finesse than growing a begonia, but the reward of seeing these remarkable orchids thrive from your own efforts is truly unparalleled. Be patient with yourself and the plants. Each attempt is a learning experience, and the joy of nurturing these unique beauties is what gardening is all about. Happy propagating!
Resource:
https://identify.plantnet.org/k-world-flora/species/Ophrys%20umbilicata%20Desf./data