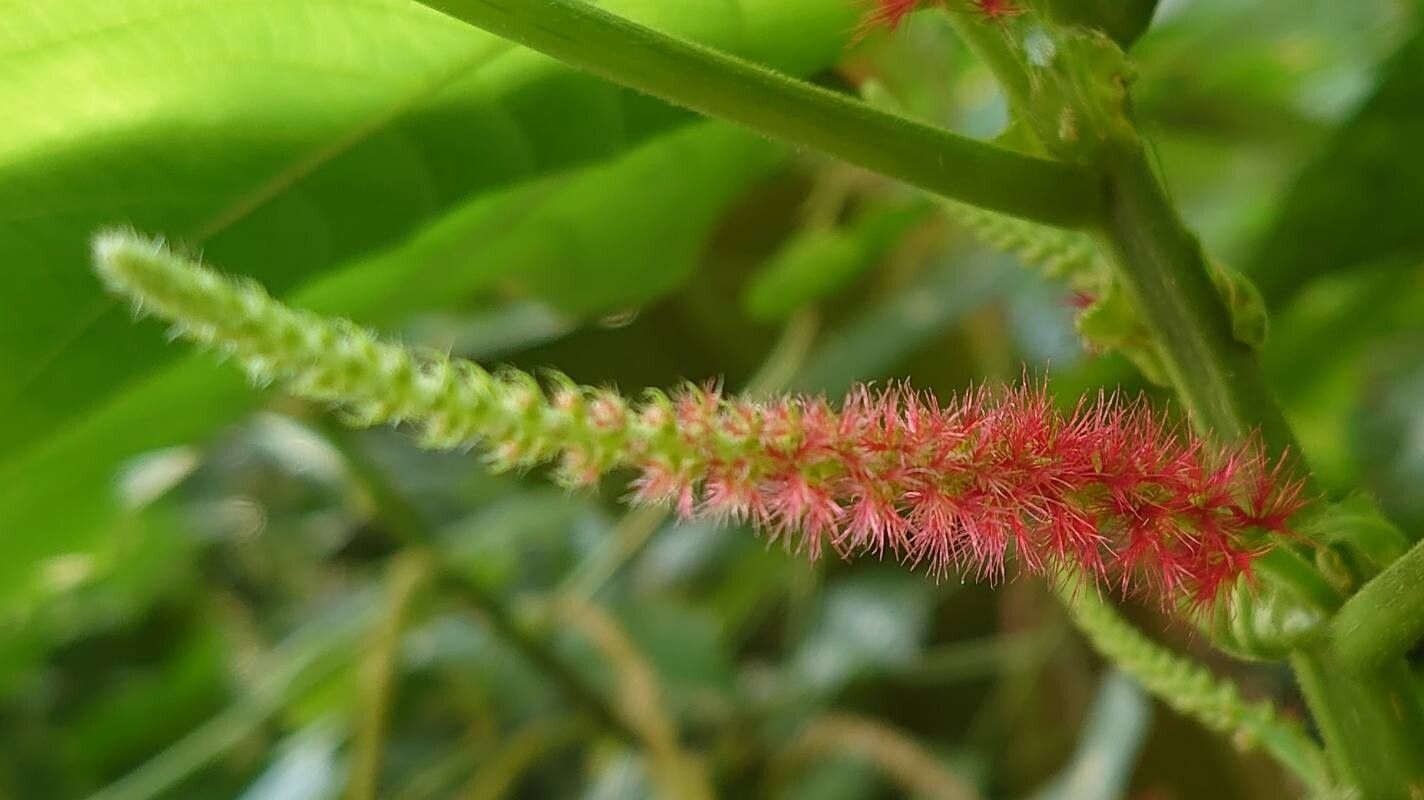
Oh, Acalypha macrostachya! If you’re anything like me, you’ve probably fallen head over heels for its dramatic, cascading blooms and lush foliage. It’s a stunner, isn’t it? And what’s even better is that you can easily multiply this beauty yourself. It’s such a rewarding feeling, watching a tiny cutting transform into a magnificent plant, ready to grace another corner of your garden or be gifted to a fellow plant lover. For those of you just dipping your toes into propagation, I’m happy to say that Acalypha macrostachya is quite forgiving. We’ll get you started on the right foot!
The Best Time to Start
Honestly, spring is your golden ticket. When the days start getting longer and the plant is actively putting on new growth, it’s brimming with vigor. You’ll find cuttings taken at this time root with much more enthusiasm. Aim for softwood cuttings – those are the new, pliable shoots that haven’t yet become woody. Late spring to early summer is perfect.
Supplies You’ll Need
Gathering your tools beforehand makes the whole process smooth sailing. Here’s what you’ll want on hand:
- Sharp Pruning Shears or a Clean Knife: For making clean cuts.
- Rooting Hormone (Optional but Recommended): Helps speed things up.
- A Well-Draining Potting Mix: I like a blend of peat moss or coco coir, perlite, and a bit of compost. You can also buy a commercial seed-starting or cactus/succulent mix.
- Small Pots or Seedling Trays: With drainage holes, of course!
- Plastic Bags or a Clear Dome: To create a humid environment.
- Watering Can or Spray Bottle: For gentle watering.
- Labels: So you don’t forget what you planted where!
Propagation Methods
There are a couple of ways to go about this, but for Acalypha macrostachya, stem cuttings are usually my go-to.
Stem Cuttings:
- Select Your Cuttings: Look for healthy, non-flowering stems. You want pieces that are about 4-6 inches long.
- Make Your Cut: Using your sharp shears or knife, make a clean cut just below a leaf node. A leaf node is where a leaf attaches to the stem.
- Prepare the Cutting: Gently remove the lower leaves, leaving just the top set or two. This reduces water loss and prevents leaves from rotting in the soil.
- Apply Rooting Hormone (Optional): Dip the cut end into rooting hormone, tapping off any excess.
- Plant Your Cuttings: Fill your pots with your prepared potting mix. Water it well. Make a small hole in the center with your finger or a pencil, and firmly insert the cutting.
- Create Humidity: Water gently again. Then, either cover the pot with a clear plastic bag (propped up with stakes so it doesn’t touch the leaves) or place the pot under a clear dome. This creates a mini-greenhouse effect.
- Placement: Put the pots in a bright, warm spot, but out of direct sunlight.
The “Secret Sauce” (Pro Tips)
After years of poking around in the dirt, I’ve learned a few tricks that seem to make a difference.
- Don’t Overwater the Initial Cuttings: This is crucial! While they need humidity, waterlogged soil is a death sentence. Let the top layer of soil dry out slightly between waterings.
- Bottom Heat is Your Friend: If I’m doing a bunch of cuttings, I’ll often pop them onto a seedling heat mat. It gently warms the soil from below, encouraging root development much faster. You can often find these at garden centers or online.
- Patience is a Virtue (and a Strategy): Don’t be tempted to tug on your cuttings every day to see if they’ve rooted. You’ll do more harm than good. Give them at least 3-4 weeks before you gently try to lift a cutting. The best indicator is when you see new leaf growth!
Aftercare & Troubleshooting
Once you start to see signs of rooting – new growth is the big one – you can gradually acclimate your new plant to less humid conditions.
- Remove the Plastic Bag: Start by removing the plastic bag for a few hours each day. If all goes well, you can remove it completely after a week or so.
- Watering: Continue to water when the top inch of soil feels dry.
- Feeding: Once new growth is well-established, you can start feeding with a diluted liquid fertilizer every few weeks.
What about when things go wrong? The most common culprit is rot. If your cutting turns mushy, develops black spots, or smells funky, it’s usually a sign of too much moisture or not enough air circulation. If you see this, try to isolate the affected cutting to prevent it from spreading and re-evaluate your watering habits. Sometimes, a cutting just doesn’t make it, and that’s okay! Don’t let it discourage you.
A Closing Thought
Propagating Acalypha macrostachya is a wonderful way to expand your collection and deepen your connection with these beautiful plants. Be patient with the process, keep an eye on those moisture levels, and celebrate every tiny bit of new growth. Happy propagating – I’m rooting for you!
Resource:
https://identify.plantnet.org/k-world-flora/species/Acalypha%20macrostachya%20Jacq./data