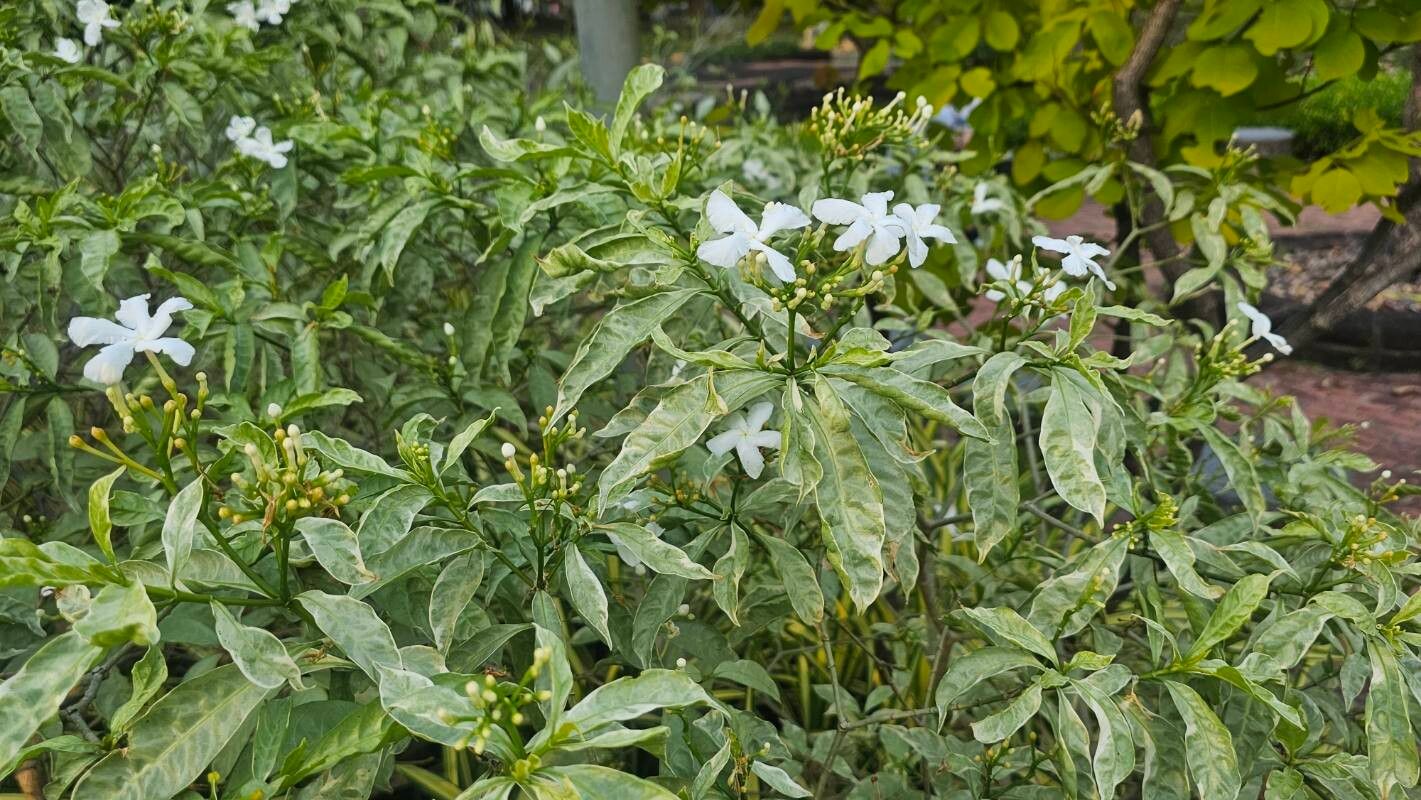
Oh, Tabernaemontana corymbosa! What a treat to talk about this one. You know, sometimes called the “Crepe Jasmine” or “Wax Flower,” it’s just such a joy to have around. Its waxy, fragrant white blooms are like little sweet whispers in the garden, and honestly, being able to create more of them from just one plant feels like a little bit of gardening magic. If you’re new to propagating, I’d say this one falls into the “moderately challenging but totally achievable” category. With a few key things in mind, you’ll be rewarded with little sprigs of this beauty in no time.
The Best Time to Start
For Tabernaemontana corymbosa, you’ll find the best success when you work with new, semi-hardwood growth. Think late spring to early summer. The plant is actively growing then, so it has the energy to push out new roots. Don’t try to take cuttings from brand-new, flimsy shoots, nor from old, woody stems. You’re looking for that sweet spot – a stem that’s no longer entirely soft but hasn’t hardened off completely. It should be bendy enough to snap cleanly, rather than break brittlely.
Supplies You’ll Need
Here’s what I always have on hand when I’m getting ready to propagate:
- Sharp pruning shears or a clean, sharp knife: Essential for making clean cuts.
- Rooting hormone powder or gel: This is a real game-changer for encouraging root development.
- Small pots or seed trays: Four-inch pots are usually a good size.
- A well-draining potting mix: I usually go for a 50/50 mix of seedling starter mix and perlite or coarse sand. This helps prevent waterlogging.
- Clear plastic bags or a propagator lid: To create a humid environment.
- Watering can with a fine rose attachment: For gentle watering.
- Optional: A heat mat: This can significantly speed up root formation.
Propagation Methods
We’ll focus on the most reliable method for this plant: stem cuttings.
- Select Your Cuttings: Gently inspect your Tabernaemontana corymbosa and choose healthy stems that are the ideal semi-hardwood. Aim for cuttings that are about 4 to 6 inches long.
- Make the Cut: Using your clean shears or knife, make a clean, angled cut just below a leafnode. This is where roots are most likely to form. Remove any flowers or seed pods from the cutting – energy is better spent on roots than on making more flowers at this stage!
- Prepare the Cutting: Strip off the lower leaves. You want to remove all the leaves that would be below the soil line, leaving a few healthy leaves at the top. If the remaining leaves are very large, you can cut them in half horizontally. This reduces water loss through transpiration while still allowing for photosynthesis.
- Apply Rooting Hormone: Dip the cut end of the stem into your rooting hormone. Tap off any excess. You want a light coating.
- Potting Up: Fill your pots with your prepared potting mix. Make a hole in the center with your finger or a pencil.
- Planting the Cutting: Insert the prepared cutting into the hole, ensuring the leaf nodes you stripped all the leaves from are covered by the soil. Gently firm the soil around the cutting.
- Water and Cover: Water thoroughly until you see water drain from the bottom of the pot. Then, cover the pot with a clear plastic bag or place it inside a propagator with the lid on. This creates that crucial humid microclimate.
The “Secret Sauce” (Pro Tips)
Here are a couple of things I’ve learned over the years that really help:
- Bottom Heat is Your Friend: If you have a heat mat, place your pots on it. Tabernaemontana corymbosa absolutely loves a bit of warmth from below. It mimics the soil temperature it would encounter in its native habitat and encourages those roots to get moving much faster.
- Don’t Drown Your Cuttings: While humidity is key, overwatering is the enemy. Let the top inch of soil dry out slightly between waterings. You can check this by gently poking your finger into the soil. The plastic bag will help keep the humidity high, so you won’t need to water often, but when you do, water thoroughly.
Aftercare & Troubleshooting
Once your cuttings have taken, you’ll start to see new growth appearing from the top. This is your signal that they’ve rooted! You can gently tug on a cutting – if there’s resistance, roots are forming. Once you see new leaves unfurling, it’s time to gradually acclimatize the new plants. Start by opening the plastic bag a little each day for a week, then remove it entirely. You can then repot them into slightly larger containers if needed.
The most common problem you’ll encounter is rot. This usually happens because the soil is too wet, or the humidity is too high without adequate air circulation. If you see your cuttings turning black and mushy at the base, it’s likely rot. Unfortunately, these are usually unsalvageable. Prevention is key here – use that well-draining mix and don’t overwater!
A Encouraging Closing
Propagating plants is a journey, and Tabernaemontana corymbosa is a wonderful plant to practice with. Be patient, trust the process, and don’t be discouraged if not every single cutting succeeds. The satisfaction of nurturing a new plant from a simple stem is truly one of gardening’s greatest rewards. Happy propagating!
Resource: