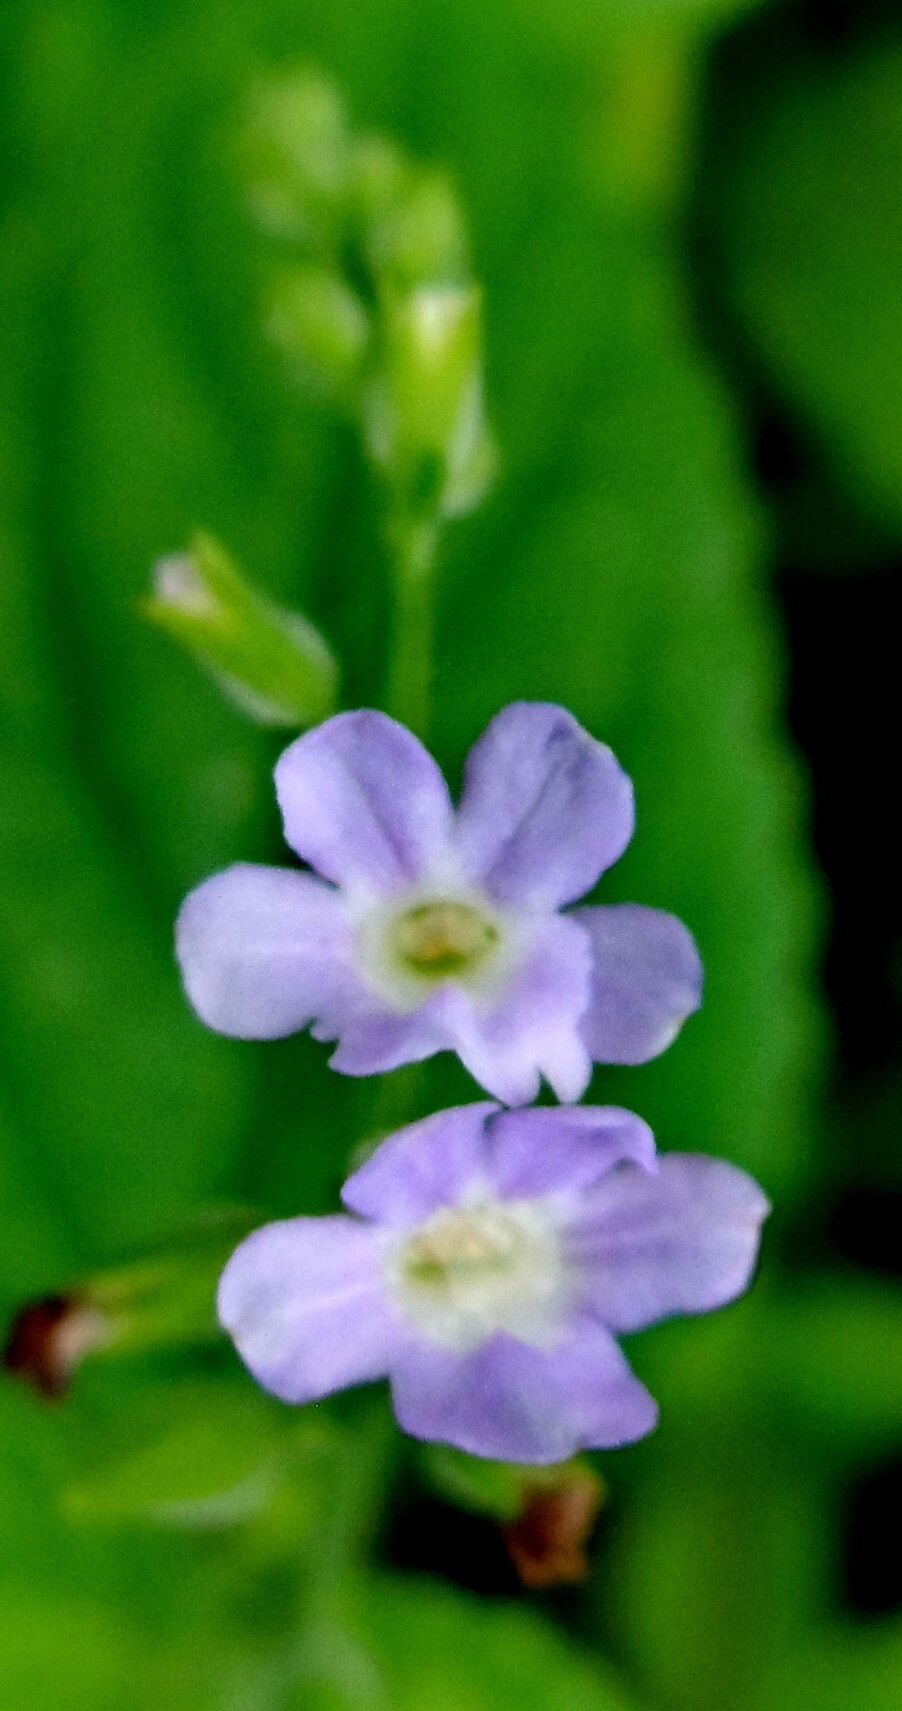
Hey there, fellow garden enthusiasts! If you’ve ever been charmed by the delicate, vibrant blooms of Bouchea prismatica, you’re in for a treat. This lovely plant, with its airy spikes of color, brings such a joyful touch to any garden. And guess what? It’s surprisingly rewarding to create more of these beauties from your existing ones.
For a long time, I thought Bouchea might be a bit finicky to propagate, something best left to the pros. But I’ve found it’s actually quite accessible, even for those of you just starting to get your hands dirty. It’s a fantastic way to fill out your beds or share the joy with friends.
The Best Time to Start
I’ve had the most luck propagating Bouchea prismatica in late spring to early summer. This is when the plant is actively growing and has plenty of healthy, new growth to work with. You’re looking for stems that are semi-woody – not too fresh and green, but not overly hardened either. Think of it like a firm pencil, not a soft sprout or a brittle twig.
Supplies You’ll Need
Here’s what you’ll want to have on hand to make your propagation journey smooth sailing:
- Sharp pruning shears or a clean utility knife: For making clean cuts.
- Rooting hormone (optional, but helpful): A powder or gel to give your cuttings a boost.
- Well-draining potting mix: A blend of regular potting soil with perlite or vermiculite is perfect. You can also look for a specific seed-starting mix.
- Small pots or trays: Clean containers with drainage holes are essential.
- Dibber or pencil: To create holes for your cuttings.
- Plastic bags or a propagator lid: To create a humid environment.
- Spray bottle: For misting.
Propagation Methods
Let’s get down to business! My go-to method for Bouchea prismatica is stem cuttings. It’s straightforward and consistently gives me good results.
- Select Your Cuttings: Find healthy, non-flowering stems that are about 4-6 inches long. Look for that perfect semi-hardwood stage I mentioned.
- Make the Cut: Using your clean shears or knife, make a clean cut just below a leaf node. This is the point where a leaf attaches to the stem, and it’s where roots often emerge. Remove any lower leaves, leaving just a few at the top.
- Apply Rooting Hormone (Optional): If you’re using rooting hormone, dip the cut end of the stem into the powder or gel. Gently tap off any excess.
- Plant Your Cuttings: Fill your small pots with your well-draining potting mix. Use a pencil or dibber to make a small hole in the center of the soil. Carefully insert the cut end of your Bouchea cutting into the hole. Gently firm the soil around the stem to ensure good contact.
- Create a Humid Environment: Water the soil lightly until it’s moist but not soggy. Then, cover the pot with a clear plastic bag or a propagator lid. Stake the bag up so it doesn’t touch the leaves. This humidity is crucial for preventing the cuttings from drying out before they can develop roots.
- Place in Bright, Indirect Light: Find a warm spot that receives bright, indirect light. Avoid direct sunlight, which can scorch the delicate cuttings.
The “Secret Sauce” (Pro Tips)
Here are a couple of things I’ve learned over the years that really make a difference:
- Don’t let the leaves touch the water: If you opt for water propagation (which can work for Bouchea, but I find cuttings in soil more successful long-term), make sure no leaves are submerged in the water. Any submerged foliage will rot, and that’s a quick ticket to failure.
- Bottom heat is your friend: If you have access to a heat mat, placing your pots on it can significantly speed up root development. It mimics the warmth of spring soil and gives those root cells a gentle nudge to get growing.
Aftercare & Troubleshooting
Once your cuttings have been planted, the waiting game begins! Keep the soil consistently moist but never waterlogged. You can check for roots after about 3-4 weeks. A gentle tug on the cutting should reveal some resistance. If it pulls out easily, it hasn’t rooted yet.
The most common sign of trouble is rot. If your cuttings turn mushy and black, it’s usually a sign of too much moisture and not enough air circulation. If you see this happening, gently remove the affected cutting. You might need to adjust your watering schedule or ensure your potting mix is indeed well-draining.
Once you see good root development, you can gradually acclimate them to drier conditions by opening the plastic bag a little more each day. Once they’re looking robust, you can transplant them into slightly larger pots.
A Little Patience Goes a Long Way
Growing new plants from cuttings is a deeply satisfying experience. It’s a chance to connect with nature and witness the marvel of new life. Don’t get discouraged if a few don’t make it – that’s part of the learning process for all of us gardeners. Just keep experimenting, observe your plants, and enjoy the journey of creating more Bouchea prismatica to brighten your world. Happy propagating!
Resource:
https://identify.plantnet.org/k-world-flora/species/Bouchea%20prismatica%20(L.)%20Kuntze/data