Hello fellow garden enthusiasts! Today, we’re going to dive into the wonderful world of propagating Qualea paraensis, a truly special plant that brings a touch of vibrant beauty to any space.
Unveiling the Charm of Qualea paraensis
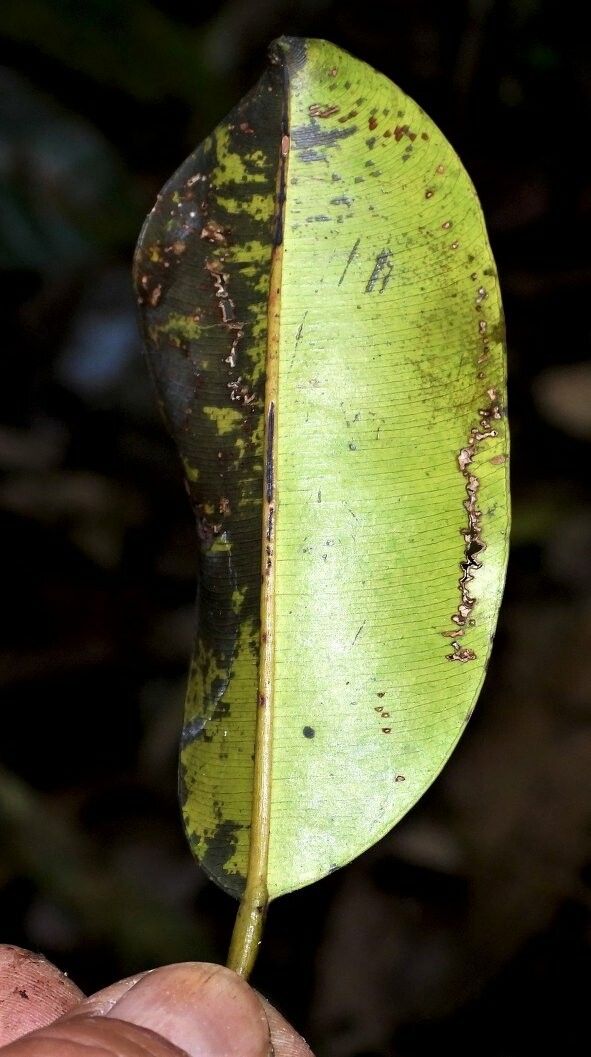
Oh, Qualea paraensis! Even the name sounds exotic, doesn’t it? This stunner, often recognized for its showy, trumpet-shaped flowers that can range from soft lavenders to vibrant blues, is a real showstopper. Its lush foliage adds a touch of the tropics, and growing your own from a cutting is incredibly satisfying. It’s a plant that rewards your efforts with its sheer radiance. Now, for the honest truth: is it a beginner-friendly propagate? I’d say it leans a little more towards the intermediate gardener. It requires a bit of attention to detail, but with these tips, you’ll be well on your way to success.
When is the Magic Hour for Propagation?
Timing is everything, as any seasoned gardener will tell you. For Qualea paraensis, the sweet spot for propagation is during its active growing season. Think late spring through early summer. This is when the plant has abundant energy to put into developing new roots. You’ll want to take cuttings from healthy, well-established stems that haven’t flowered recently.
Gathering Your Tools of the Trade
Before we get our hands dirty, let’s make sure we have everything we need. Think of it as packing for a successful garden adventure!
- Sharp, clean pruning shears or a hobby knife: Essential for making clean cuts that heal well.
- Rooting hormone (optional but recommended): This gives your cuttings a little boost. Look for one with auxins.
- Well-draining potting mix: A good blend of perlite and peat moss or coco coir works beautifully. About a 50/50 ratio is a great starting point.
- Small pots or propagation trays: Clean containers are a must to prevent disease.
- Clear plastic bag or humidity dome: To create a mini greenhouse environment for your cuttings.
- Watering can with a fine rose attachment: For gentle watering.
- Labels and a permanent marker: Don’t forget to label your precious babies!
Let’s Get Propagating: Stem Cuttings
This is my go-to method for Qualea paraensis, and I find it yields the best results.
- Select your stem: Look for a healthy, semi-hardwood stem that’s about 4-6 inches long. You want a stem that has some flexibility but isn’t too soft and floppy.
- Make the cut: Using your sharp shears, make a clean cut just below a leaf node. This is the point where a leaf or bud emerges from the stem, and it’s rich in growth hormones.
- Prepare the cutting: Gently remove the leaves from the bottom half of the stem. You want to expose those leaf nodes, as this is where new roots will emerge. If the remaining leaves are very large, you can cut them in half to reduce water loss through transpiration.
- Apply rooting hormone (if using): Dip the bottom of the cutting into the rooting hormone, tapping off any excess.
- Planting time: Fill your pots with your prepared potting mix. Make a small hole in the center with your finger or a pencil, and gently insert the cutting, ensuring the leaf nodes are buried. Firm the soil around the stem.
- Water gently: Water the soil thoroughly but gently, so as not to disturb the cutting.
- Create a humid environment: Cover the pot with a clear plastic bag or a humidity dome. If using a bag, you can even support it with stakes to keep it from touching the leaves. Place it in a bright spot, but out of direct sunlight.
My “Secret Sauce” for Success
Over the years, I’ve picked up a few tricks that make a real difference. Here are a couple of my favorites for Qualea paraensis:
- Bottom Heat is Your Friend: Qualea paraensis absolutely thrives with a bit of warmth at its roots. Placing your pots on a heated propagation mat can significantly speed up root development. It mimics the warmth of the soil in its native tropical environment.
- Don’t Over-Water (Seriously!): This is where many go wrong. The goal is moist, not soggy, soil. Over-watering is the quickest way to invite root rot, which is often fatal for cuttings. Check the soil moisture by gently poking your finger into it. If it feels damp, wait a day or two.
Nurturing Your New Arrivals and Navigating Hiccups
Once your cuttings have developed a good root system (you can gently tug on them to feel for resistance, or if in a clear pot, you might even see roots peeking through!), it’s time for a little more attention.
- Gradually Acclimate: Slowly begin to remove the plastic bag or humidity dome for a few hours each day over a week. This helps the new plant adjust to lower humidity levels.
- Watering: Once they’re fully de-covered, water as you would a mature plant, allowing the top inch of soil to dry out between waterings.
- Feeding: Wait a few weeks after acclimation before giving them a very dilute liquid fertilizer.
Now, what if things aren’t going as planned? The most common culprit is rot. If you see the stem turning brown and mushy, or if the leaves start to yellow and drop off rapidly, it’s often a sign of too much moisture and poor air circulation. Unfortunately, with rot, it’s usually difficult to save the cutting. Don’t despair, though! Every attempt is a learning experience.
Keep Planting, Keep Growing!
Propagating Qualea paraensis is a rewarding journey. It takes a bit of patience, a keen eye, and a willingness to learn, but the sight of your own little plant taking hold is truly special. Remember, nature has its own pace, so be patient, enjoy the process, and celebrate every little success. Happy propagating!
Resource:
https://identify.plantnet.org/k-world-flora/species/Qualea%20paraensis%20Ducke/data