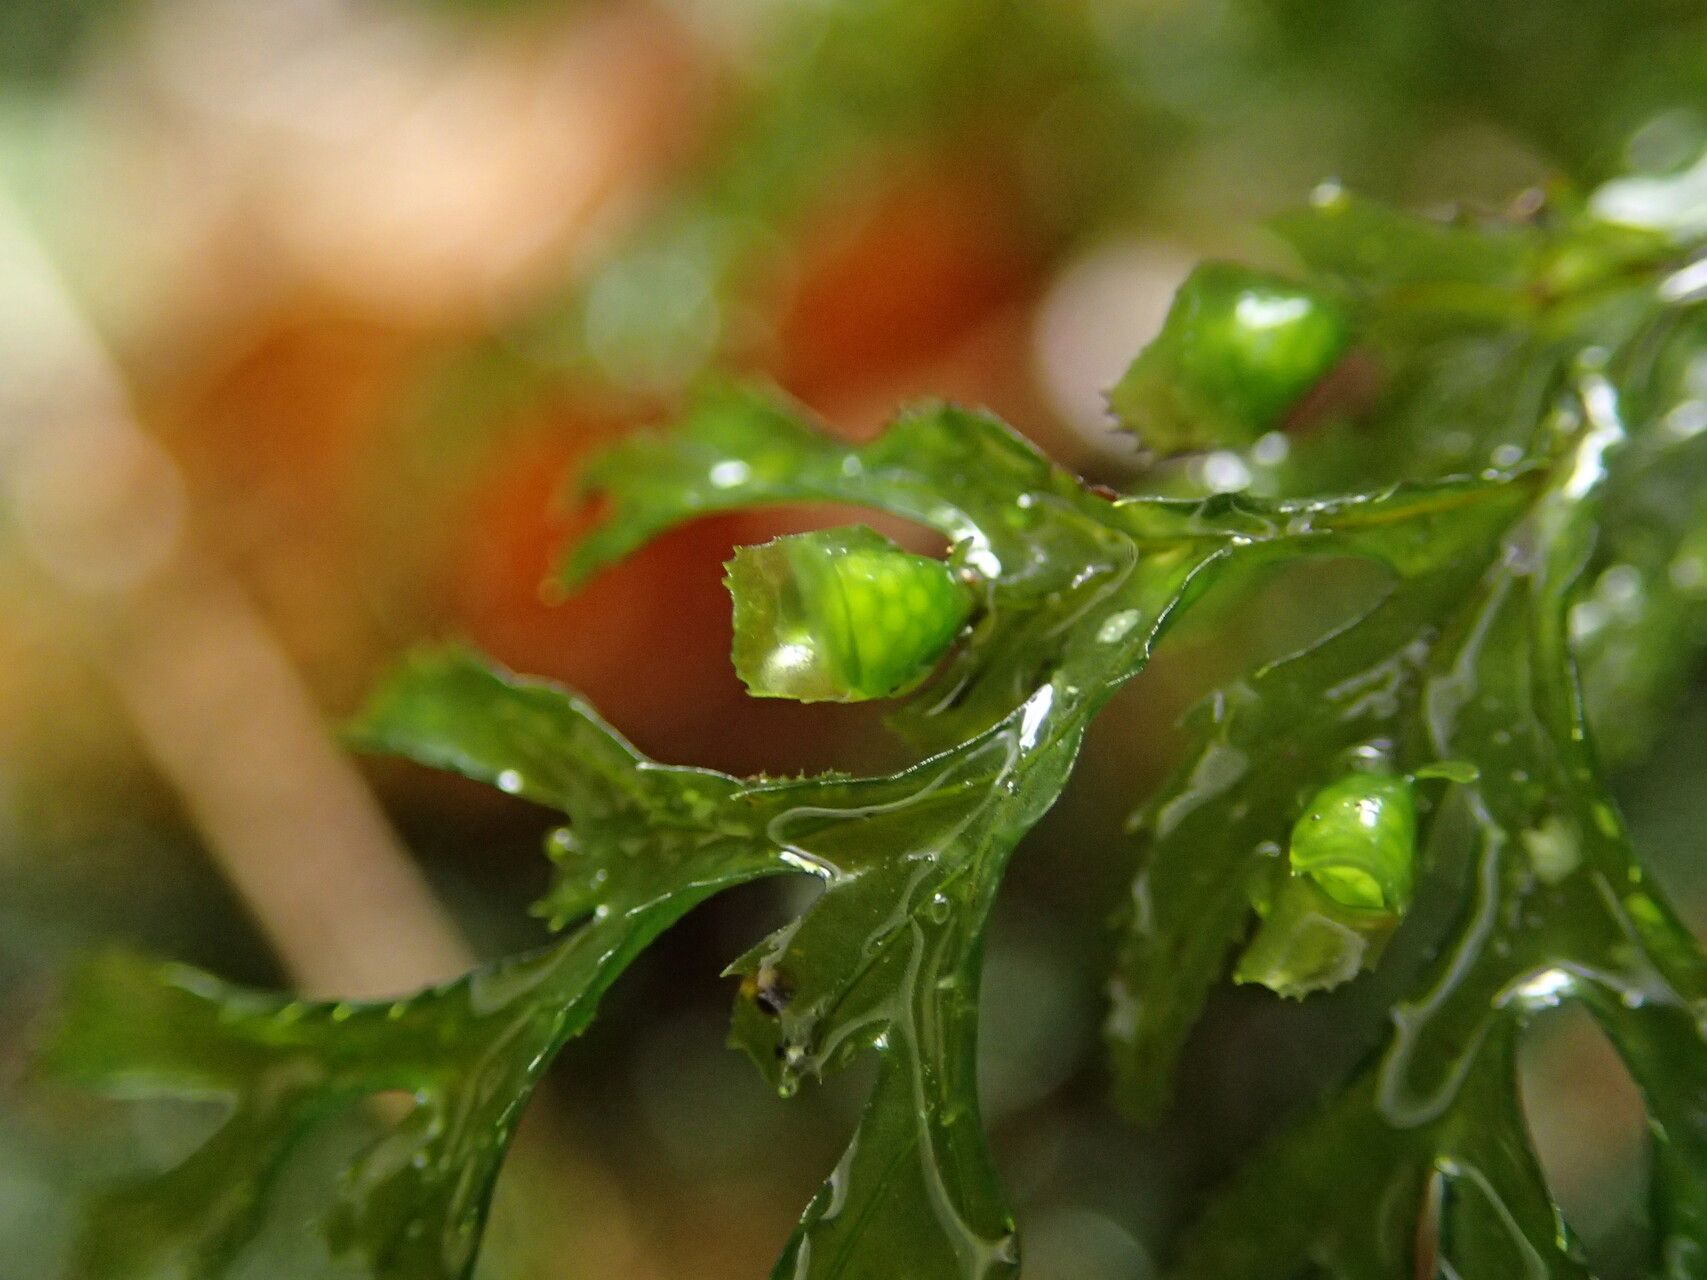
Oh, Hymenophyllum triangulare! What a beauty. You know, I’ve always been drawn to its delicate, lacy fronds. It brings a touch of the rainforest floor right into our homes, doesn’t it? And the rewarding feeling of watching a tiny piece of your favorite plant unfurl into a new life is just… unmatched. Now, I won’t lie to you, Hymenophyllum triangulare can be a bit of a diva when it comes to propagation. It’s not exactly a “stick it in the dirt and forget it” kind of plant, but with a little care and patience, you’ll be surprised at what you can achieve. For beginners, I’d say it’s more of an intermediate project. But hey, we all start somewhere, right?
The Best Time to Start
For the highest success rate with Hymenophyllum triangulare, you’ll want to propagate during its active growing season, which is typically from spring through early summer. This is when the plant has the most energy to put into producing new growth, making it more robust and ready to heal from cuttings or divisions. Trying to propagate when the plant is dormant or stressed is just setting yourself up for disappointment.
Supplies You’ll Need
Before we dive in, let’s gather our tools:
- Sharp, sterile pruning shears or a sharp knife: Cleanliness is key to preventing disease!
- A good quality, well-draining potting mix: I like to use a blend of peat moss, perlite, and orchid bark for this lovely fern. It mimics its natural airy habitat.
- Small pots or propagation trays: Choose something that fits your space and the size of your cuttings.
- Plastic bags or a propagator lid: To create a humid environment.
- Watering can with a fine rose: Gentle watering is crucial.
- (Optional) Rooting hormone: While not strictly necessary for most ferns, it can give your cuttings a little boost.
- (Optional) Bottom heat mat: This can significantly speed up root development.
Propagation Methods
Let’s get our hands dirty! Here are the most reliable ways to grow more Hymenophyllum triangulare.
Division
This is often the easiest method for established plants.
- Gently unpot your mature plant. Try not to disturb the root ball too much.
- Inspect the root system. Look for clearly separated sections or shoots that are already showing their own roots.
- Using your sterile shears or knife, carefully cut through the root ball to separate these sections. Ensure each new division has at least one healthy frond and some roots.
- Pot each division into its own small pot filled with your prepared potting mix.
- Water gently and place in a humid environment, as described in the aftercare section.
Stem Cuttings (Frond Cuttings)
This method requires a bit more finesse, as Hymenophyllum triangulare doesn’t produce traditional stems in the same way some other plants do. We’ll focus on taking cuttings from healthy, mature fronds.
- Select a healthy, mature frond from your plant. Look for one that’s vibrant and free of any yellowing or spots.
- With your sterile shears, make a clean cut at the base of the frond, right where it meets the rhizome (if visible) or the main body of the plant. You want to include a small piece of the rhizome if possible, as this contains growth buds. If not, just a healthy frond base will do.
- Cut the frond itself into smaller sections, each about 2-3 inches long. You can even try just using a single, healthy pinna (leaflet) if it has a bit of the main stem attached.
- Gently dip the cut end into rooting hormone if you’re using it. Tap off any excess.
- Gently press the cut end into your prepared potting mix. Make sure the section is upright and the cut end is making good contact with the soil.
- Water lightly.
- Cover the pot with a plastic bag or propagator lid to maintain high humidity.
The “Secret Sauce” (Pro Tips)
Here are a few things I’ve learned over the years that really make a difference, especially with these delicate ferns:
- Don’t let the leaves touch the water when water propagating (if you choose another fern, this is a key tip!). For Hymenophyllum triangulare specifically, we’re sticking to soil, but the principle holds: keep the foliage dry. Excess moisture on the fronds can lead to rot. Mist the air around the plant, but avoid directly wetting the foliage.
- Bottom heat is your best friend. Ferns appreciate a little warmth from below to encourage root formation. A seedling heat mat set to a gentle temperature (around 70-75°F or 21-24°C) can make a world of difference and significantly speed up the process.
- Patience is paramount. Hymenophyllum triangulare can be a slow grower. I know it’s tempting to peek every five minutes, but resist the urge. Give them time to establish themselves.
Aftercare & Troubleshooting
Once you see signs of new growth, whether it’s tiny roots showing through the drainage holes or a new frond unfurling, it’s time to adjust the aftercare.
- Gradually decrease humidity as the new plant becomes more established. You can start by propping open the plastic bag a little each day.
- Continue to keep the soil consistently moist but not soggy. Water when the top inch of soil feels dry to the touch.
- Provide bright, indirect light. No harsh sun for these rainforest dwellers!
- Troubleshooting: The most common issue you’ll face is rot. If you see mushy, brown stems or fronds, it’s usually a sign of too much moisture and poor air circulation. If you catch it early, you might be able to save the cutting by removing the rotted parts and ensuring better airflow. If the fronds turn yellow and crisp, it’s likely too dry and not humid enough.
A Encouraging Closing
Remember, propagation is a journey, not a destination. There will be moments of doubt, and maybe a cutting or two that doesn’t make it. That’s all part of learning! Don’t get discouraged. Celebrate the small wins, and enjoy the process of nurturing new life. Before you know it, you’ll have a whole collection of these enchanting ferns to admire. Happy growing!
Resource:
https://identify.plantnet.org/k-world-flora/species/Hymenophyllum%20triangulare%20Baker/data