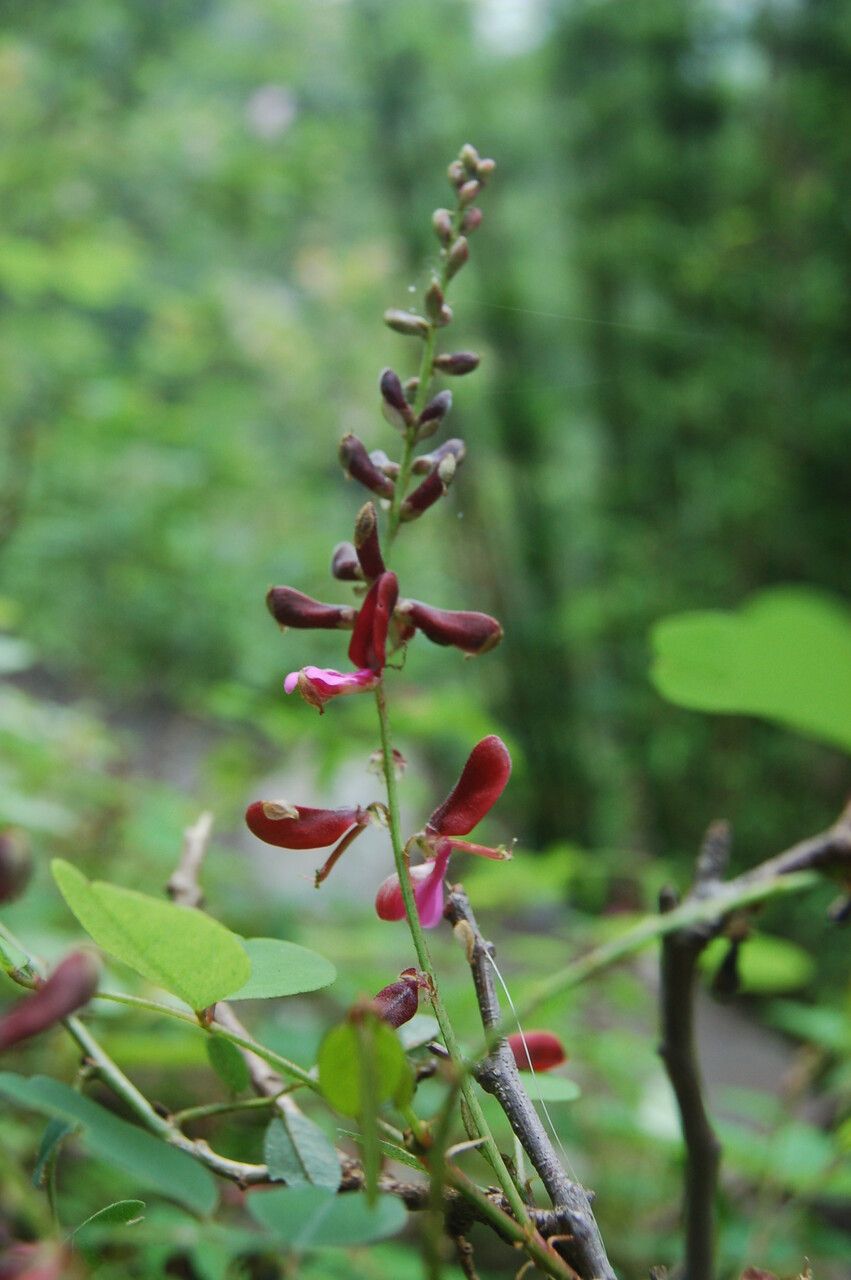
Oh, hello there! Come on in, grab a mug. Let’s chat about growing more of those gorgeous Indigofera glabra. I’ve spent a good chunk of my gardening life nurturing these beauties, and honestly, I find them a real joy to work with. Indigofera glabra, with its delicate, pea-like flowers that range from soft pink to vibrant indigo, is just spectacular. It brings such a lovely texture and a splash of color to the garden. And the best part? It’s surprisingly easy to propagate. For beginners, this is a fantastic plant to start with as you learn the ropes. You get a real sense of accomplishment, and soon you’ll have an army of these lovely shrubs to share with friends or fill every corner of your own garden.
When to Get Your Hands Dirty
The absolute sweet spot for propagating Indigofera glabra is late spring to early summer. This is when the plant is in its active growth phase. You’re looking for brand-new growth that’s still a bit soft and pliable, often referred to as semi-hardwood cuttings. Avoid using old, woody stems or very new, flimsy growth. Think of it like Goldilocks – you want it just right.
Your Propagation Toolkit
Before we dive in, let’s make sure you have everything you need. It’s a simple setup, really:
- Clean, sharp pruning shears or a sharp knife: We need precise cuts, not a messy tear.
- Rooting hormone (optional, but recommended): This gives your cuttings a little boost. Look for one formulated for softwood or semi-hardwood cuttings.
- A well-draining potting mix: A good blend of peat moss or coco coir and perlite or coarse sand works wonderfully. You want it to hold moisture but drain quickly to prevent rot.
- Small pots or seed trays: Clean and with drainage holes, of course.
- A misting bottle: For keeping those cuttings humid.
- Plastic bags or a clear plastic dome: To create a mini-greenhouse effect.
- A small shovel or trowel: For filling your pots.
The Art of Making More Indigofera
I find stem cuttings to be the most reliable method for Indigofera glabra. Here’s how I do it:
- Take your cuttings: On a bright, mild day, use your clean shears to take stems that are about 4-6 inches long. Look for sections with a few healthy leaves and several leaf nodes (where the leaves attach to the stem). Make your cut just below a leaf node.
- Prepare the cuttings: Gently remove the leaves from the bottom half of each cutting. This is crucial because any leaves below the soil line will likely rot. If you have very large leaves, you can even cut them in half horizontally to reduce water loss through transpiration.
- Dip in rooting hormone: If you’re using rooting hormone, lightly moisten the cut end of the stem, then dip it into the powder or gel. Tap off any excess. You don’t want a big clump of it.
- Pot them up: Fill your clean pots with your prepared potting mix. Make a small hole in the center with your finger or a pencil. Gently insert the cut end of the cutting into the hole, ensuring it goes deep enough to cover at least one or two leaf nodes. Firm the soil gently around the base of the cutting.
- Water gently: Water the potting mix thoroughly but gently, so you don’t dislodge the cuttings.
- Create a humid environment: Cover the pots with a clear plastic bag, making sure the leaves don’t touch the plastic. You can use chopsticks or stakes to prop it up. Alternatively, use a clear plastic dome if your tray is large enough. Place the pots in a bright, indirect light location. Avoid direct sun, which can scorch young cuttings.
My “Secret Sauce” Tips
After years of messing around with cuttings, I’ve picked up a few things that really make a difference.
- Bottom heat is your friend: If you have it, placing your pots on a heating mat designed for propagation can significantly speed up root development. It warms the soil, encouraging those roots to sprout.
- Don’t let the leaves touch the water: I know I mentioned it for the potting mix, but it’s worth repeating. For cuttings that might be accidentally exposed to standing water (in a humid propagator, for example), ensure the leaves stay high and dry. Moisture on leaves plus poor air circulation is a recipe for fungal issues.
- A firm nudge is better than a wiggle: When checking for roots, resist the urge to yank and pull. Give the cutting a gentle tug. If you feel resistance, it’s a good sign roots have formed. If it wiggles easily, it’s likely not ready.
Tending to Your Tiny Sprouts
Once you start seeing new leaf growth, that’s a great indicator that roots are forming! You’ll want to gradually acclimate your new plants to slightly drier conditions. Start by opening the plastic bag or dome for an hour or two each day, gradually increasing the time until they are fully exposed. Keep the soil consistently moist but not soggy.
Now, what if things go wrong? The most common issue is rot. If your cutting turns black and mushy, or develops soft, brown spots, it’s usually a sign of too much moisture and not enough air circulation. If you see this happening, remove the affected cutting immediately and check your watering and ventilation. Sometimes, even with the best care, a cutting won’t take. Don’t get discouraged! It happens to all of us. Just try again.
Happy Growing!
Propagating Indigofera glabra is such a rewarding part of gardening. It’s a chance to connect with nature on a deeper level, to learn, and to multiply beauty. Be patient with your little cuttings. They’re working hard to establish themselves, and with a little care and encouragement, you’ll soon have new plants to enjoy. Happy propagating!
Resource:
https://identify.plantnet.org/k-world-flora/species/Indigofera%20glabra%20L./data