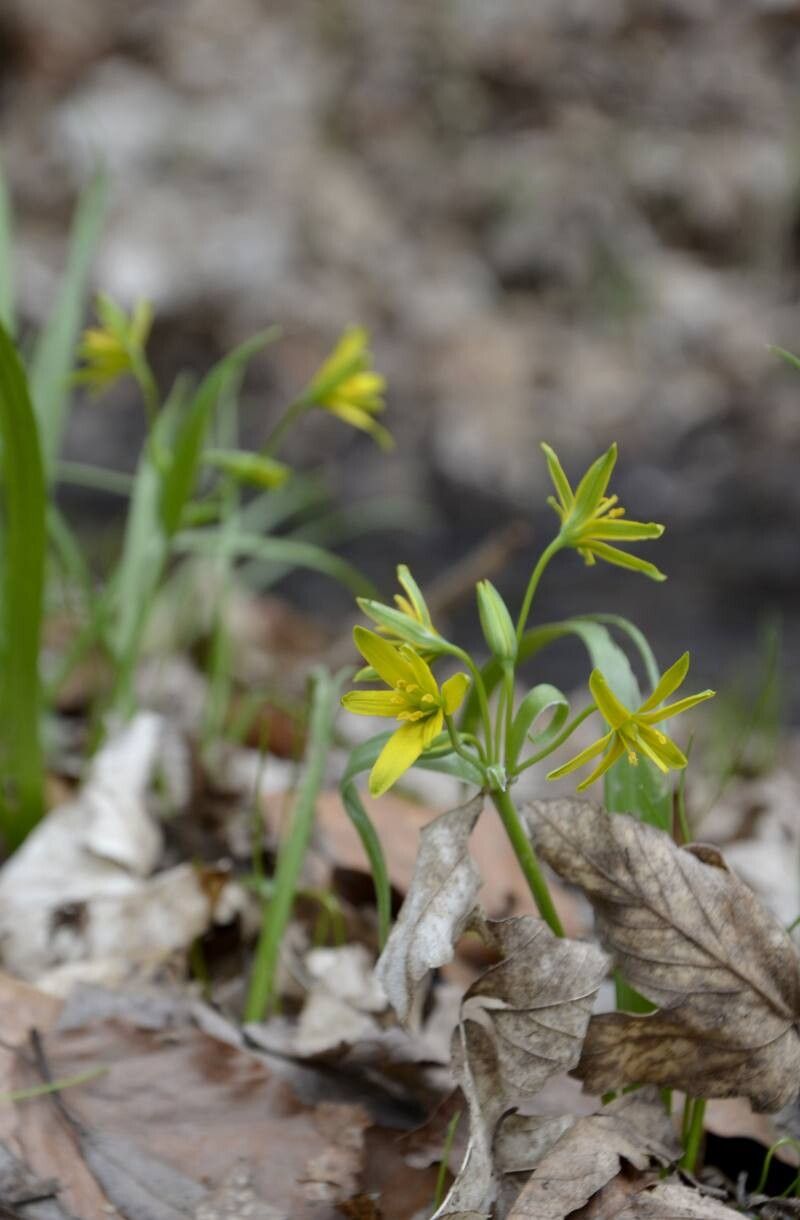
Oh, hello there! Pull up a chair. Let’s chat about Gagea lutea, shall we? This little gem, often called the Yellow Star-of-Bethlehem, is such a delightful addition to any garden. Its cheerful yellow blooms, appearing in early spring before many other plants have even woken up, are just pure joy. And the best part? It’s wonderfully rewarding to grow more of them yourself!
Welcome to the Wonderful World of Gagea Lutea Propagation!
If you’ve fallen for the sunny disposition of Gagea lutea, you’re in luck. Propagating this lovely little bulb is absolutely achievable, even for those just dipping their toes into the gardening world. It’s not overly fussy, which is always a good sign, and watching new life sprout from your efforts is a feeling like no other.
The Best Time to Start Your Gagea Lutea Journey
When it comes to getting Gagea lutea to multiply, timing is everything. The absolute best time to get your hands dirty is in late summer to early autumn. This is when the bulbs have finished their active growth cycle for the year and are entering their dormant period. They’ve stored up all their energy and are ready to set things in motion for the next season. Trying to divide them when they’re actively growing or flowering can stress them out, and you might not get the results you’re hoping for.
Your Propagation Toolkit: Gathering Your Goodies
Before we dive in, let’s make sure you have everything you need. Think of this as your little starter kit!
- A trowel or small hand fork: For gently separating those precious bulbs.
- Sharp, clean pruning shears or a small knife: Essential for any clean cuts, though often not needed for Gagea lutea division.
- A well-draining potting mix: I like to use a blend of peat moss, perlite, and a bit of compost. The perlite is key for aeration and preventing soggy soil, which these bulbs dislike.
- Small pots or trays: For housing your newly propagated babies. Terracotta pots are great because they breathe.
- Gardening gloves: Optional, but they keep your hands clean and protected.
- Watering can with a fine rose: For gentle watering.
Unearthing the Magic: How to Propagate Gagea Lutea
Gagea lutea primarily propagates naturally through its bulblets, which are essentially miniature bulbs that form around the parent bulb. This makes propagation quite straightforward, and the most effective method is division.
- Unearth with Care: In late summer or early autumn, when the foliage has completely died back (this is your signal that the plant is dormant), it’s time to dig. Gently insert your trowel or hand fork around the clump of bulbs. Work slowly and carefully to avoid damaging the bulbs and their delicate roots.
- Gently Separate: Once you’ve loosened the soil, carefully lift the entire clump. You’ll probably see that the main bulb has produced smaller bulblets attached to its base. Gently tease these bulblets apart. If they are very tightly attached, you might need to use the tip of your clean knife to make a clean cut, but more often than not, they’ll pull apart with gentle wiggling.
- Inspect and Discard: Take a moment to look at each bulb you’ve separated. You’re looking for healthy, firm bulbs. Discard any that look soft, mushy, or have signs of rot.
- Potting Up Your New Plants: Fill your small pots or trays with your well-draining potting mix. Plant each bulblet at about the same depth as it was growing previously, or roughly twice its height. Give them a little space to grow.
- Water Wisely: Give your newly potted bulbs a gentle watering. You want the soil to be moist, but not waterlogged.
The “Secret Sauce”: An Expert’s Little Nudges
Now, here are a few things I’ve learned over the years that can make a real difference. These aren’t strict rules, but they help ensure your little Gagea lutea have the best possible start.
- Don’t Rush the Dormancy: I cannot stress this enough. Wait until the foliage has completely died back. If you dig them up too early, you might find you’re just separating immature bulbs that haven’t had a chance to fully develop. Patience here is a gardener’s best friend.
- Allow Bulbs to “Cure”: After dividing, I sometimes let the bulbs sit out in a dry, airy spot for a day or two before replanting. This helps any tiny wounds heal over, reducing the risk of rot once they’re back in the soil. It’s like giving them a little sun-dried break!
- Mulch for Comfort: Once your pots are planted out, a thin layer of mulch on top of the soil can help retain moisture and keep the soil temperature more consistent. It’s like tucking them in for a cozy rest.
Aftercare & Troubleshooting: Nurturing Your New Sprouts
Once your bulbs are potted, place them in a bright location, but out of direct, harsh sunlight. Keep the soil consistently lightly moist. Don’t let it dry out completely, but avoid drowning them.
You likely won’t see much happening above ground for a while, and that’s perfectly normal. They are busy establishing their root systems underground. When spring rolls around, you should start to see those cheerful yellow flowers appearing.
The most common sign of failure with bulbs is rot. If you notice a bulb turning mushy, black, or smelling unpleasant, it’s likely succumbed to rot. This is usually due to overwatering and poor drainage. If you see this happening, remove the affected bulb immediately to prevent it from spreading.
Go Forth and Multiply!
See? It really is that straightforward. Propagating Gagea lutea is a wonderfully satisfying way to enjoy more of those delightful yellow stars in your garden. Don’t be afraid to experiment a little, and remember that every gardener has their own learning curve. Be patient, enjoy the process, and soon you’ll have a whole cluster of your own Gagea lutea to brighten up your spring. Happy gardening!
Resource:
https://identify.plantnet.org/k-world-flora/species/Gagea%20lutea%20(L.)%20Ker%20Gawl./data