Well hello there, fellow green thumb! It’s so lovely to be sharing a quiet moment with you, perhaps with a steaming mug of something warm. Today, we’re diving into the fascinating world of Commiphora gileadensis, often known as the Balsam of Gilead. This isn’t just any plant; its fragrant resin has a history as rich as its scent. Growing your very own from a cutting? That’s pure gardening joy!
Why Grow Balsam of Gilead?
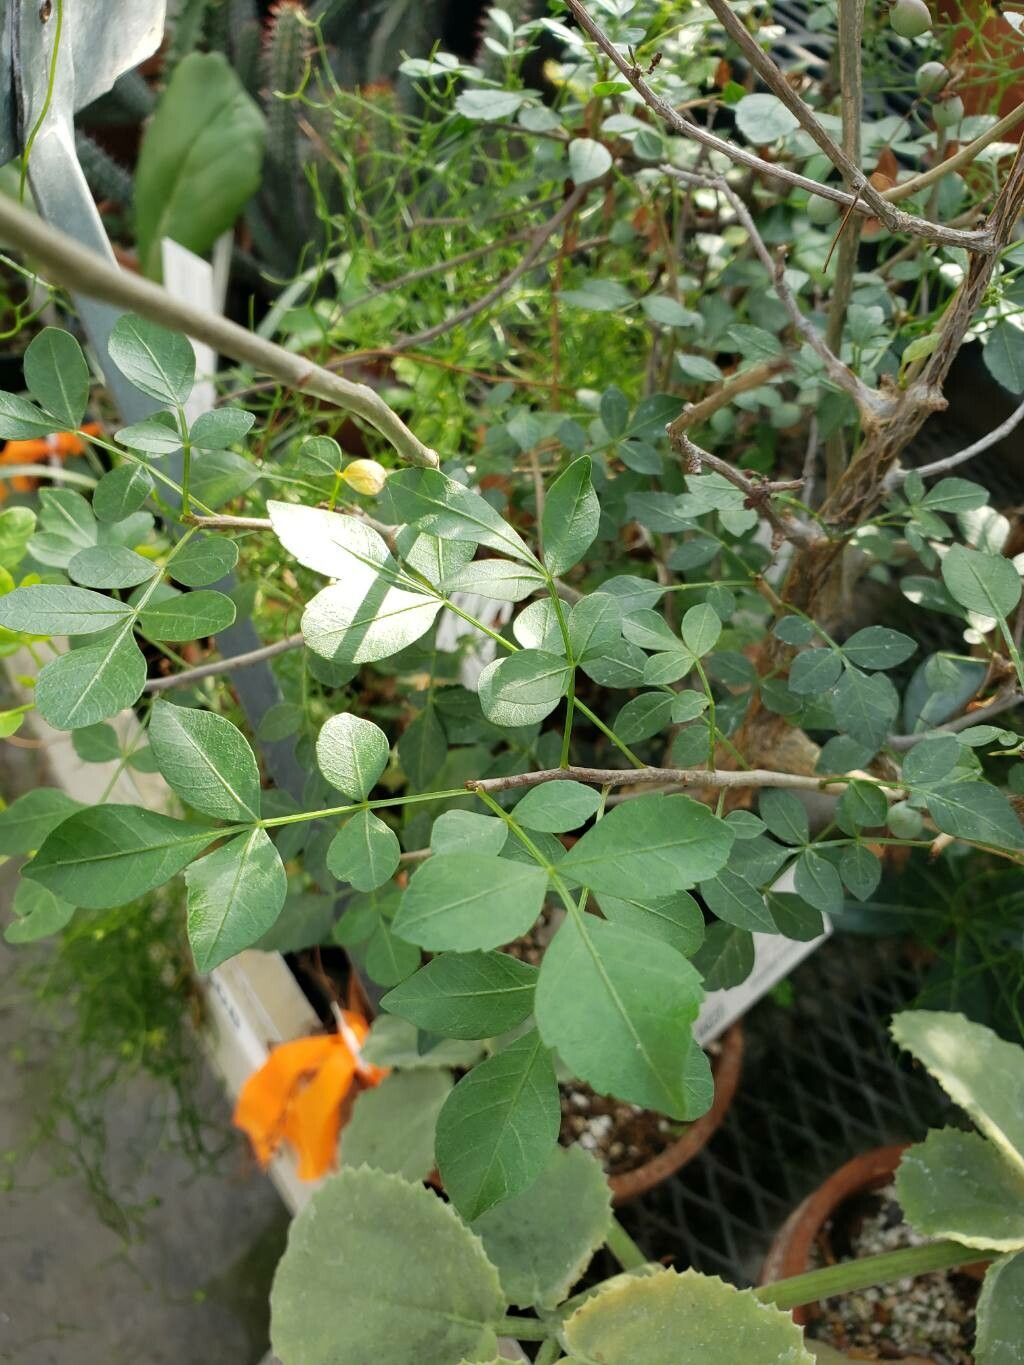
This plant is a gem. Picture it: beautiful, somewhat spiky foliage that gives off a lovely aroma, especially when things heat up. For centuries, its resin has been prized. Propagating it yourself is incredibly rewarding. You’re not just growing a plant; you’re nurturing a piece of living history. Now, is it easy for a complete beginner? Honestly, it can be a bit of a patient endeavor. It’s not impossible, but definitely one where a little extra care goes a long way.
When to Get Your Hands Dirty
The sweet spot for taking cuttings from Commiphora gileadensis is generally late spring to early summer. Think about when the plant is actively growing, but not under the stress of extreme heat or cold. You’re looking for healthy, semi-hardwood stems. These are stems that have grown in the past year – not brand new, soft growth, but not old, woody material either. They should be firm but still have a bit of flexibility.
What You’ll Need to Get Started
Gathering your supplies can make the whole process smoother. Here’s what I usually have on hand:
- Sharp, clean pruning shears or a sharp knife: This is crucial for clean cuts.
- Rooting hormone (optional but recommended): A powder or gel can give your cuttings a helpful boost.
- Well-draining potting mix: I love a mix of perlite, coarse sand, and a good quality potting soil. A cactus or succulent mix often works wonders.
- Small pots or containers: Ensure they have drainage holes.
- Plastic bags or a propagation dome: To keep humidity high.
- Watering can with a fine rose: For gentle watering.
- Labels: So you remember which cutting is which!
Bringing Your Cuttings to Life
There are a few ways to go about this, but my favorite for Commiphora gileadensis is stem cuttings:
- Take Your Cuttings: Using your clean shears, take cuttings about 4-6 inches long. Make your cut just below a leaf node (where a leaf attaches to the stem). Remove any lower leaves from the cutting; you don’t want them touching the soil or water, as they can rot.
- Prepare the Cuttings: If you’re using rooting hormone, dip the cut end into it, tapping off any excess.
- Plant Your Cuttings: Fill your pots with your well-draining mix. Make a small hole with your finger or a pencil and gently insert the cutting. Firm the soil gently around the base.
- Water Gently: Water the soil thoroughly but gently. You don’t want to wash the cutting out.
- Create a Humid Environment: Cover the pot with a clear plastic bag or place it inside a propagation dome. This traps humidity, which is vital for cuttings to root. Make sure the leaves aren’t pressing against the plastic. You can use stakes to prop it up.
- Find the Right Spot: Place the pots in a bright location that gets indirect sunlight. Avoid direct sun, which can scorch the cuttings.
My Little “Secret Sauce”
Over the years, I’ve learned a thing or two. Here are a couple of tips that really make a difference:
- The “Heel” Trick: Sometimes, when you’re taking cuttings, you can accidentally take a tiny sliver of the “mother stem” with your cutting. This small piece of older tissue, called a “heel,” can actually increase your success rate. Don’t worry if you don’t get it deliberately, but if you do, it can be a bonus!
- Bottom Heat is Your Friend: If you’re serious about rooting, especially if your house is a bit on the cooler side, investing in a seedling heat mat can be a game-changer. This gentle warmth from below encourages root development much faster than ambient room temperature alone.
Aftercare and What to Watch For
Once roots have formed (you might gently tug on a cutting and feel resistance, or even see them peeking through the drainage holes), it’s time for a little more attention.
- Gradual Acclimation: Slowly start to remove the plastic cover for increasing periods each day to let your new plant get used to normal humidity.
- Watering: Continue to water when the top inch of soil feels dry. Don’t let it dry out completely, but also don’t let it sit in soggy conditions.
- Troubleshooting: The biggest enemy here is root rot. If your cutting looks mushy, the stem is turning black, or it just collapses, that’s usually a sign of too much moisture and not enough air circulation. If you see any signs of rot, it’s best to discard the affected cutting and re-evaluate your watering and drainage. A bit of leaf yellowing can be normal as the plant redirects energy to root formation, but widespread wilting is not a good sign.
Keep on Growing!
Propagating Commiphora gileadensis might take a little patience, but the thrill of seeing those first tiny roots emerge is hard to beat. Trust your instincts, give them a bit of TLC, and don’t be discouraged if not every cutting makes it. Gardening is a journey, and each cutting we try, successful or not, teaches us something new. Happy growing!
Resource:
https://identify.plantnet.org/k-world-flora/species/Commiphora%20gileadensis%20(L.)%20C.Chr./data