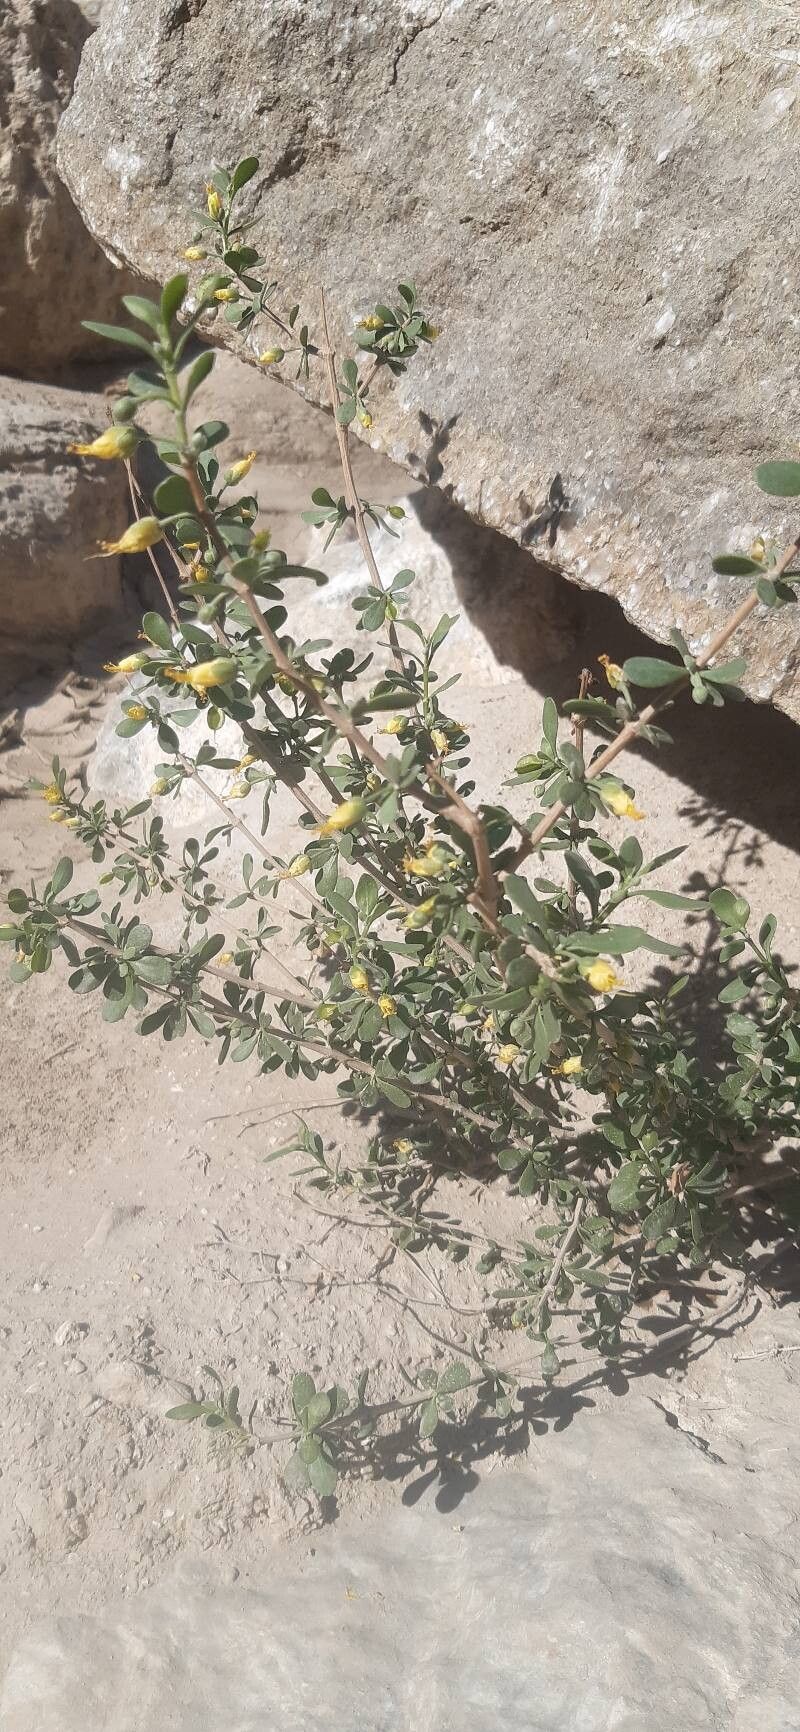
Oh, hello there! Pull up a chair and let’s chat about Zygophyllum atriplicoides. If you’re looking for a plant that’s as resilient as it is intriguing, you’ve found a winner. Its unique, almost architectural foliage has a way of bringing a touch of the exotic to any garden or sunny windowsill. And the best part? Being able to create more of these beauties from your existing ones is incredibly satisfying. Now, for those of you just starting out, is it a breeze? Honestly, it’s not the trickiest plant to propagate, but it does appreciate a bit of well-timed attention. With a few key steps, you’ll be well on your way.
The Best Time to Start
When is the magic hour for Zygophyllum atriplicoides propagation? I’ve found the sweet spot is usually late spring through early summer. This is when the plant is actively growing and has plenty of energy to put into developing new roots. You’re looking for stems that are mature but not woody – think of them as firm but not stiff. You can also have good success propagating in early autumn before things start to cool down significantly, but spring is generally my preference for the most vigorous results.
Supplies You’ll Need
To give your Zygophyllum cuttings the best start, gather these handy items:
- Sharp pruning shears or a clean, sharp knife. Cleanliness is key to preventing disease!
- A well-draining potting mix. I like to use a blend of equal parts potting soil, perlite, and coarse sand. You could also use a cactus or succulent mix.
- Small pots or trays with drainage holes.
- Rooting hormone (optional but recommended). It’s not strictly necessary for Zygophyllum, but it can give your cuttings a significant boost.
- A spray bottle for misting.
- Labels for your pots – you’ll thank me later when you have a few new plants!
Propagation Methods
Let’s get our hands dirty! The most reliable method for Zygophyllum atriplicoides is stem cuttings.
- Take Your Cuttings: Using your clean shears or knife, select a healthy, non-flowering stem. Cut a piece about 4-6 inches long. Try to make your cut just below a leaf node (the point where a leaf attaches to the stem). This is where roots are most likely to form.
- Prepare the Cuttings: Gently remove the lower leaves from the cutting, leaving just a few at the top. This prevents those leaves from rotting when buried in the soil. If you’re using rooting hormone, dip the cut end into the powder, tapping off any excess.
- Plant the Cuttings: Fill your small pots with your well-draining soil mix. Make a small hole in the center with your finger or a pencil. Insert the cut end of the Zygophyllum cutting into the hole, making sure at least one leaf node is below the soil surface. Gently firm the soil around the cutting.
- Water Gently: Water the soil lightly. You don’t want to saturate it, just get it nicely moist.
- Provide Warmth and Light: Place the potted cuttings in a bright spot with indirect sunlight. Avoid direct sun, as it can scorch the tender cuttings. If you have a heat mat, placing the pots on it can really speed up root development. You can also cover the pots loosely with a plastic bag or a clear dome to create a humid environment, but make sure to vent it daily to prevent fungal issues.
The “Secret Sauce” (Pro Tips)
Here are a few tricks I’ve picked up over the years that can make all the difference:
- When you take your cuttings, let them callous over for a day or two before planting. Just leave them in a dry, airy spot indoors. This helps prevent rot by sealing the cut wound.
- If you’re using the plastic bag method, ensure the leaves aren’t touching the sides of the bag or the soil. This is a common cause of rot. Mist the air inside the bag, not directly the leaves of the cutting.
- Don’t be tempted to constantly fiddle and pull at your cuttings to check for roots. Patience is key! Roots usually take anywhere from 3 to 6 weeks to form. You’ll know they’re ready when you see new growth emerging or feel a gentle resistance when you lightly tug the cutting.
Aftercare & Troubleshooting
Once you see signs of root development – tiny new leaves or a bit of resistance when you gently tug – it’s time for a little extra care. Continue to water sparingly, allowing the soil to dry out slightly between waterings. The goal is to mimic its natural, well-drained environment.
Keep an eye out for any signs of trouble. The most common issue is rot, which usually appears as a mushy, darkening stem. If you see this, it’s best to discard the affected cutting and ensure your soil is well-draining for future attempts. Yellowing leaves can also be a sign of overwatering or too little light. If you notice these, adjust your watering schedule or find a brighter spot.
A Encouraging Closing
Propagating plants is such a joy, isn’t it? It’s like having a little piece of your garden magic that you can share, or simply expand. Don’t get discouraged if your first few attempts aren’t perfect. Every gardener has had cuttings that didn’t quite make it. Just remember to be patient, follow these steps, and enjoy the process. Before you know it, you’ll have a whole collection of your own beautiful Zygophyllum atriplicoides! Happy propagating!
Resource: