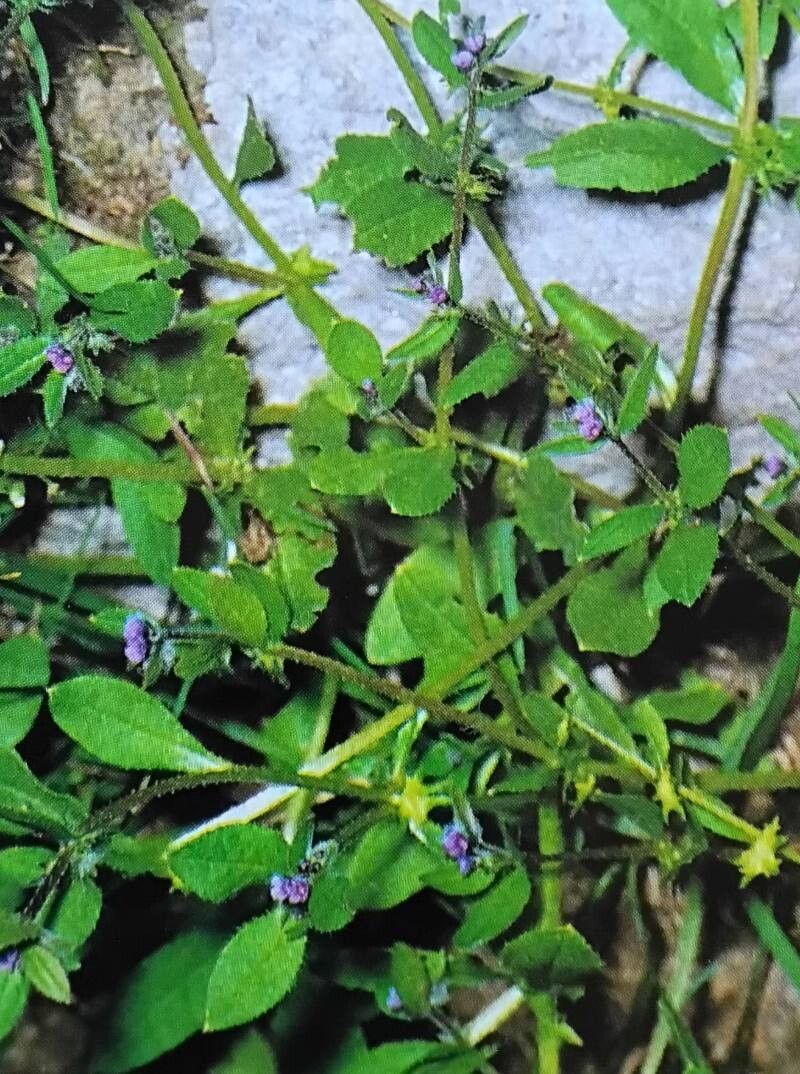
Hello fellow garden enthusiasts! Today, let’s chat about a plant that’s a bit of a hidden gem, yet incredibly rewarding to grow: Asperugo procumbens, or as it’s more commonly known, German Ivy. Its cascading habit and vibrant, trailing stems make it a fantastic choice for hanging baskets, spilling over walls, or even as a lush groundcover. Plus, the joy of nurturing a new plant from a tiny cutting is just chef’s kiss. Now, if you’re wondering if this is a tricky one for beginners, I’d say it’s moderately easy. With a little patience and these tips, you’ll be well on your way to success.
The Best Time to Start
For the highest chance of success with propagating Asperugo procumbens, I find the late spring to early summer is your sweet spot. This is when the plant is actively growing, which means those cuttings will have plenty of energy to develop roots. You can also have a good go at it in the early autumn, as long as you can get the cuttings established before the real cold sets in.
Supplies You’ll Need
Here’s a little kit of goodies to have on hand for your propagation adventure:
- Sharp, clean pruning shears or scissors: A clean cut is vital to prevent disease.
- Small pots or seed trays: Drainage holes are non-negotiable!
- Well-draining potting mix: I like a blend of peat moss or coco coir, perlite, and a bit of compost. This mix keeps things light and airy, which roots love. You can also find specialized seed-starting or propagation mixes.
- Rooting hormone (optional but recommended): This gives your cuttings an extra boost. Gel or powder forms both work well.
- Watering can with a fine rose or a spray bottle: For gentle watering.
- A clear plastic bag or propagation dome: To create a humid environment for your cuttings.
- Small labels and a marker: To keep track of what you’ve planted and when.
Propagation Methods
Asperugo procumbens is a champion at propagating through stem cuttings. It’s straightforward and gives you a really good return.
Step-by-Step Stem Cuttings:
- Take Your Cuttings: On a healthy, non-flowering stem, use your clean shears to make a cut just below a leaf node (where a leaf attaches to the stem). Aim for cuttings that are 4-6 inches long. Remove the lower leaves, leaving just the top couple of leaves. This prevents them from rotting once planted.
- Apply Rooting Hormone (Optional): Dip the cut end of the stem into your rooting hormone, tapping off any excess.
- Pot Them Up: Fill your small pots or trays with your prepared potting mix. Make a small hole in the center of the mix with your finger or a pencil.
- Insert the Cuttings: Gently place the cut end of each stem cutting into the hole, making sure to bury at least one leaf node. Firm the soil gently around the stem to secure it.
- Water Gently: Water the soil thoroughly until it’s evenly moist but not waterlogged.
- Create Humidity: Place the pots inside a clear plastic bag or cover them with a propagation dome. This traps moisture and creates a mini-greenhouse effect. Open the bag or dome for about 15-30 minutes each day to allow for air circulation and prevent fungal issues.
The “Secret Sauce” (Pro Tips)
Here are a few little tricks I’ve learned over the years that can really make a difference:
- Don’t let those lower leaves touch the soil! I cannot stress this enough. Any leaf in contact with damp soil is a prime target for rot. Trim them back cleanly.
- Consider bottom heat. Pop your pots on a heating mat designed for seedlings and cuttings. This gentle warmth from below encourages root development much faster than ambient room temperature alone. Your cuttings will thank you!
- Don’t be afraid to experiment with slightly older stems. While softer, newer growth is usually best, I’ve had success with slightly woodier stems too, particularly if I’m taking cuttings in the autumn. Just be sure they still have good leaf development.
Aftercare & Troubleshooting
Once those roots start to form, you’ll notice new growth appearing. This is a sign that your cutting has rooted!
- Gradually Acclimate: Once you see roots poking out of the drainage holes or significant new growth, it’s time to slowly introduce your new babies to the drier air of your home. Gradually open the plastic bag or propagation dome over a week or so.
- Watering: Continue to water when the top inch of soil feels dry. They’ll become more established and easier to care for over time.
- Potential Problems: The most common issue you might encounter is rot. This usually happens if the soil stays too wet or if there’s not enough air circulation. If you see stems turning mushy and black, unfortunately, that cutting is likely lost. Remove it immediately to prevent it from spreading to other cuttings. Another sign of failure is if the leaves start to yellow and wilt significantly without any signs of new growth or root development.
Happy Propagating!
There you have it – a simple guide to bringing more of that beautiful Asperugo procumbens into your life. Remember, gardening is a journey, and propagation is a wonderfully rewarding part of it. Be patient with your cuttings, give them a little TLC, and enjoy the process of watching them grow. Happy planting!
Resource:
https://identify.plantnet.org/k-world-flora/species/Asperugo%20procumbens%20L./data