Oh, hello there! It’s so lovely to have you join me today. I’ve been nurturing plants for a good two decades now, and I’ve learned a thing or two – and I’m just bursting to share some of that with you! Today, we’re diving into the wonderful world of propagating Pitcairnia feliciana.
The Allure of Pitcairnia Feliciana
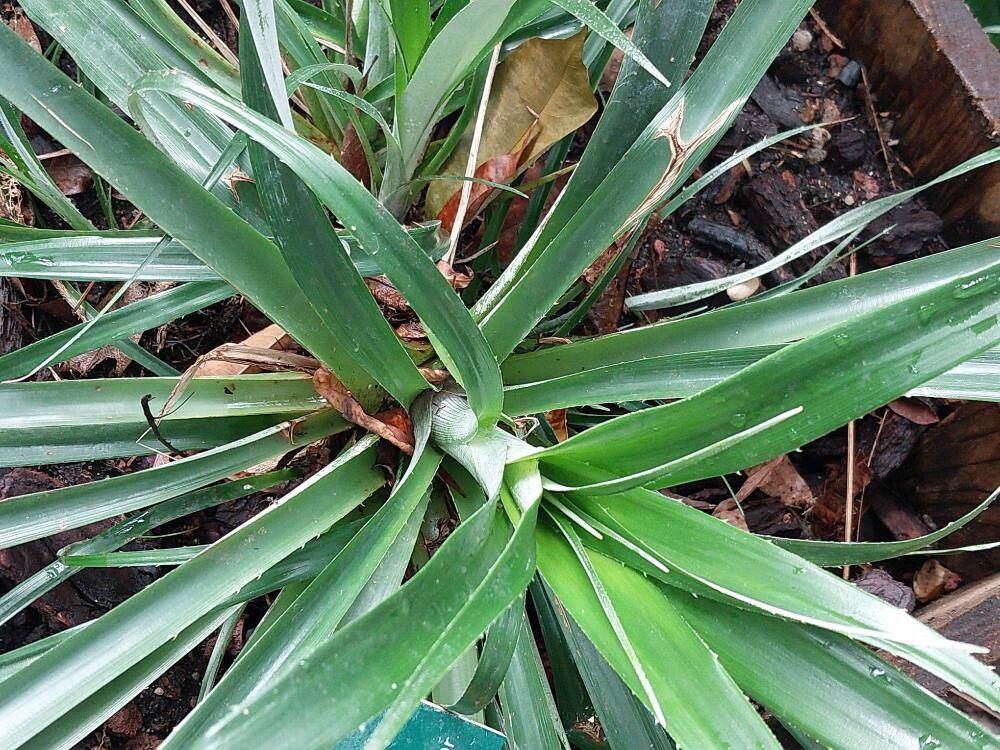
Isn’t Pitcairnia feliciana just a stunner? Those vibrant, often red, bromeliad-like flowers cascading down can add such drama and color to any collection. They have this exotic, almost tropical feel, even if they’re surprisingly hardy once established. And the best part? Growing them from scratch is incredibly rewarding. Watching a tiny cutting or pup transform into a magnificent specimen is a truly special experience. Now, for beginners, I’d say Pitcairnia feliciana is moderately easy to propagate. It’s not as foolproof as, say, a pothos, but with a little care, you’ll have success!
When to Get Your Hands Dirty
The absolute best time to propagate Pitcairnia feliciana is generally during its active growing season, which typically falls in the late spring through summer. This is when the plant has the most energy to put into root development. You’re looking for a healthy, established plant that’s perhaps showing new growth or has recently flowered.
Your Propagation Arsenal
Before we get started, make sure you have these handy supplies:
- Sharp, clean pruning shears or a sterile knife: Essential for making clean cuts.
- Well-draining potting mix: A mix of perlite, orchid bark, and a bit of peat moss works wonders. You want something airy.
- Small pots or propagation trays: Whatever suits the size of your cuttings or pups.
- Rooting hormone (optional but recommended): This can give your cuttings a helpful boost.
- Spray bottle: For misting.
- A clear plastic bag or humidity dome: To create a mini greenhouse.
- Labels: So you don’t forget what you planted where!
Bringing New Life: Propagation Methods
Pitcairnia feliciana is usually propagated by division, which is my favorite method. This involves separating the baby plants, called pups, that grow at the base of the mother plant.
Method: Division of Pups
- Assess Your Plant: Look for pups that have started to develop their own small roots. They’ll usually be nestled right up against the main stem.
- Gently Excavate: Carefully remove the parent plant from its pot. You might need to loosen the soil around the base.
- Identify Separation Points: See where the pup is connected to the mother plant. Gently tease apart the soil to get a clear view.
- Make the Cut (or Twist): Using your sharp, clean shears or knife, make a clean cut as close to the mother plant as possible, ensuring your pup has some roots attached. Sometimes, you can gently twist them apart if they are not too firmly attached.
- Prepare the Pup: If your pup has any damaged leaves, trim them off. If you’re using rooting hormone, lightly dip the cut end into it.
- Pot It Up: Fill your small pot with your well-draining potting mix. Make a small hole in the center and place the pup in, gently firming the soil around it.
- Create a Humid Environment: Water the soil lightly until it’s just moist, not soggy. Then, cover the pot with a clear plastic bag or humidity dome. This is crucial to prevent the cutting from drying out.
- Placement: Put your newly potted pup in a bright spot with indirect light. Avoid direct sun, which can scorch the delicate new plant.
The “Secret Sauce” from My Garden Bench
Here are a couple of little tricks I’ve picked up over the years that can really make a difference:
- Don’t Overwater the Pups: This is a big one for bromeliads. They are prone to rot if the soil stays too wet. Aim for consistently moist soil, but never waterlogged. I like to check the soil moisture by poking my finger in about an inch. If it feels dry, it’s time to water.
- Bottom Heat is Your Friend: Especially if your propagating space is a bit on the cooler side, a gentle heat mat placed underneath the pots can really encourage root development. It mimics the warmth that pups would naturally get near the parent plant.
Nurturing Your New Arrivals & What to Watch For
Once your pup is happily potted, keep that humidity dome on and mist it lightly every few days. You should start to see new leaf growth within a few weeks to a couple of months, which is a great sign that roots are forming! Eventually, you can gradually acclimate it to lower humidity by opening the bag a little more each day over a week or two.
Now, what if things don’t go as planned? The most common issue you’ll encounter is rot. This usually happens from too much moisture. If you see the base of your pup turning mushy or black, it’s a sign of rot. Unfortunately, this is often unrecoverable. Your best bet is to prevent it by ensuring excellent drainage and not overwatering. Another sign of distress is wilting or browning leaves, which could indicate it’s too dry or getting too much direct light.
Happy Propagating!
Taking cuttings and nurturing new life is such a joy. Don’t get discouraged if your first attempt isn’t perfect. Every plant is a learning experience, and soon enough, you’ll have a whole collection of Pitcairnia feliciana to admire! Be patient, enjoy the process, and happy gardening!
Resource: