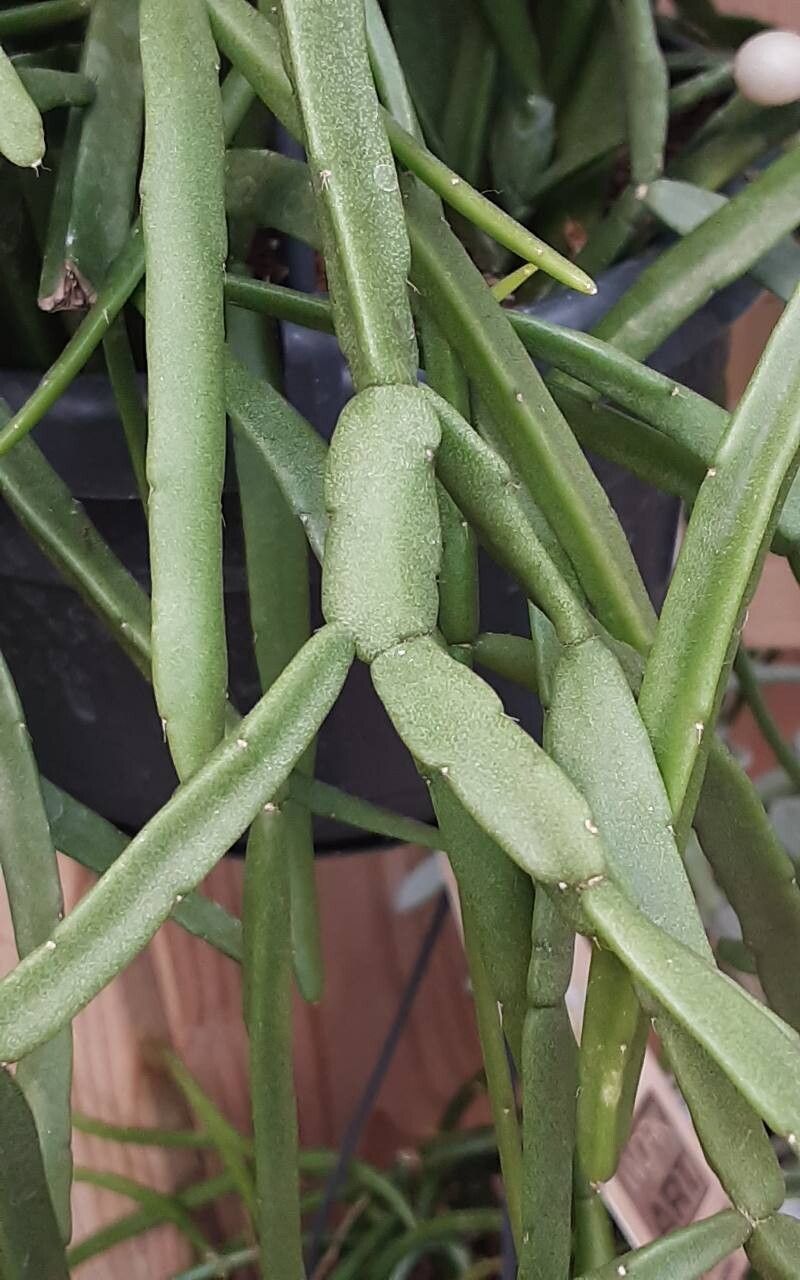
Hey there, fellow plant lovers! Today, we’re diving into the wonderful world of propagating Rhipsalis trigona. If you’ve ever admired those cascading strands of delicate, triangular stems, you know how special these “mistletoe cacti” are. They bring a touch of jungle magic to any home, and the joy of watching a tiny cutting transform into a lush specimen is truly second to none.
Now, you might be wondering if this is a project for seasoned pros or if beginners can jump in. I’m happy to report that Rhipsalis trigona is quite forgiving! With a little patience and these tips, you’ll be well on your way to a house full of these beauties.
The Best Time to Start
The sweet spot for propagating Rhipsalis trigona is during its active growing season, which generally runs from spring through summer. This is when the plant is energized and has the best chance of developing strong roots. You’ll see new growth appearing, and that’s a great indicator that it’s ready for propagation.
Supplies You’ll Need
Gathering your supplies beforehand makes the whole process smoother. You won’t need much, but having the right tools is key:
- Clean, sharp pruning shears or scissors: For making clean cuts.
- Rooting hormone (optional but helpful): Look for one formulated for stem cuttings.
- Well-draining potting mix: A mix specifically for cacti and succulents, or a blend of potting soil with perlite and coarse sand works perfectly.
- Small pots or trays: With drainage holes, of course! Terracotta pots are great because they breathe.
- Spray bottle: For misting.
- Plastic bag or propagation dome (optional): To maintain high humidity.
- Patience! This is the most important ingredient.
Propagation Methods
There are a couple of easy ways to get new Rhipsalis trigona plants. I usually stick with stem cuttings because they’re so straightforward.
Stem Cuttings
This is my go-to method, and it’s incredibly effective.
- Take Your Cuttings: Head to your healthy Rhipsalis. Look for stems that are at least 4-6 inches long. Using your clean, sharp shears, make a cut right where a segment begins to widen, or just below a joint. You want to select stems that look firm and have a few segments.
- Allow to Callus: This is a crucial step for most succulent propagation, and it’s important for Rhipsalis too! Place your cuttings in a dry, airy location away from direct sunlight for 2-3 days. You want the cut end to dry out and form a callus. This prevents rot when you plant them.
- Rooting Hormone (Optional): If you’re using rooting hormone, lightly dip the callused end into the powder. Tap off any excess.
- Planting: Fill your small pots with your well-draining potting mix. Make a small hole in the center with your finger or a pencil. Gently insert the callused end of your cutting about 1-2 inches deep into the soil.
- Watering (Lightly!): Water the soil very lightly. You want it to be barely moist, not soggy. Too much water at this stage is the fastest way to invite rot.
- Provide Humidity: This is where the optional plastic bag or propagation dome comes in. You can cover the pot loosely with a clear plastic bag, securing it with a rubber band. This creates a mini-greenhouse effect. Or, place the pots in a larger clear container. Just make sure there’s some airflow; you don’t want it to get stagnant.
- Placement: Put your pots in a bright spot with indirect sunlight. Avoid harsh, direct sun, which can scorch the delicate cuttings.
Water Propagation (Use with Caution)
While you can propagate Rhipsalis in water, I find it’s a bit trickier for beginners. If you try this:
- Take Cuttings: Similar to the soil method, take clean cuttings and allow them to callus for a day or two.
- Place in Water: Put the callused ends into a glass or jar of clean water.
- The Important Part: Crucially, ensure the leaves do NOT touch the water. Only the cut end should be submerged. Rhipsalis stems will rot very quickly if submerged.
- Change Water Regularly: Change the water every few days to keep it fresh.
- Root Development: Roots should appear in a few weeks. Once they are about an inch long, it’s best to gently transplant them into soil as soon as possible. They are easier to transition when the roots are still small.
The “Secret Sauce” (Pro Tips)
Here are a few tricks I’ve learned over the years that really make a difference:
- Don’t Crowd Your Cuttings: Give each cutting a little breathing room in its pot. Overcrowding can lead to airflow issues and the dreaded rot. It also makes it easier to see when they’re ready to transplant.
- Bottom Heat is a Game Changer: If you’re propagating in cooler months or just want to give your cuttings an extra boost, placing your pots on a gentle heat mat (like those used for seedlings) can significantly speed up root development. Keep the heat on low and monitor the soil moisture closely.
- The “Wiggle Test”: After about 4-6 weeks, you can gently tug on a cutting. If you feel slight resistance, congratulations – you have roots! If it pulls out easily, it hasn’t rooted yet, so pop it back in the soil and give it more time.
Aftercare & Troubleshooting
Once your cuttings have developed a healthy root system and you see new growth emerging, it’s time for a bit of standard care.
- Watering: Continue to water them sparingly. Allow the soil to dry out between waterings. They still don’t like to be waterlogged.
- Light: Keep them in bright, indirect light. As they get bigger, you can gradually introduce them to slightly more direct morning sun.
- Fertilizing: Once they’ve established themselves and are showing consistent new growth (usually after a few months), you can start feeding them with a diluted, balanced liquid fertilizer during the growing season.
Now, let’s talk about what might go wrong. The most common issue is rot. If you see a stem turning mushy, black, or translucent, it’s usually a sign of overwatering or a lack of callusing. If you catch it early, you can sometimes salvage the healthy parts by taking new cuttings and making sure they callus properly before planting. Don’t be discouraged if a few don’t make it; it’s part of the learning process!
A Little Patience Goes a Long Way
Remember, growing new plants is a journey. Be patient with your Rhipsalis trigona cuttings. Some will take off quickly, while others will be a bit slower to respond. Celebrate the small victories – those tiny new segments emerging are signs of success! Enjoy the process, and soon you’ll have a collection of these beautiful cascading plants to admire. Happy propagating!
Resource:
https://identify.plantnet.org/k-world-flora/species/Rhipsalis%20trigona%20Pfeiff./data