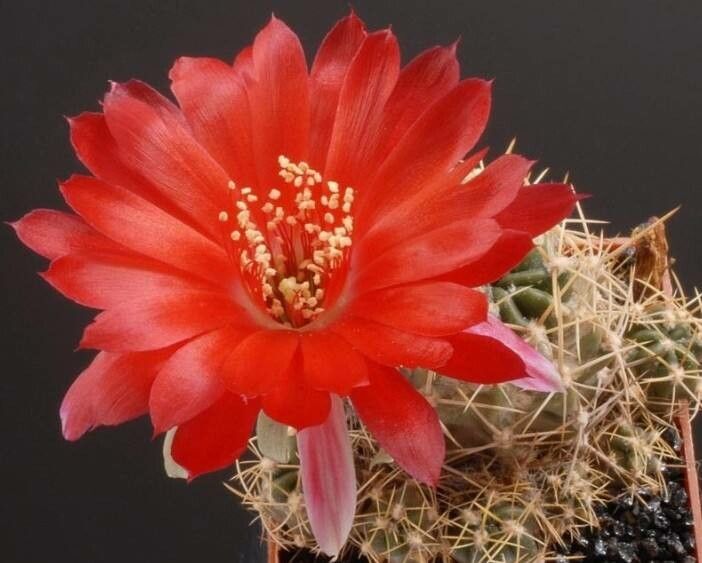
Hello fellow plant lovers! I’m so excited to chat with you today about one of my favorite desert gems: Lobivia pampana. These little cacti are just delightful. They start out as cute, fuzzy little balls and then, if you’re lucky, erupt in the most stunning, vibrant flowers. Propagating them isn’t just about getting more plants; it’s about understanding their rhythm and coaxing new life from these resilient beauties. Honestly, if you’ve got a bit of patience, Lobivia pampana is a fantastic plant to try propagating, even if you’re new to the cactus world.
The Best Time to Start
For Lobivia pampana, the absolute best time to propagate is during its active growing season. That generally means late spring through summer. You want to catch them when they’re energized and ready to put out new growth. Starting them in cooler, dormant periods is a recipe for disappointment, as they’re just not in the mood to do much of anything.
Supplies You’ll Need
Gathering your tools before you begin makes the whole process so much smoother. Here’s what I always have on hand:
- Well-draining soil mix: A cactus or succulent mix is a must. I often blend my own with equal parts potting soil, coarse sand, and perlite for excellent drainage.
- Sharp, sterilized knife or pruning shears: A clean cut is important to prevent disease. I give mine a quick wipe with rubbing alcohol.
- Rooting hormone (optional but helpful): Especially for cuttings, this can give them a good start.
- Small pots or trays: Make sure they have drainage holes!
- Gravel or small stones: For top dressing and support.
- Spray bottle: For gentle misting.
- Patience! (Seriously, this is the most important one.)
Propagation Methods
Lobivia pampana is quite forgiving, and you’ll find success with a couple of common methods.
1. Offsets (Pups)
This is arguably the easiest way to propagate Lobivia pampana. These cacti are prolific producers of little baby plants, called offsets or pups, that emerge from the base of the mother plant.
- Step 1: Wait for the right moment. Look for pups that are a decent size, usually at least an inch in diameter, and have started producing their own spines. This indicates they have a good chance of establishing on their own.
- Step 2: Gently separate the offset. Using your sterilized knife or pruning shears, carefully cut or twist the offset away from the parent plant. Try to get a little bit of its own root system if possible.
- Step 3: Let it callous. This is a crucial step! Place the separated offset in a dry, well-ventilated spot away from direct sunlight for a few days, or even a week. You want the cut surface to form a dry, hardened callus. This prevents rot when you plant it.
- Step 4: Pot it up. Once calloused, plant the offset in your well-draining soil mix in a small pot. Don’t water it immediately. Wait another week or so before giving it its first light watering.
2. Seed Propagation
While a bit more involved, growing from seed offers a wonderful journey into the life cycle of these cacti.
- Step 1: Sow the seeds. In late spring or early summer, sow your Lobivia pampana seeds on the surface of your moist, well-draining seed-starting mix. You can gently press them in, but don’t bury them.
- Step 2: Provide warmth and moisture. Cover the pot or tray with a clear lid or plastic wrap to maintain humidity. Place it in a warm spot, around 70-80°F (21-27°C). You can use a heat mat if your room is cooler.
- Step 3: Water sparingly. Keep the soil consistently moist but not waterlogged. I like to mist the surface from above.
- Step 4: Be patient! Germination can take anywhere from a few weeks to a couple of months. Once you see tiny seedlings popping up, you can gradually remove the cover to acclimate them to drier air. Thin them out as they grow.
The “Secret Sauce” (Pro Tips)
Here are a couple of little tricks I’ve learned over the years that can really boost your success.
- Don’t rush the callus! I know it’s exciting to get your new plants potted, but letting those cut surfaces dry out completely is your biggest defense against rot. A little patience here saves a lot of heartache later.
- Bottom heat is your friend. For seeds and even for offsets that are struggling to root, a gentle source of warmth from below (like a seedling heat mat) can make a world of difference. It mimics the warm soil they’d experience in their natural habitat.
Aftercare & Troubleshooting
Once your Lobivia pampana has rooted, treat it much like its parent. Give it bright, indirect light initially, gradually moving it to more sun as it establishes. Water only when the soil is completely dry, which might be every few weeks depending on conditions.
The most common issue you’ll encounter is rot. This is usually due to overwatering or insufficient drainage. If your cutting or offset looks mushy, discolored, or smells off, it’s likely rotted. You might be able to salvage a healthy part if caught early enough, but it’s often a loss. Keep an eye out for shriveling, which can indicate it needs water, or soft, watery spots, which are signs of rot.
A Encouraging Closing
Growing new plants is such a rewarding part of gardening. Don’t be discouraged if your first attempt isn’t perfect. Each plant you nurture teaches you something new. Be patient, observe closely, and most importantly, enjoy watching your little Lobivia pampana thrive! Happy propagating!
Resource:
https://identify.plantnet.org/k-world-flora/species/Lobivia%20pampana%20Britton%20&%20Rose/data