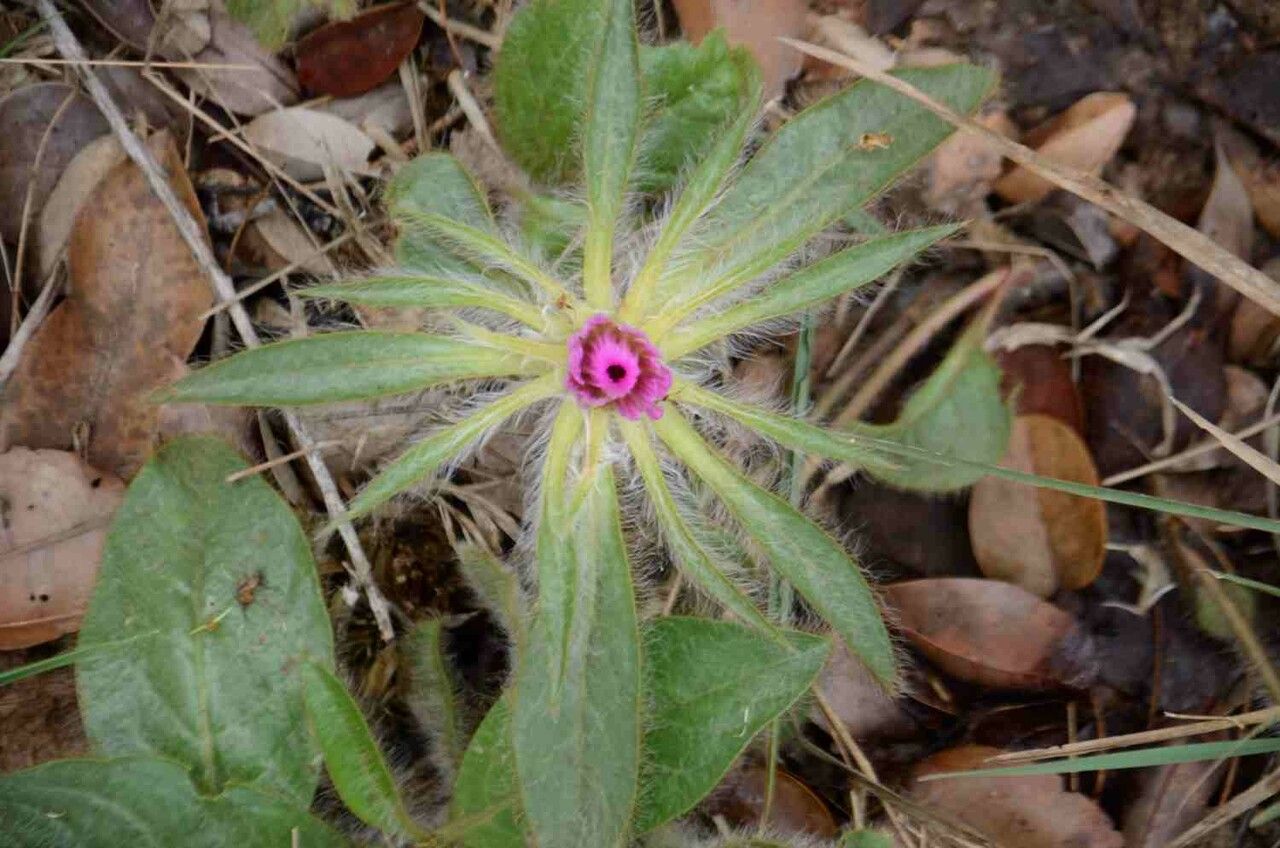
Oh, Gomphrena macrocephala! What a joy to talk about this particular beauty. It’s often called the “Giant Globe Amaranth” or “Paper Flower,” and for good reason. Those stunning, papery-textured blooms in vibrant shades of apricot, orange, and yellow just bring a smile to your face. They’re fantastic for cutting gardens, drying, and adding a splash of cheerful color that seems to last forever. Honestly, if you’re looking to add some sunshine to your life, this is the plant. And the best part? Propagating it is surprisingly achievable – even for those who are just starting out on their gardening journey.
The Best Time to Start
For me, the sweet spot for propagating Gomphrena macrocephala is late spring or early summer. This is when the plant is actively growing and has plenty of energy to put into developing new roots. You’re looking for actively growing stem tips, rather than old, woody growth. Think of it as capturing the plant at its peak vitality.
Supplies You’ll Need
Before we dive in, let’s gather our tools. Having everything ready makes the whole process so much smoother.
- Sharp Pruning Shears or Scissors: Clean cuts are essential.
- Potting Mix: A well-draining mix is key. I often use a blend of equal parts potting soil and perlite or vermiculite. You can also find specific seed-starting mixes that work wonderfully.
- Small Pots or Seed Trays: Whatever you have on hand, just make sure they have drainage holes.
- Rooting Hormone (Optional but recommended): This can give your cuttings a helpful boost, especially the powder form.
- Plastic Bag or Humidity Dome: To create a mini-greenhouse effect.
- Watering Can with a Fine Rose: To avoid disturbing delicate cuttings.
- Small Trowel or Dibber: For making holes in the soil.
Propagation Methods
While Gomphrena macrocephala can be grown from seed, I find propagating from stem cuttings to be incredibly rewarding and reliable. It’s a fantastic way to get more plants from your existing favorites!
Stem Cuttings: My Go-To Method
- Select Your Cuttings: Head out to your healthy Gomphrena and look for non-flowering, semi-hardwood stems. You want stems that are firm but still have a bit of flexibility. Avoid flower buds as this energy needs to go into root development, not flower production. Aim for cuttings that are about 3-6 inches long.
- Make Your Cuts: Using your clean pruning shears, make a clean cut just below a leaf node. A leaf node is where a leaf attaches to the stem. This is crucial because roots often emerge from these points.
- Prepare the Cutting: Gently strip off the lower leaves from the cutting, leaving just a couple of leaves at the very top. This reduces water loss and prevents leaves from rotting in the soil. If you’re using rooting hormone, lightly dip the cut end into the powder.
- Plant Your Cuttings: Fill your small pots or trays with your prepared potting mix. Use a trowel or your finger to make a small hole in the center. Carefully insert the cut end of the stem into the hole, making sure the leaf nodes that you removed leaves from are below the soil surface. Gently firm the soil around the cutting.
- Water Gently: Water your cuttings thoroughly but gently, ensuring the soil is moist but not soggy.
- Create a Humid Environment: Place a clear plastic bag over the pot, securing it with a rubber band, or use a humidity dome. This traps moisture and creates a humid microclimate, which is vital for successful rooting.
The “Secret Sauce” (Pro Tips)
Here are a few little tricks I’ve picked up over the years that can really make a difference:
- Avoid Leaf Contact with Water: When you water your cuttings, be mindful that no leaves should be sitting in any standing water. This is a fast track to rot. Ensure the soil is moist, but not waterlogged.
- Bottom Heat is Your Friend: Gomphrena loves warmth. If you can provide a little gentle bottom heat, using a heat mat designed for propagation, it can significantly speed up root formation. It mimics the warmth of the soil in summer.
- Don’t Disturb Too Soon: Resist the urge to tug on your cuttings! Patience is truly a virtue in propagation. Wait until you see definite signs of new growth before you even think about checking for roots.
Aftercare & Troubleshooting
Once you start to see those tiny roots developing – which can take anywhere from 3-6 weeks, depending on conditions – it’s time to transition to a bit more standard care.
- Acclimatize Slowly: Gradually remove the plastic bag or dome over a few days to let the new plants get used to normal humidity.
- Watering: Continue to keep the soil consistently moist but not waterlogged. As the plants grow, you can water them more like established plants.
- Light: Place your cuttings in a bright location with indirect light. Direct sunlight can scorch delicate new growth.
- Transplanting: Once your new Gomphrena are robust enough to handle, and have a good root system, you can transplant them into larger pots or directly into your garden beds after the danger of frost has passed.
Now, what if things don’t go as planned? The most common culprit is rot. If your cutting turns black and mushy, it’s unfortunately a sign of too much moisture and not enough air circulation. Sometimes, a cutting just doesn’t have what it takes to root. Don’t get discouraged! Nature isn’t always perfect, and not every attempt will be successful. I just try again.
A Encouraging Closing
Remember, gardening is a journey, and propagation is a wonderful way to connect with your plants on a deeper level. Be patient with your Gomphrena, enjoy the process of watching new life emerge, and don’t be afraid to experiment. Those little pops of cheerful color you’ll get from your own propagated plants will be all the more satisfying. Happy propagating!
Resource:
https://identify.plantnet.org/k-world-flora/species/Gomphrena%20macrocephala%20A.St.-Hil./data