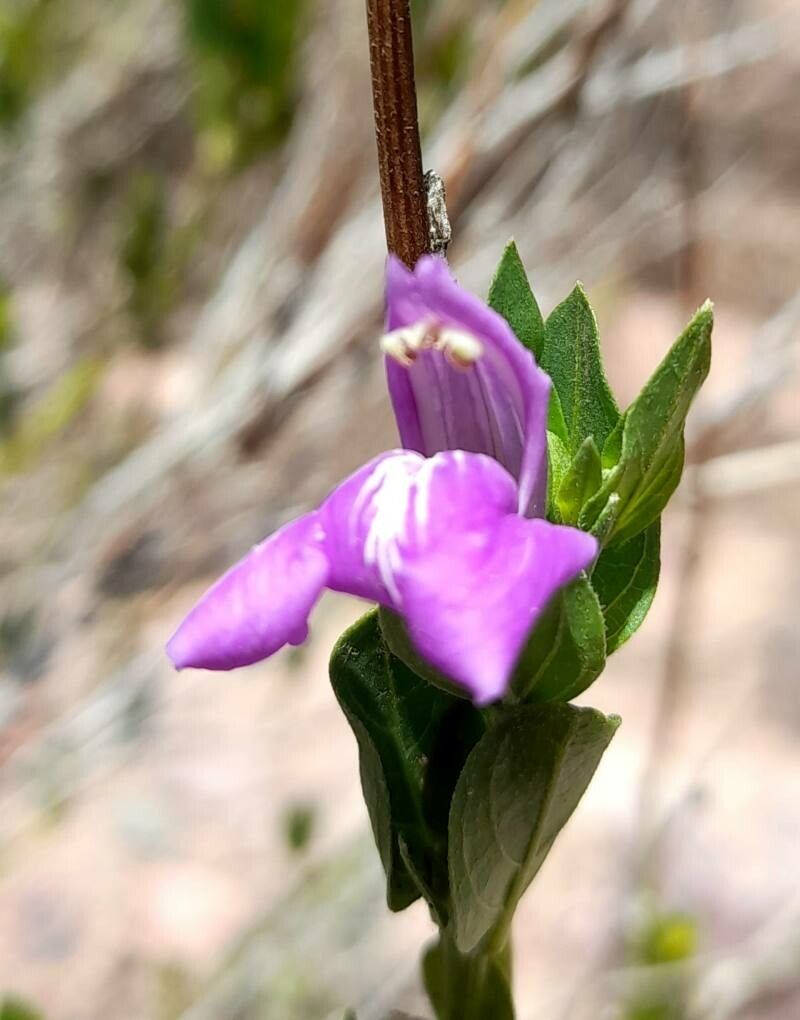
Oh, hello there! It’s so lovely to have you join me for a chat about one of my absolute favorite plants: Poikilacanthus tweedieanus. You know, that wonderful plant with the striking, velvety leaves that add such a dramatic touch to any indoor space? Its deep green, almost black foliage and subtle elegance have captured my heart over the years, and honestly, it’s not as tricky to propagate as you might think! In fact, I’d say it’s a good one for those of you looking to dip your toes into the world of propagation. Getting a new plant for free, grown from a piece of one you already adore? That’s pure gardening magic, if you ask me.
The Best Time to Start
For Poikilacanthus tweedieanus, I find the best time to get propagating is during its active growing season. Think late spring through summer. This is when the plant is putting out plenty of new, healthy growth, which means the stems are full of energy and more receptive to rooting. Trying to propagate in the depths of winter, when everything is slowing down, can lead to a much lower success rate. Patience is a virtue, but working with the plant’s natural rhythm is key!
Supplies You’ll Need
Gathering your supplies beforehand makes the whole process so much smoother. Here’s what I usually have on hand:
- Sharp Pruning Shears or a Clean Knife: Essential for making clean cuts.
- Potting Mix: A well-draining mix is crucial. I like a blend of general potting soil with some perlite or orchid bark added in. About a 2:1 ratio of soil to perlite usually does the trick.
- Small Pots or Trays: Clean containers are important to prevent disease. Yogurt cups with drainage holes poked in work in a pinch!
- Rooting Hormone (Optional but Recommended): This isn’t strictly necessary, as Poikilacanthus tweedieanus can root without it, but it definitely speeds things up and increases your chances of success.
- Clear Plastic Bag or Humidity Dome: To maintain high humidity around your cuttings.
- Spray Bottle: For misting.
- Water: For water propagation method.
Propagation Methods
Let’s get our hands dirty (figuratively, for now!). Poikilacanthus tweedieanus is quite forgiving and happy to root through a couple of common methods.
1. Stem Cuttings: My Go-To Method
This is how I usually multiply my collection of these beauties.
- Select Your Cuttings: Look for a healthy stem that has at least two or three leaf nodes on it. These are the little bumps where leaves emerge from the stem. Healthy, non-woody stems are what you’re after. Take your sharp shears and make a clean cut just below a leaf node. You want cuttings that are roughly 4-6 inches long. Remove the lower leaves, leaving just one or two at the top.
- Apply Rooting Hormone (If Using): Dip the cut end of the stem into your rooting hormone. Gently tap off any excess powder.
- Potting Up: Fill your clean pots with your well-draining potting mix. Make a small hole in the center with your finger or a pencil.
- Plant the Cuttings: Insert the cut end of your stem cutting into the hole, ensuring at least one leaf node is buried beneath the soil surface. Gently firm the soil around the stem.
- Water and Cover: Water the soil thoroughly until it’s evenly moist, but not waterlogged. Then, cover the pot with a clear plastic bag or a humidity dome to create a mini-greenhouse effect. You can secure the bag with a rubber band.
2. Water Propagation: A Visual Treat
If you like being able to see the roots develop, this is a fun one.
- Prepare Your Cuttings: Follow the same steps as for stem cuttings, selecting healthy stems and making clean cuts just below a leaf node.
- Place in Water: Remove all but the top one or two leaves. Place the cuttings in a clean jar or vase filled with fresh, room-temperature water.
- Positioning is Key: Make sure the leaf nodes are submerged in the water, but don’t let the leaves themselves touch the water. This is super important to prevent rot.
- Find a Good Spot: Place your jar in a bright spot, but out of direct sunlight. Change the water every few days to keep it fresh.
The “Secret Sauce” (Pro Tips)
Over the years, I’ve picked up a few tricks that seem to give my cuttings a little extra oomph.
- Bottom Heat is Your Friend: If you have a seedling heat mat, place your potted cuttings on it. The gentle warmth from below encourages root development. It’s like a cozy spa day for your cuttings!
- Don’t Overcrowd: When you’re potting cuttings, give them a little breathing room. Too many cuttings packed into one pot can increase the risk of disease spreading if one of them gets sick. Besides, it makes it easier for you to monitor each one.
- Patience with Water Propagation: For water propagation, I often find that once those little white roots start appearing, they can take their sweet time growing longer. Don’t be tempted to pot them up too soon! Wait until the roots are at least an inch or two long. This gives them a stronger start.
Aftercare & Troubleshooting
Once you see signs of life – new growth emerging or roots filling the pot (if in soil) – it’s time to transition your little ones to living a more independent life.
- Transitioning from Water: When those roots are good and long, carefully plant your water-propagated cuttings into your well-draining potting mix, just as you would with stem cuttings. Keep them consistently moist for the first week or two as they establish.
- Gradual Acclimation: If your cuttings were covered with a plastic bag, gradually acclimate them to the ambient humidity by opening the bag a little more each day over a week. This prevents shock.
- Signs of Trouble: The most common culprits are rot and drying out. If the stem turns mushy and black, that’s rot. Usually, this means the cutting is a goner. If the leaves start to wilt and droop and the soil feels bone dry, they’re thirsty! For water propagation, yellowing leaves can also be a sign that the water needs changing, or perhaps it’s getting too much light. Don’t get discouraged if you lose a cutting; it happens to all of us!
A Warm Welcome to Your New Green Family
So there you have it! Propagating Poikilacanthus tweedieanus is a rewarding journey, and I truly believe you can do it. Remember to be patient, observe your cuttings closely, and most importantly, enjoy the process of giving life to new plants. Soon you’ll have a whole legion of these beauties to share or simply admire. Happy propagating!
Resource: