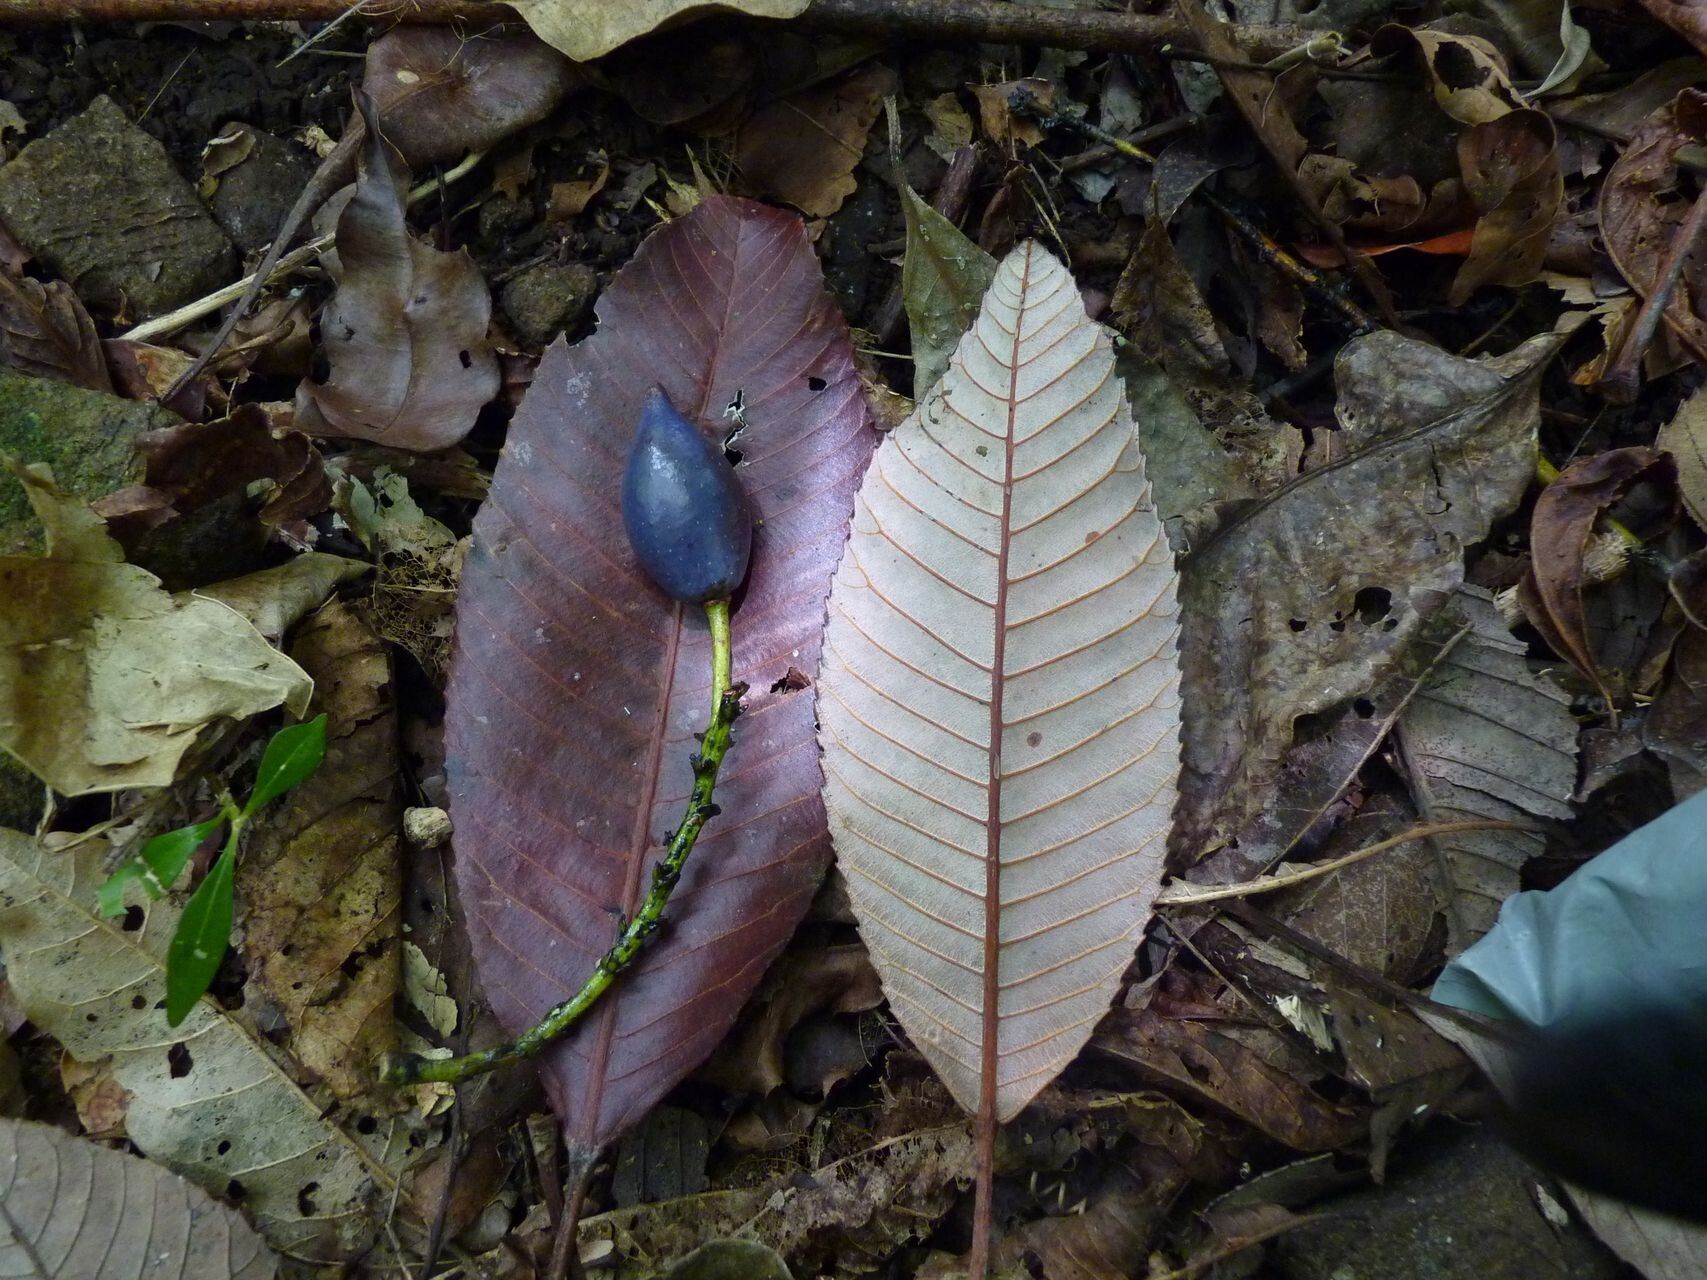
Hello, fellow garden enthusiasts! Today, we’re diving into the captivating world of Elaeocarpus speciosus, also known as the “Javanese Sapphire” or “Jamboo”. If you’re dreaming of those beautiful, bell-shaped blue flowers and delightful berries gracing your own garden, then propagating this gem is for you.
Why Propagate Elaeocarpus Speciosus?
There’s a special kind of satisfaction in growing a plant from a tiny cutting or a seed. With Elaeocarpus speciosus, you’re not just getting more of its stunning beauty; you’re also extending its presence in your life and sharing it with friends. While it’s not the absolute easiest plant for a complete beginner, with a little patience and the right approach, you’ll be very successful.
The Best Time to Start
The sweet spot for propagating Elaeocarpus speciosus is generally late spring to early summer. This is when the plant is in its active growth phase. You’ll want to use softwood or semi-hardwood cuttings, which are neither too soft and easily damaged nor too woody and difficult to root. Look for stems that have grown this current season and are firm but still pliable.
Supplies You’ll Need
- Sharp Pruning Shears or a Clean Knife: For making clean cuts. Sterilize them with rubbing alcohol before and after use.
- Rooting Hormone: A powder or gel helps speed up root development.
- Well-Draining Potting Mix: A good blend of peat moss, perlite, and coarse sand is ideal. You can also buy specific cutting mixes.
- Small Pots or Trays: With drainage holes, of course!
- Plastic Bags or a Propagator: To create a humid environment.
- Watering Can with a Fine Rose or a Spray Bottle: For gentle watering.
- Labels and a Marker: To keep track of your cuttings.
Propagation Methods
Let’s get our hands dirty! The most successful method for propagating Elaeocarpus speciosus at home is through stem cuttings.
Stem Cuttings:
- Select Your Cuttings: Choose healthy, vigorous shoots from your mature plant. Look for stems that have several sets of leaves.
- Make the Cut: Using your sterilized shears or knife, take cuttings that are about 4-6 inches long. Make the cut just below a leaf node (where a leaf attaches to the stem).
- Prepare the Cuttings: Gently remove the lower leaves, leaving only the top 2-3 leaves. If the remaining leaves are large, you can cut them in half horizontally to reduce water loss through transpiration.
- Apply Rooting Hormone: Dip the cut end of each cutting into your rooting hormone, ensuring it’s coated. Tap off any excess.
- Plant the Cuttings: Fill your small pots with the prepared potting mix. Make a small hole with a pencil or your finger and gently insert the cuttings. Firm the soil around the base. You can usually fit 2-3 cuttings per pot, spaced a few inches apart.
- Water and Cover: Water the potting mix thoroughly but gently. Then, cover the pots with a clear plastic bag, making sure the leaves don’t touch the plastic. You can secure the bag with a rubber band. Alternatively, use a propagator lid.
The “Secret Sauce” (Pro Tips)
Here are a few things I’ve learned over the years that really make a difference:
- Bottom Heat is Your Friend: Many woody plants, including Elaeocarpus speciosus, benefit greatly from a little warmth from below. Placing your pots on a heated propagator mat can significantly speed up root formation. It mimics the warmth of spring soil.
- Don’t Drench, Mist: While you want the soil to remain consistently moist, you don’t want it soggy. Mist the leaves and the soil surface regularly every couple of days, especially if you don’t have the plastic bag covering. This keeps humidity high without waterlogging.
- Patience and Observation: I know it’s tempting to pull up cuttings to check for roots, but try to resist! Give it at least 6-8 weeks before you even think about tugging gently. Look for signs of new leaf growth – that’s a good indicator that roots are forming underground.
Aftercare & Troubleshooting
Once you see signs of new growth or feel a slight resistance when you gently tug on a cutting, it’s time to think about giving them a little more space.
- Acclimatize: Gradually remove the plastic bag or propagator lid over a week or so to help the new plant adjust to lower humidity.
- Potting Up: When the cuttings have a decent root system (you can often tell by gently tipping the pot onto your hand to see the roots, or if they are large enough to handle), carefully pot them into individual, slightly larger pots using your same well-draining mix.
- Watering: Water thoroughly after potting up, and then water whenever the top inch of soil feels dry.
- Troubleshooting: The most common issue is rot, usually caused by overwatering or poor drainage. If you see wilting, blackening stems, or mold on the soil surface, it’s a sign things aren’t right. It can be salvaged if caught early by removing affected parts and improving drainage, but often, it’s best to start again with a fresh cutting and adjusted watering.
Keep Growing!
Propagating Elaeocarpus speciosus is a journey, not a race. There will be times when a cutting doesn’t make it, and that’s perfectly okay. Every gardener faces this! Celebrate your successes, learn from your challenges, and most importantly, enjoy the process of bringing new life into your garden. Happy propagating!
Resource: