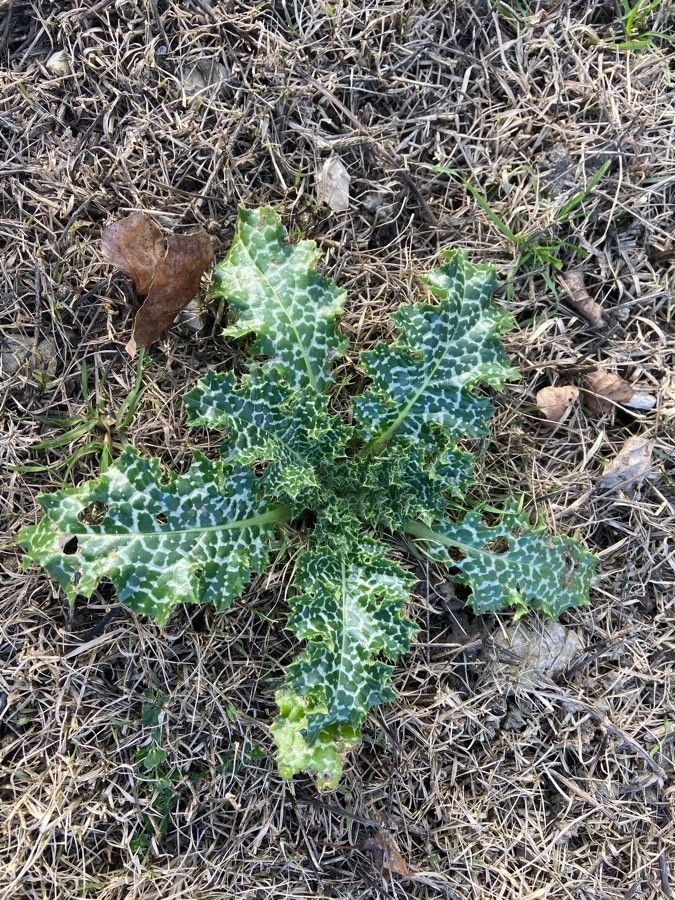
Oh, hello there, fellow plant enthusiast! I’m so glad you’re interested in Silybum marianum, often called Milk Thistle. You know, those stunning plants with their glossy, intricately veined leaves and their regal purple flower heads that absolutely draw the bees? They’re quite something special in the garden, aren’t they? And the best part? Propagating them is surprisingly rewarding, and honestly, a good bit of fun. For beginners, I’d say it’s a moderately easy plant to work with, which is always encouraging!
The Best Time to Start
For the highest success rate, I always aim to propagate Milk Thistle in the spring. This is when the plant is really waking up after its winter slumber and has plenty of energy to put into new growth. You can also have success with late summer propagation, but spring just has that extra bit of oomph. Look for healthy, vigorous parent plants that are actively growing.
Supplies You’ll Need
Gathering your supplies beforehand makes the whole process so much smoother. Here’s my trusty list:
- Sharp pruning shears or a clean, sharp knife
- Well-draining potting mix. I like a mix of perlite and peat moss, or you can buy a good quality seed starting mix.
- Small pots or seedling trays with drainage holes.
- Rooting hormone (optional but recommended for stem cuttings)
- Watering can with a fine rose
- Labels to remember what you planted!
- Plastic bags or a propagation dome to create a humid environment.
Propagation Methods
Milk Thistle is most commonly propagated by seed or division. While you can try stem cuttings, it’s not as reliable for this particular plant, so we’ll focus on the easier wins.
From Seed
This is the most straightforward way to get new Milk Thistle plants.
- Harvest Seeds: If you have an existing plant, wait until the flower heads have dried and turned a bit brown. You can often see the seeds within. Gently rub the dried flower head between your fingers over a container to collect them. Alternatively, you can carefully cut the dried heads and let them mature further in a paper bag, shaking them out periodically.
- Sow Seeds: Fill your pots or trays with your potting mix. Moisten the soil thoroughly. Scatter the seeds on the surface, spacing them out about an inch apart. You don’t need to bury them deeply; a light dusting of soil or vermiculite over the top is fine.
- Provide Warmth and Light: Place the pots in a warm spot, ideally around 70-75°F (21-24°C). A heat mat can be very beneficial here. Keep the soil consistently moist but not waterlogged. Gently water from the bottom if you can, to avoid disturbing the seeds.
- Germination: You should see germination within 1-3 weeks. Once they sprout, give them plenty of bright, indirect light.
By Division
If you have a mature Milk Thistle plant, you can usually divide its root system to create new plants.
- Dig Up the Plant: In early spring, before the plant gets too large and before it starts flowering, carefully dig up the entire plant. Try to get as much of the root ball as possible.
- Inspect the Roots: Gently shake off excess soil. You’re looking for distinct sections where the root system naturally divides.
- Separate: Using your hands or a clean trowel, carefully separate the root ball into two or more sections. Each section should have a healthy amount of roots and at least one bud or shoot.
- Replant: Replant the divisions immediately into their new locations or into separate pots filled with fresh potting mix. Water them in well.
The “Secret Sauce” (Pro Tips)
Here are a couple of things I’ve learned over the years that can really give you an edge:
- For Seed Germination: Don’t Overwater! While the soil needs to be moist, soggy conditions are the quickest way to invite fungal issues and rot. A gentle misting or bottom watering is your friend.
- For Divisions: Give Them a Little Shelter. After dividing and replanting, especially if you’re doing it a bit later in the season or if the weather is a bit unpredictable, I find covering the newly planted divisions with a light layer of mulch or even a cloche helps them settle in and reduces transplant shock.
Aftercare & Troubleshooting
Once your seedlings have a few sets of true leaves or your divisions are looking happy, they’re ready for a bit more independent living. Continue to water them regularly, ensuring the soil dries out slightly between waterings. As they grow, you can gradually introduce them to more direct sunlight.
The most common issue you might encounter is damping off, which is a fungal disease that causes seedlings to rot at the soil line. This is usually caused by overwatering and poor air circulation. If you see this happening, remove the affected seedlings immediately and ensure your watering and ventilation habits are adjusted. Healthy, vigorous new growth is usually a sign you’re doing things right!
A Little Encouragement
Propagating plants is a journey, my friend. There are always learnings, and sometimes things don’t go exactly as planned. But with Milk Thistle, you’ve got a pretty resilient and rewarding plant on your side. Be patient, observe your new plants, and enjoy the magic of bringing new life into your garden. Happy growing!
Resource:
https://identify.plantnet.org/k-world-flora/species/Silybum%20marianum%20(L.)%20Gaertn./data