Oh, hello there! I’m so glad you’ve stopped by. Today, we’re going to dive into something truly special: propagating Jumellea recta.
Nurturing New Life: Your Guide to Propagating Jumellea Recta
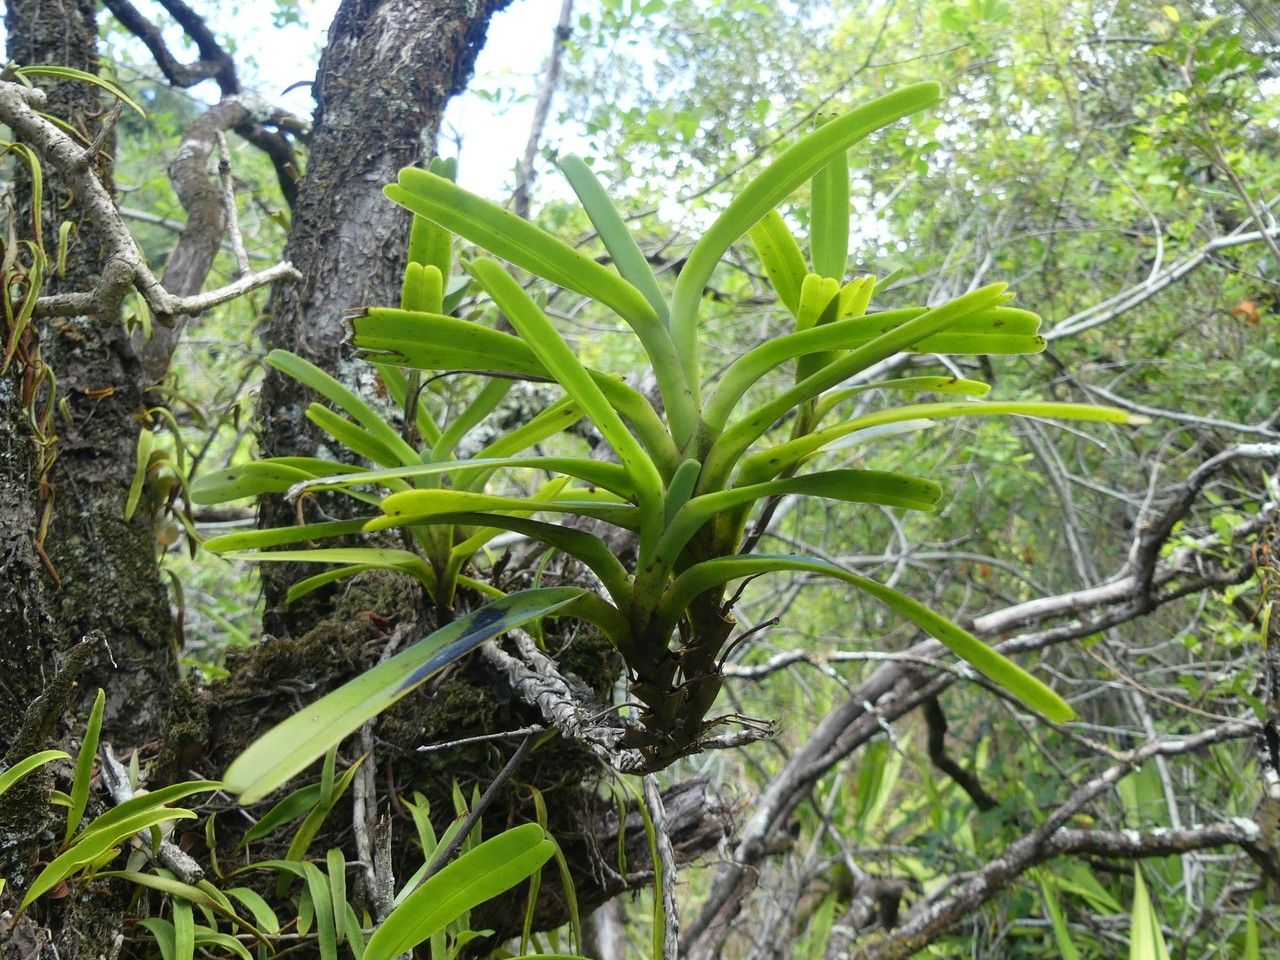
There’s a quiet magic in creating new plants from existing ones, isn’t there? And Jumellea recta, with its elegant, arching leaves and often surprising blooms, is a perfect candidate for this rewarding endeavor. I find its understated beauty to be incredibly calming to have around. Now, for the big question: is it easy for beginners? Honestly, I’d say Jumellea recta falls into the moderately challenging category. It’s not like a pothos you can just stick anywhere! But with a little attention and the right know-how, you absolutely can succeed. Think of it as a delightful puzzle, and I’m here to help you solve it.
When to Get Your Hands Dirty
The sweet spot for propagating Jumellea recta is generally during its active growing season. Think late spring through summer. This is when the plant is bursting with energy, and those new shoots will have the best chance of developing strong roots. You’re looking for those vigorous, healthy stems that show signs of new growth.
What You’ll Need to Gather
Before we begin, let’s make sure you have everything at hand. It’s always best to be prepared!
- Sharp, clean pruning shears or a razor blade: Cleanliness is key to preventing disease.
- Rooting hormone (optional but recommended): This can give your cuttings a helpful boost. Look for one formulated for herbaceous plants.
- Potting mix: A well-draining mix is crucial. I like to use a blend of peat moss, perlite, and a little orchid bark. You can buy pre-made orchid mixes too.
- Small pots or trays: Ensure they have drainage holes.
- Clear plastic bags or a propagation dome: To maintain humidity.
- Watering can or spray bottle: For gentle watering.
Bringing New Jumelleas to Life: Method Spotlight
For Jumellea recta, stem cuttings are my go-to method. It’s the most reliable way to get good results for this particular plant.
Here’s how we’ll do it, step-by-step:
- Select Your Cutting: Gently examine your Jumellea recta for a healthy, mature stem that has at least two to three leaf nodes. A node is where a leaf attaches to the stem. This is where future roots will emerge. You want a cutting that’s not too thin and not too woody – somewhere in between is ideal.
- Make the Cut: Using your sterilized pruning shears or razor blade, make a clean cut just below a leaf node. Try to get a cutting that’s about 4-6 inches long.
- Prepare the Cutting: Carefully remove the lower leaves, leaving just one or two at the top. This helps the plant focus its energy on rooting rather than supporting unnecessary foliage. If the remaining leaves are very large, you can even cut them in half horizontally to reduce water loss.
- Apply Rooting Hormone (If Using): Dip the cut end of the stem into the rooting hormone powder. Tap off any excess.
- Plant Your Cutting: Fill your small pots with the prepared, moistened potting mix. Make a small hole with your finger or a pencil and gently insert the cut end of the stem, ensuring that at least one leaf node is buried in the soil. Firm the soil gently around the stem.
- Create a Humid Environment: Water the soil thoroughly but gently. Then, cover the pot with a clear plastic bag or place it under a propagation dome. This creates a mini-greenhouse effect, which is vital for keeping the cutting hydrated until it develops roots. You want the leaves to have plenty of humidity but try not to let them touch the inside of the plastic bag if possible, as this can encourage rot.
The “Secret Sauce” from My Garden to Yours
Now, let’s talk about a couple of little tricks I’ve learned over the years that can really make a difference.
- Bottom Heat is Your Friend: Jumellea recta really appreciates a little warmth from below, especially when trying to root. Pop your pots onto a heat mat specifically designed for plants. This gentle warmth stimulates root development significantly. If you don’t have a heat mat, placing them on top of a router or another gently warm appliance (if safe!) can sometimes help, but a dedicated mat is best.
- Air Circulation is Key: Even though we’re creating a humid environment, don’t seal it up completely. Every few days, lift the plastic bag or open the dome for a few minutes to allow for some air exchange. This is crucial to prevent fungal diseases and mold, which are the arch-nemesis of cuttings. It’s a delicate balance, I know!
Aftercare and When Things Go Wrong
Once you start seeing signs of new growth, like tiny leaves unfurling or even a little bud, that’s a great indicator that roots are forming! At this point, you can slowly start to acclimate your new plant to normal room humidity. Gradually open the plastic bag or dome over the course of a week.
When should you worry? The most common issue is rot. If your cutting turns black and mushy, or if the leaves start to yellow and drop prematurely, it’s likely due to too much moisture and not enough airflow, or the cutting simply didn’t take. Don’t be discouraged if a few don’t make it; it happens to all of us! Just try again with fresh cuttings and adjust your care.
Keep Nurturing!
Propagating Jumellea recta takes a bit of patience, but the reward of seeing a new plant unfurl its own delicate leaves is truly special. Enjoy the process, learn from each step, and before you know it, you’ll have a little jungle of your own! Happy growing!
Resource:
https://identify.plantnet.org/k-world-flora/species/Jumellea%20recta%20(Thouars)%20Schltr./data