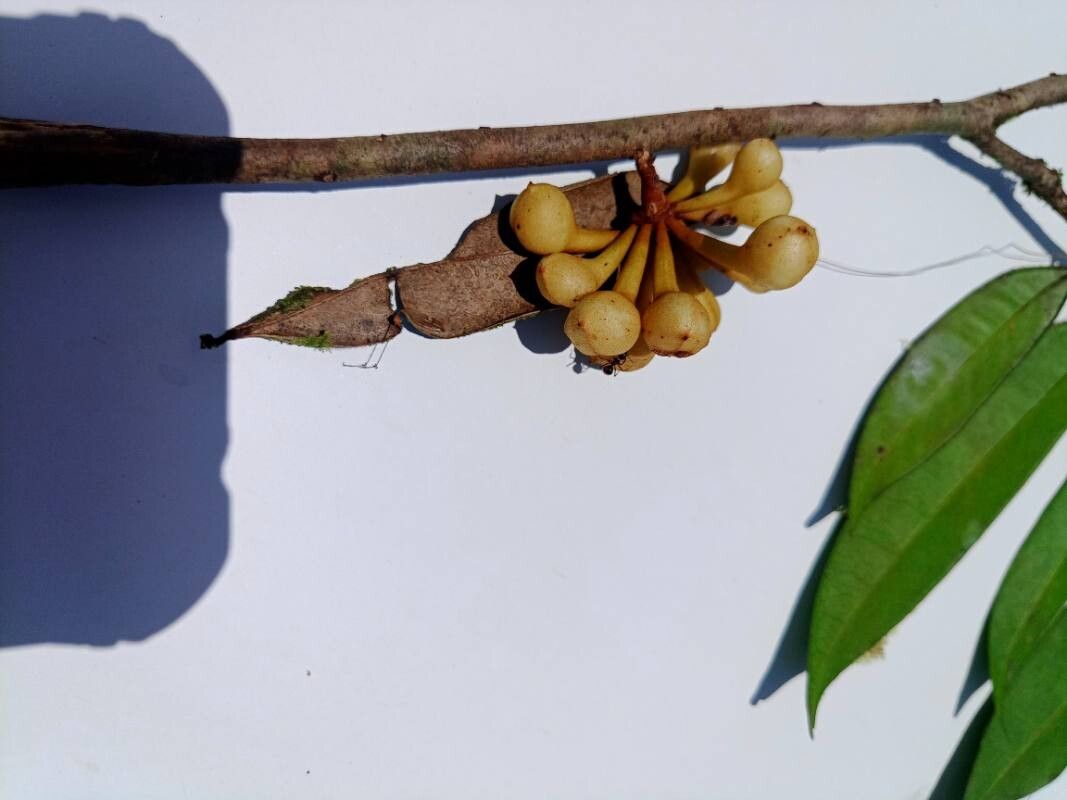
Oh, hello there! Pull up a chair. I’m so glad you’re interested in Anaxagorea acuminata. This gorgeous plant, with its wonderfully fragrant flowers, is truly a gem for any garden. It’s one of those plants that just makes you smile when you see it. And the idea of creating more of them? Well, that’s pure gardening joy, isn’t it?
Now, I want to be honest with you. Propagating Anaxagorea acuminata isn’t quite like snapping off a piece of mint. It can be a bit more… discerning. So, if you’re brand new to plant propagation, this might be a project to undertake after you’ve had a little practice with some easier-going friends. But don’t let that deter you! With a little patience and these tips, you can absolutely succeed.
The Best Time to Start
When I’m looking to take cuttings of Anaxagorea acuminata, I always aim for late spring or early summer. This is when the plant is in its most active growth phase. New growth is generally more pliable and has a better chance of rooting than older, woody stems. Think of it as starting when the plant is feeling energetic and ready to show off!
Supplies You’ll Need
Before we dive in, let’s gather our tools. Having everything ready makes the process so much smoother.
- Sharp, clean pruning shears or a sharp knife: For taking precise cuttings.
- Rooting hormone powder or gel: This is your secret weapon for encouraging root development.
- A well-draining potting mix: I love a mix of peat moss, perlite, and a little coarse sand. This ensures good aeration and prevents soggy roots, which is crucial.
- Small pots or seed trays: Clean ones are a must!
- A mister or spray bottle: For keeping things humid.
- Clear plastic bags or a propagation dome: To create a humid environment.
- Optional: A heat mat: This can provide gentle warmth to the base of your cuttings, really giving them a boost.
Propagation Methods: Taking Cuttings
For Anaxagorea acuminata, stem cuttings are generally the most successful route. Here’s how I do it:
- Select Your Stems: Look for healthy, vigorous stems that are semi-hardwood. This means they’re not brand new and flimsy, but not old and tough either. You’re looking for stems that have a bit of give but snap cleanly.
- Make the Cut: Using your sharp shears or knife, take a cutting that is about 4-6 inches long. Make the cut just below a leaf node. Leaf nodes are those little bumps where leaves emerge – this is where the magic of root formation happens!
- Prepare the Cutting: Gently remove the lower leaves from the cutting, leaving just a few at the top. This prevents them from rotting in the soil.
- Dip in Rooting Hormone: Dip the cut end of the stem into your rooting hormone powder or gel. Tap off any excess.
- Plant Your Cutting: Fill your clean pots with your prepared potting mix. Make a small hole with a pencil or your finger, and gently insert the cut end of the stem, ensuring a couple of leaf nodes are buried. Firm the soil around it.
- Water Gently: Water the soil thoroughly but gently. You don’t want to dislodge the cutting.
- Create the Humid Environment: Now, this is important! Cover the pot with a clear plastic bag or a propagation dome. Make sure the leaves don’t touch the sides of the bag if possible. You can use a stick or two to prop it up if needed.
- Location, Location, Location: Place your pots in a warm spot with bright, indirect light. Avoid direct sun, which can scorch your precious new plants.
The “Secret Sauce” (Pro Tips)
Alright, here are a few little tricks I’ve picked up over the years that can really make a difference:
- Humidity is King (and Queen!): Anaxagorea acuminata loves a moist environment while it’s rooting. Mist the leaves regularly (carefully, so you don’t blast them off) and ensure that plastic bag or dome stays nicely humid. Condensation on the inside is a good sign!
- Bottom Heat is a Game-Changer: If you have a heat mat, place your pots on it. The gentle warmth from below encourages root development something fierce. It mimics the natural warming of the soil in warmer months and really speeds things up.
- Don’t Rush to Uncover: I know it’s tempting to peek, but resist opening that bag or dome too often, especially in the first few weeks. You want to keep that humidity consistent. Only lift it briefly for misting or to check for drainage.
Aftercare & Troubleshooting
Once you start to see signs of new growth – little leaves unfurling at the top – that’s a fantastic indicator that roots are forming! Don’t pull them out to check yet, though.
Gradually, over a week or two, acclimate your new plant to drier air. Start by opening the bag or dome for a few hours each day. Once it seems happy with this, you can remove the cover entirely.
The most common issue you might encounter is rot. If you see your cutting turning mushy or black, it’s usually a sign of too much moisture and not enough drainage. Make sure your soil mix is spot on and that you’re not overwatering. If you catch it early, you can sometimes try taking a fresh cutting and starting again, but it’s often a sign that conditions weren’t quite right.
A Hearty Wrap-Up
Propagating Anaxagorea acuminata is a journey, and like any good journey, it requires a little patience. Celebrate each small victory – a new leaf, a slightly firmer stem. Don’t be discouraged if not every cutting takes. Sometimes nature has its own timing.
Just keep an eye on your plants, provide them with the right conditions, and enjoy the incredibly rewarding process of watching new life sprout from your efforts. Happy propagating!
Resource: