Hello, fellow garden lovers!
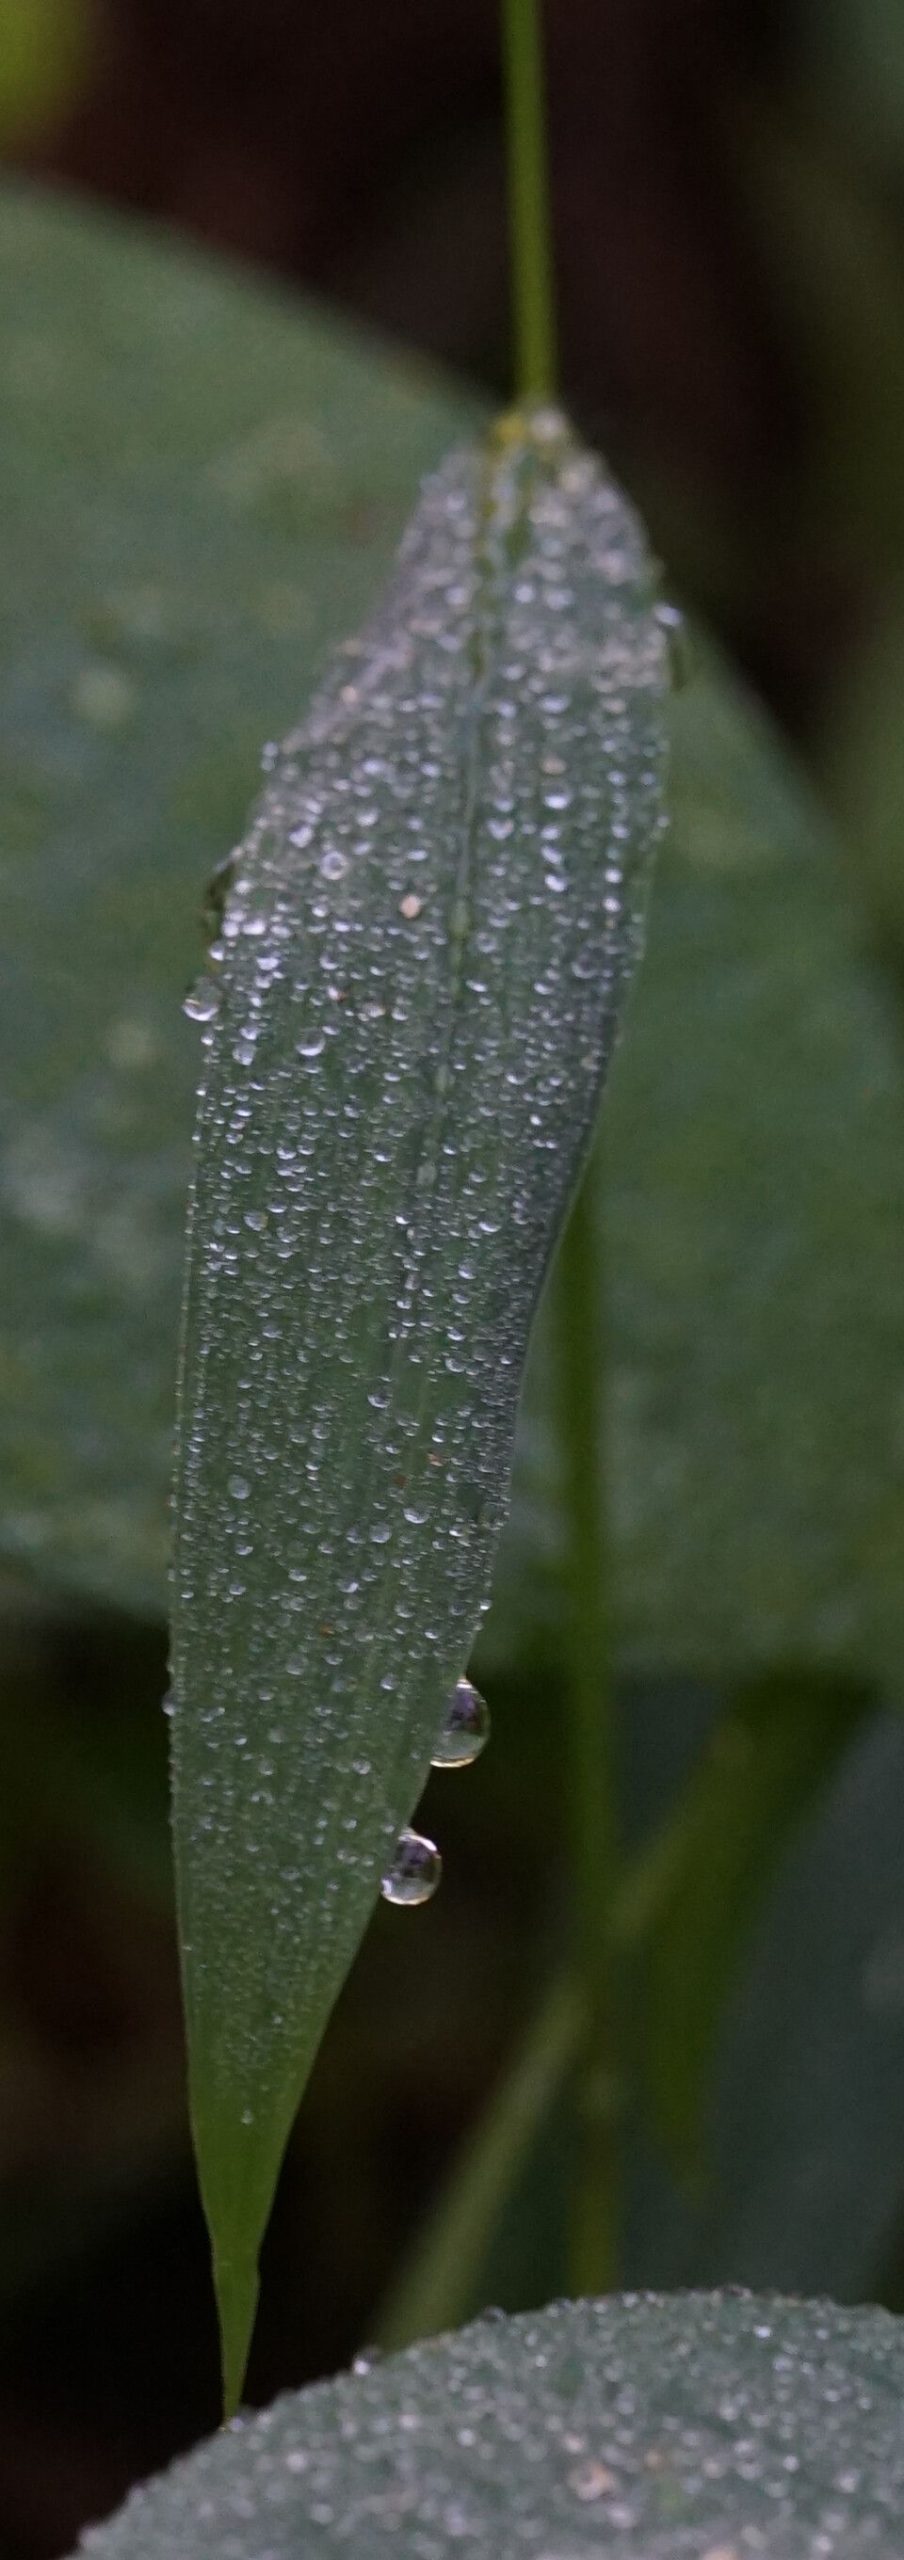
Today, we’re diving into the wonderful world of propagating Urochloa reptans, also known as creeping signalgrass. This little beauty is fantastic for ground cover, adding a lush, verdant carpet to neglected corners of your garden or even trailing happily from a pot. The reward of watching a tiny clipping transform into a thriving new plant is simply unparalleled. And the best part? Urochloa reptans is quite forgiving, making it a wonderful choice for beginners looking to dip their toes into the satisfying craft of plant propagation.
The Best Time to Start
For us in most temperate climates, the late spring or early summer is your golden window. This is when the plant is actively growing and brimming with energy. You’ll find its stems are pliable and ready to take root with a little encouragement. Waiting until the heat of the summer gets too intense can sometimes stress young cuttings.
Supplies You’ll Need
Gathering your tools beforehand makes the whole process smoother. Here’s what you’ll want to have on hand:
- Sharp pruning shears or clean scissors: For clean cuts, which are vital.
- Small pots or seed trays: Cleaned thoroughly, of course.
- Well-draining potting mix: A good blend of peat moss, perlite, and a little compost works wonders. You can also buy specific potting mixes for cuttings.
- Rooting hormone (optional but recommended): A powder or gel that encourages root development.
- Watering can or spray bottle: For gentle watering.
- Clear plastic bag or dome: To create a humid environment.
- A sunny windowsill or bright, indirect light location.
Propagation Methods
Urochloa reptans is happy to multiply, and here are my go-to methods:
Stem Cuttings
This is my absolute favorite and most reliable way to propagate Urochloa reptans.
- Select healthy stems: Look for mature, non-flowering stems that are at least 4-6 inches long. Avoid anything that looks leggy or weak.
- Make the cut: Using your clean shears, cut just below a leaf node. A leaf node is a slightly swollen point on the stem where leaves emerge. This is where roots will most likely form.
- Prepare the cutting: Gently remove the lower leaves, leaving only a few at the top. This prevents them from rotting when buried.
- Dip in rooting hormone (if using): If you’ve got rooting hormone, give the cut end a light dip. Tap off any excess.
- Plant your cutting: Fill your pots with your prepared potting mix. Make a small hole in the center with your finger or a pencil. Carefully insert the cutting into the hole, ensuring the lowest leaf node is below the soil surface. Gently firm the soil around the stem.
- Water gently: Water the soil thoroughly but avoid waterlogging. A good watering will help settle the soil around the cutting.
- Create humidity: Cover the pot with a clear plastic bag or a humidity dome. This keeps moisture in and prevents the cutting from drying out before it can root. Secure it around the pot.
- Place in bright light: Find a spot that gets bright, indirect light. Direct sun can scorch your new cuttings.
Water Propagation
While I often prefer soil, seeing those little roots grow in water is a joy!
- Take cuttings: Follow steps 1-3 from the stem cuttings method.
- Place in water: Fill a clean jar or glass with fresh water. Submerge the lower leaf nodes in the water, making sure no leaves are below the waterline (they’ll rot!).
- Find a spot: Place the container in a bright location, away from direct sun.
- Change water regularly: Change the water every few days to keep it fresh and prevent bacterial growth.
- Watch for roots: You should see tiny white roots emerging from the nodes in a couple of weeks. Once the roots are about an inch long, you can transplant them into soil following the steps for planting cuttings.
The “Secret Sauce” (Pro Tips)
After years of coaxing plants to grow, a few little tricks emerge:
- Don’t overcrowd: Give your cuttings space in their pots. Too many packed together can invite disease and competition for resources.
- Bottom heat is your friend: If you’re struggling with rooting, especially in cooler weather, a little warmth from below can make a world of difference. A seedling heat mat placed under your pots will speed things up considerably.
- Patience with the plastic: Resist the urge to lift that plastic cover constantly! The goal is to maintain a consistently humid environment. Only lift it briefly to water or check for mold.
Aftercare & Troubleshooting
Once you see signs of new leaf growth, that’s your cue that roots are forming!
- Gradually acclimate: Slowly remove the plastic cover over a few days to let your new plant get used to normal humidity levels.
- Keep it consistently moist: Continue to water your new plant when the top inch of soil feels dry.
- Move to a slightly larger pot: Once the roots are well-established and you see good growth, you can carefully transplant your new Urochloa reptans into a slightly larger pot or its permanent garden location.
Sometimes, things don’t go as planned. The most common culprit is rot. If your cutting turns mushy or black, it’s a sign of too much moisture and not enough air circulation. This is why a well-draining soil mix and that humidity tent are so crucial. If you see mold on the soil surface, gently scrape it off and ensure good airflow around your cuttings. Don’t be discouraged if a few don’t make it; it’s all part of the learning process!
So there you have it! Propagating Urochloa reptans is a simple pleasure. Be patient with your little greenlings, and enjoy the magic unfold. Happy gardening!
Resource:
https://identify.plantnet.org/k-world-flora/species/Urochloa%20reptans%20(L.)%20Stapf/data