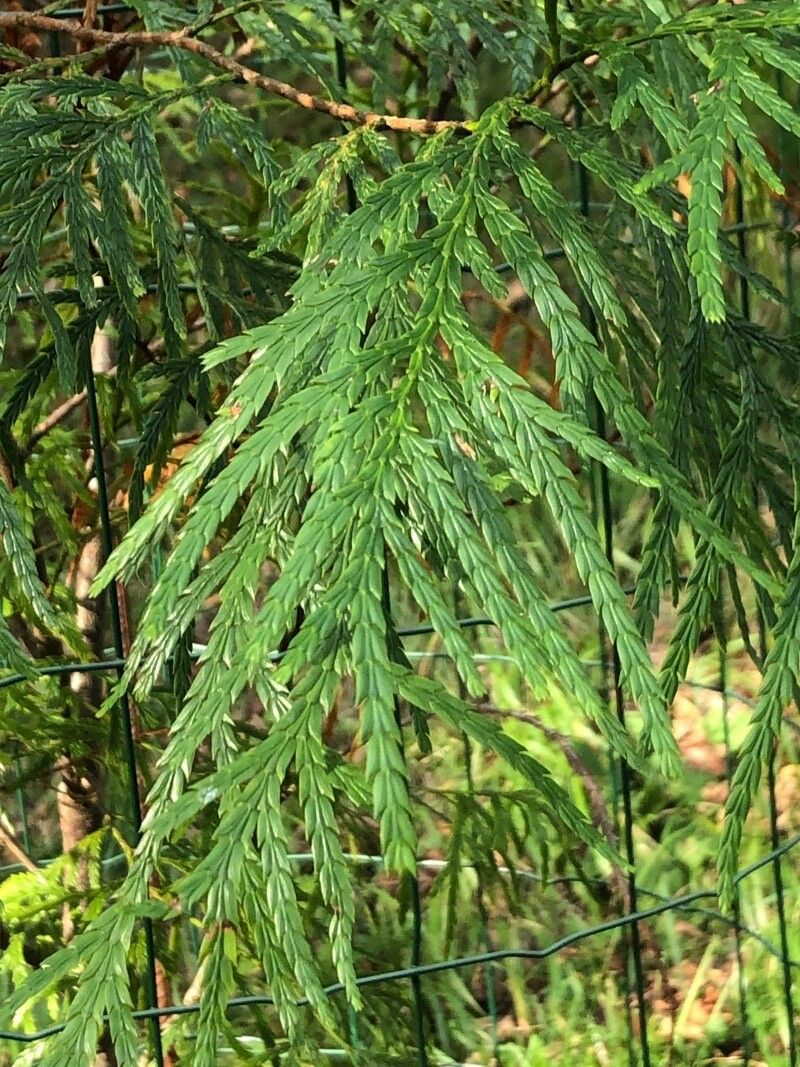
Oh, Fokienia hodginsii! What a treat. If you’ve ever admired its graceful, feathery foliage and the subtle, almost eucalyptus-like scent it releases, you know exactly why I’m so excited to chat about getting more of these beauties. Propagating them is a wonderfully rewarding journey, though I’ll be upfront – it’s not one I’d necessarily hand to a brand-new gardener on their very first plant adventure. It requires a bit of patience and a keen eye. But for those of you with a few seasons under your belt, you’ll find it absolutely achievable and oh-so-satisfying.
The Best Time to Start
Timing, as they say, is everything. For Fokienia hodginsii, the sweet spot for taking cuttings is generally in late spring or early summer. This is when the plant is actively growing, full of vigor, and those new shoots are tender enough to root readily. You want to look for semi-hardwood cuttings – that’s growth from the current year that’s starting to stiffen up a bit, but not be fully woody. Think of it like a pencil that’s just lost its eraser’s flexibility.
Supplies You’ll Need
Gathering your tools beforehand makes the whole process smoother, like prepping ingredients before you cook. Here’s what you’ll want to have on hand:
- Sharp, clean pruning shears or a sharp knife: The cleaner the cut, the less chance of introducing disease. I usually give my blades a quick wipe with rubbing alcohol.
- Rooting hormone: This isn’t strictly mandatory for every plant, but for something like Fokienia, it can significantly boost your success rate. Look for a powder or gel that’s suitable for woody cuttings.
- Well-draining potting mix: A good blend for this would be about 50% perlite and 50% peat moss or coco coir. You can also buy specialized seedling or cutting mixes. The key is excellent drainage so those tender roots don’t drown.
- Small pots or cell trays: Use pots that are a few inches in diameter. Ones with drainage holes are a must!
- Plastic bags or a propagator: This creates a mini-greenhouse effect, keeping the humidity high around your cuttings, which is crucial. A clear plastic bag stretched over the pot secured with a rubber band works wonderfully.
- Water: For moistening your soil mix.
Propagation Methods
Let’s get down to business! My go-to method for Fokienia is stem cuttings, as it’s usually the most reliable for this particular plant.
Stem Cuttings:
- Take Your Cuttings: Using your clean shears or knife, snip off pencil-thick, semi-hardwood stems that are about 4-6 inches long. Make sure each cutting has at least a few sets of leaves. It’s best to take more cuttings than you think you need; not all of them will make it.
- Prepare the Cuttings: Gently remove the lower leaves from the bottom half of each cutting. You want a clean stem to insert into the soil. If the remaining leaves are very large, you can cut them in half horizontally. This reduces water loss from transpiration.
- Apply Rooting Hormone: Dip the cut end of each prepared cutting into your rooting hormone, tapping off any excess.
- Pot Them Up: Moisten your perlite and peat mix so it’s damp but not soggy. Fill your pots or cell trays with the mix. Make a small hole with your finger or a pencil in the center of each pot, then gently insert the cutting, ensuring the hormone-treated end is well within the mix. Firm the soil gently around it.
- Water and Cover: Water the pots lightly to settle the soil. Then, place each pot inside a clear plastic bag, or cover your trays with a propagator lid. Make sure the leaves aren’t touching the plastic if possible; if they are, you might need to prop the bag up a bit with a few sticks.
The “Secret Sauce” (Pro Tips)
Here are a few little tricks I’ve picked up over the years that can really make a difference:
- Bottom Heat is Your Friend: For woody plants like Fokienia, providing a gentle warmth from beneath can be a game-changer. A heating mat designed for seedlings can encourage root development much faster. You want the soil temperature to be around 70-75°F (21-24°C).
- Don’t Overwater the Mix: This is a classic mistake. The goal is consistently moist soil, not wet. If you can squeeze water out of the mix, it’s too wet. Soggy conditions are a direct invitation to root rot, and we definitely don’t want that!
- Patience, Young Grasshopper: Fokienia can be a bit slow to root. I often see roots developing in 6-10 weeks, sometimes longer. Resist the urge to constantly pull up cuttings to check for roots. You’ll only disturb them. Trust the process!
Aftercare & Troubleshooting
Once you start seeing signs of new growth – tiny new leaves unfurling or some resistance when you gently tug on a cutting – that’s your cue that roots have formed! At this point, you can slowly start to acclimate your new plants to drier air. Gradually open the plastic bag or lid over a week or two. Continue to keep the soil consistently moist.
The most common problem you’ll encounter is rot. If a cutting turns black and mushy, or its leaves wilt and die off dramatically, it’s likely succumbed to rot. This is usually due to overwatering or poor drainage. If you see signs, remove the affected cutting immediately to prevent it from spreading. Sometimes, a cutting might just fail to root and simply shrivel up. That’s a sign it wasn’t meant to be, and there’s no shame in that. Just try again!
A Encouraging Closing
So there you have it! A little patience, the right environment, and a sprinkle of that gardening magic, and you’ll be well on your way to nurturing your own Fokienia hodginsii from a simple cutting. Don’t be discouraged if your first attempt isn’t perfect. Every gardener learns through trial and error, and honestly, that’s half the fun. Enjoy the process of coaxing new life from your plants – it’s a truly wonderful feeling! Happy gardening!
Resource: