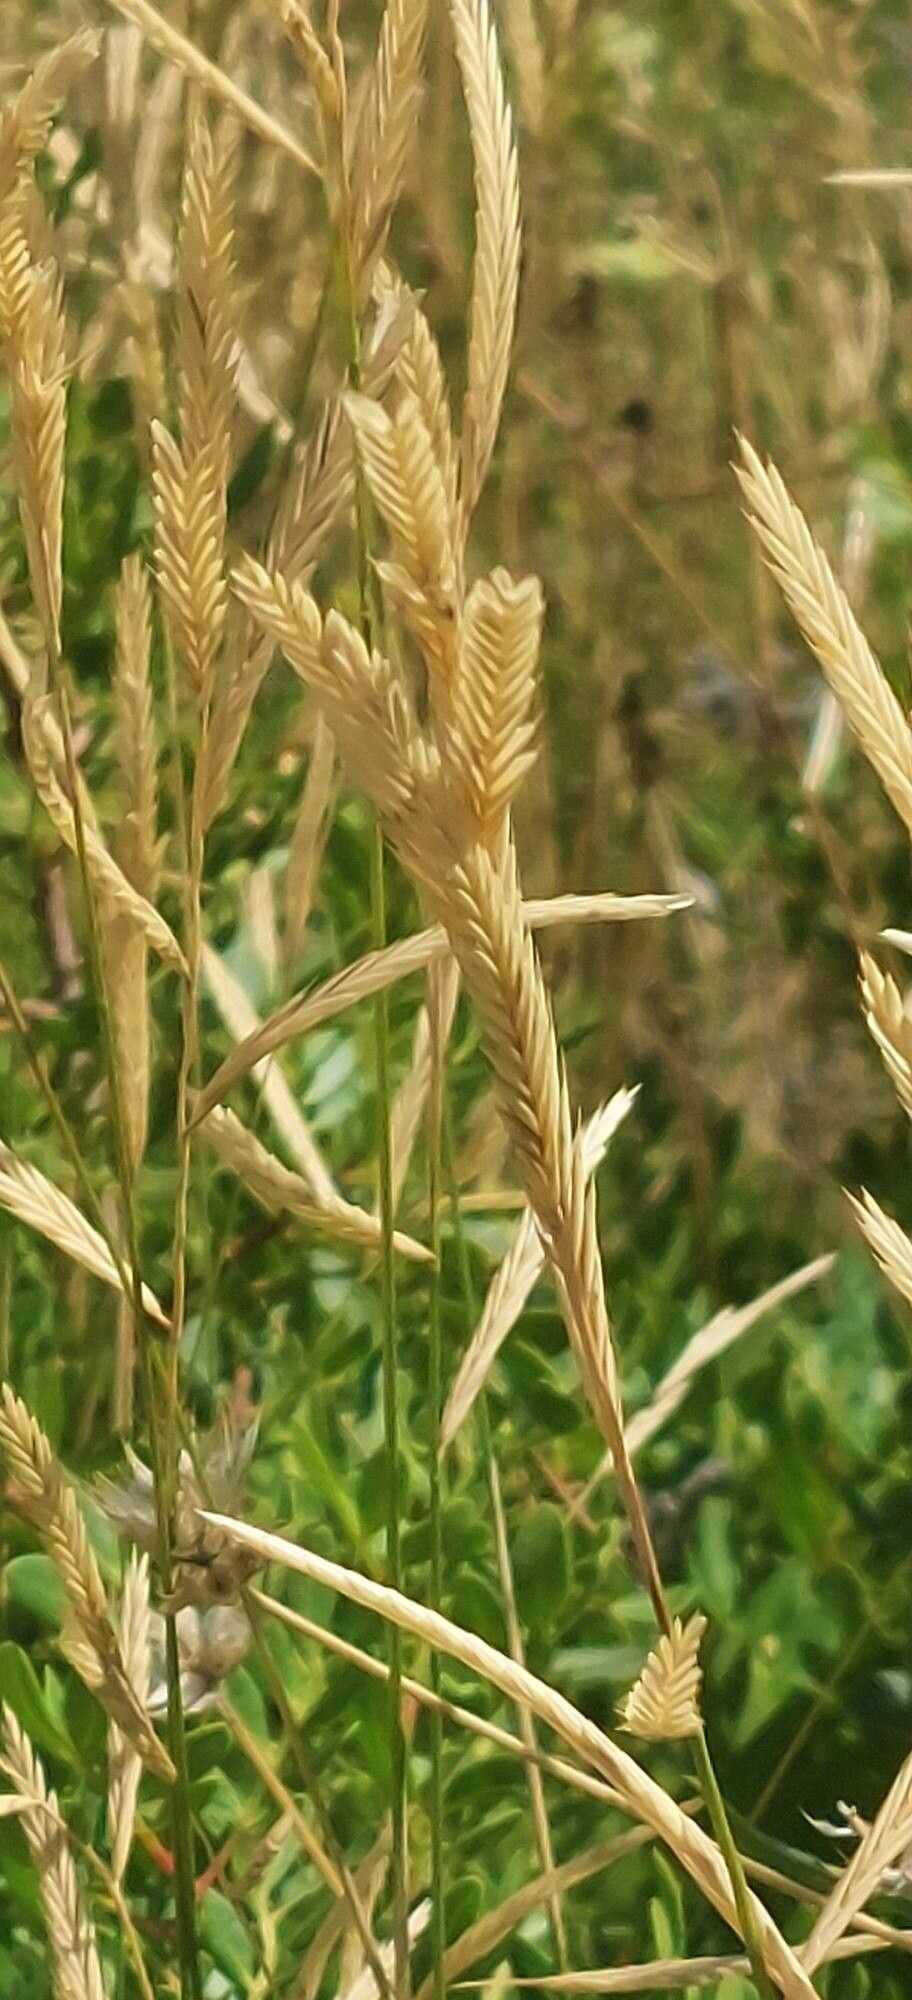
Ah, Brachypodium retusum! It’s one of those unsung heroes in the garden, isn’t it? With its elegant, arching growth and lovely texture, it brings a touch of serene beauty to even the driest spots. It reminds me a bit of ornamental grasses, but with its own unique charm. Seeing a new clump emerge from a piece of an old one? That’s pure garden magic! And the best part? It’s generally quite forgiving, making it a wonderful plant for those of you just dipping your toes into propagation.
When to Get Your Hands Dirty
Honestly, Brachypodium retusum is a pretty resilient plant, and you can often get away with propagating it at various times. However, for the absolute highest success rate, I always aim for spring, as new growth is really kicking off. The longer days and gentle warmth create the perfect environment for plant babies to establish themselves. You can also try in early autumn, giving the new roots a chance to settle in before winter fully arrives.
Your Propagation Toolkit
Gathering the right supplies makes all the difference. Here’s what I usually keep handy:
- Sharp Pruning Shears or a Clean Knife: For making clean cuts.
- Sterile Potting Mix: A well-draining blend is key. I often use a mix of peat or coco coir with perlite or coarse sand.
- Rooting Hormone (Optional, but Recommended): A powder or gel can give your cuttings a helpful boost.
- Small Pots or Trays: With drainage holes, of course!
- Labels: You’ll be surprised how quickly you forget what you planted!
- Watering Can or Mister: For gentle watering.
- Plastic Bags or a Propagation Dome: To maintain humidity.
Let’s Get Propagating!
This plant is wonderfully amenable to a couple of easy methods.
1. Division: The Easiest Route
This is hands-down the simplest way to multiply your Brachypodium retusum.
- Dig Gently: Carefully lift your existing plant from the soil. If it’s a large clump, you might want to use a spade.
- Shake Off Excess Soil: Gently loosen the soil around the roots so you can see the structure of the plant.
- Find the Divisions: Look for natural breaks where sturdy stems and roots meet. You can often pull established clumps apart with your hands. If it’s stubborn, use your sharp knife or shears to make a clean cut through a thick rhizome.
- Inspect and Trim: Remove any damaged or dead leaves and roots.
- Replant: Pot up your divisions into well-draining soil, just as you would a mature plant. Water them in well.
2. Stem Cuttings: For the Adventurous
While division is easiest, you can also take stem cuttings.
- Take Your Cuttings: In spring or early autumn, select healthy, non-flowering shoots that are about 4-6 inches long. Make a clean cut just below a leaf node (where a leaf attaches to the stem).
- Prepare the Cuttings: Remove the lower leaves from the cutting, leaving just a few at the tip. You can dip the cut end into rooting hormone if you’re using it.
- Plant Them Up: Insert the prepared cuttings into small pots filled with your moist, sterile potting mix. Make sure the leaf nodes are buried.
- Create a Humid Environment: Water gently, then cover the pots with a clear plastic bag or place them under a propagation dome to keep humidity high. Make sure the leaves don’t touch the plastic.
- Find a Warm Spot: Place them in a bright location, but out of direct sunlight.
My “Secret Sauce” for Success
Over the years, I’ve learned a few tricks that can really make a difference.
- First off, for stem cuttings, bottom heat is your friend! A seedling heat mat under your pots can dramatically speed up root formation, especially if your house is a bit on the cooler side.
- When dividing, don’t be afraid to trim back the foliage of the divisions by about a third. This helps the plant focus its energy on root development rather than maintaining those leaves.
- And if you’re using water propagation (though division is often better for this plant), always ensure the leaves of your cuttings are well above the water line. Rot sets in quickly when leaves sit in water.
Life After Roots
Once you see new growth emerging from your division or cuttings, that’s a fantastic sign that roots are developing.
- Gradually Acclimate: If you used a plastic bag or dome, slowly begin to introduce your new plants to drier air by opening the cover for longer periods each day.
- Water Wisely: Water when the top inch of soil feels dry. Avoid overwatering, which is the quickest way to encourage root rot. You might see yellowing leaves or a mushy stem base if rot is setting in.
- Patience is Key: It can take several weeks, sometimes even months, for new plants to establish a robust root system. Don’t be discouraged if they don’t look like star performers immediately.
And there you have it! You’re well on your way to multiplying your beautiful Brachypodium retusum. Remember, gardening is a journey, and propagation is one of its most rewarding adventures. Be patient, enjoy the process, and soon you’ll have more of this lovely plant to share or plant elsewhere! Happy gardening!
Resource:
https://identify.plantnet.org/k-world-flora/species/Brachypodium%20retusum%20(Pers.)%20P.Beauv./data