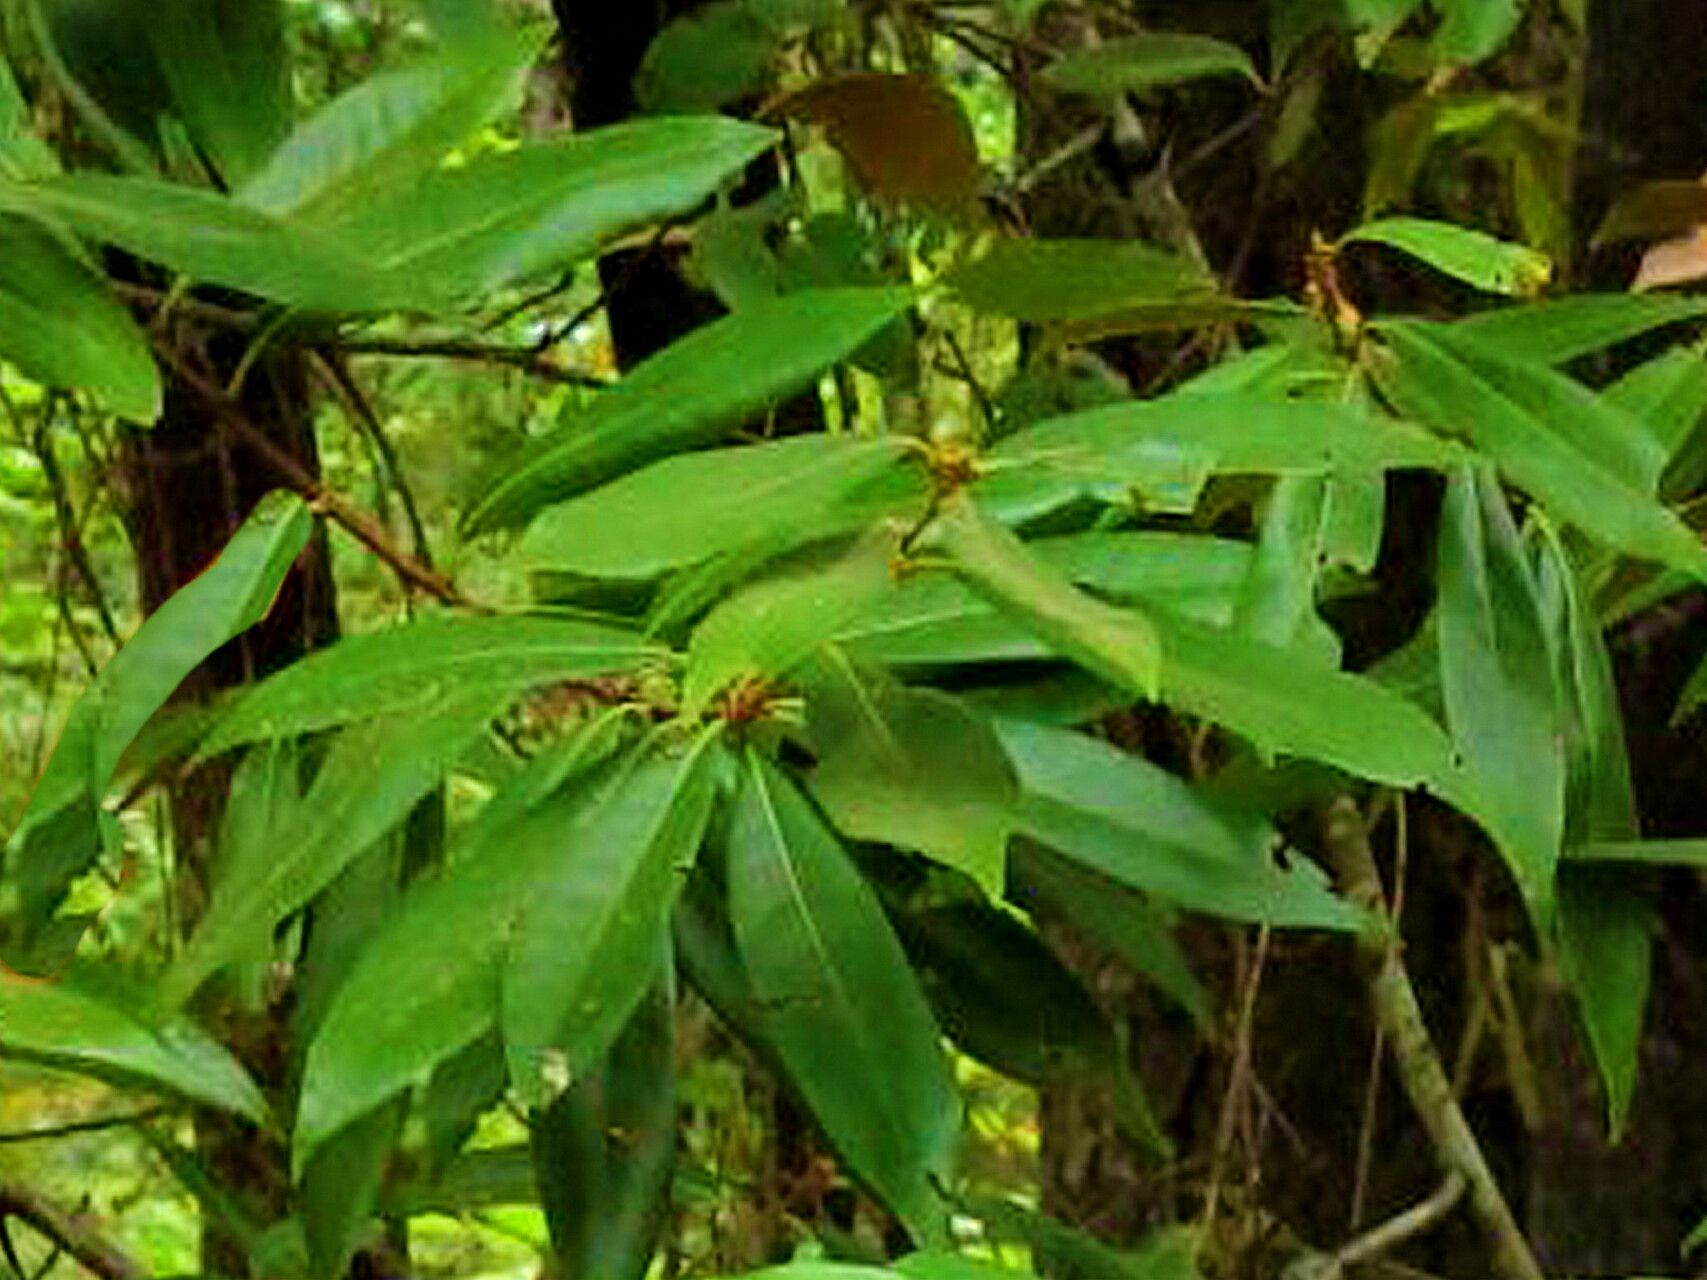
Hello, fellow plant enthusiasts! Today, we’re diving into the wonderful world of propagating Chrysolepis chrysophylla, or as it’s affectionately known, the Golden Everlasting. If you’ve ever admired its elegant, silvery-green foliage and subtle golden hues, you know it’s a specimen worth having more of. Getting new plants from this beauty is deeply satisfying, a little act of gardening magic that lets you share its charm. Now, let me be honest – it’s not the absolute easiest plant for a complete beginner to propagate, but with a little patience and by following these steps, you’ll be well on your way to success!
When to Get Your Hands Dirty: The Best Time to Start
For Chrysolepis chrysophylla, the sweet spot for propagation is generally in late spring to early summer. This is when the plant is actively growing, meaning it has the energy reserves to put into developing new roots. You want to be taking cuttings from semi-hardwood, which is wood that’s no longer completely soft and green but hasn’t yet turned hard and woody. It should be flexible enough to bend without snapping easily.
Your Propagation Toolkit: What You’ll Need
Gathering your supplies beforehand makes the whole process much smoother. Here’s what I always have on hand:
- Sharp pruning shears or a clean, sharp knife: For making clean cuts.
- Rooting hormone (powder or gel): This really gives your cuttings a boost.
- Small pots or propagation trays: With drainage holes! Essential.
- Well-draining potting mix: A good blend of perlite and peat moss (or coco coir) is excellent. I often use a mix that’s about 50/50.
- Plastic bag or propagation dome: To create a humid environment.
- Watering can or spray bottle: For gentle watering.
- Optional: Heat mat: For bottom heat, which can significantly speed up root development.
Let’s Get Growing: Propagation Methods
The most reliable method for Chrysolepis chrysophylla is stem cuttings. Here’s how I do it:
- Select Your Cuttings: Head out to your plant and choose some healthy, vigorous stems. Look for those semi-hardwood ones I mentioned. Aim for cuttings that are about 4 to 6 inches long.
- Make the Cut: Using your clean shears or knife, make a cut just below a leaf node. This is where roots are most likely to form. Remove any lower leaves, leaving just a few at the very top.
- Dip in Rooting Hormone: Gently dip the cut end of your stem into your chosen rooting hormone, tapping off any excess. This coating helps stimulate root growth.
- Plant Your Cuttings: Fill your small pots with your well-draining potting mix. Make a small hole in the center with your finger or a pencil. Carefully insert the cutting, pushing it down so the hormone-coated end is nestled in the soil. Gently firm the soil around the stem.
- Water Gently: Give your newly potted cuttings a light watering, just enough to moisten the soil thoroughly without waterlogging it.
- Create Humidity: Cover the pots with a plastic bag or a propagation dome. This traps moisture and keeps the cuttings from drying out. If you’re using a bag, you can prop it up with a few stakes to prevent it from touching the leaves.
The “Secret Sauce”: My Insider Tips
Over the years, I’ve picked up a few tricks that make a difference. Here are a couple to keep in mind:
- Cleanliness is Key: Always have clean tools and pots. This might sound basic, but it’s crucial to prevent fungal infections and rot, which are common culprits when cuttings fail.
- Bottom Heat is Your Friend: If you can manage it, placing your pots on a heat mat can work wonders. Chrysolepis chrysophylla seems to respond very well to gentle warmth from below, encouraging those roots to get going much faster.
Nurturing New Growth: Aftercare & Troubleshooting
Once your cuttings are potted and covered, place them in a bright spot with indirect light. Avoid direct sun, as this can scorch the young leaves and dry out your cuttings too quickly.
Keep an eye on the soil moisture. You want it to be consistently moist but never soggy. If you see the soil looking dry, give it a light mist or a gentle watering.
The signs of success? After a few weeks to a couple of months, you’ll start to see new leaf growth at the tip of the stem. You can also give your cutting a very gentle tug. If you feel resistance, that’s a good sign that roots have formed. Once you see good root development, you can gradually acclimate them to lower humidity by removing the bag or dome for increasing periods each day. Eventually, you’ll be able to pot them up into slightly larger containers.
Now, what about when things go wrong? The most common problem is rot. If you notice leaves turning black and mushy, or the stem itself becoming soft and discolored, it’s usually a sign of overwatering and poor drainage. Sadly, these often can’t be saved. Prevention is truly the best medicine here.
A Blooming Encouragement
Propagating plants is a journey, and sometimes our leafy friends like to keep us guessing! Don’t get discouraged if not every cutting takes. Each attempt is a learning experience. Be patient, enjoy the process of creating new life from something beautiful, and soon you’ll have more Golden Everlasting plants to cherish and share. Happy propagating!
Resource: