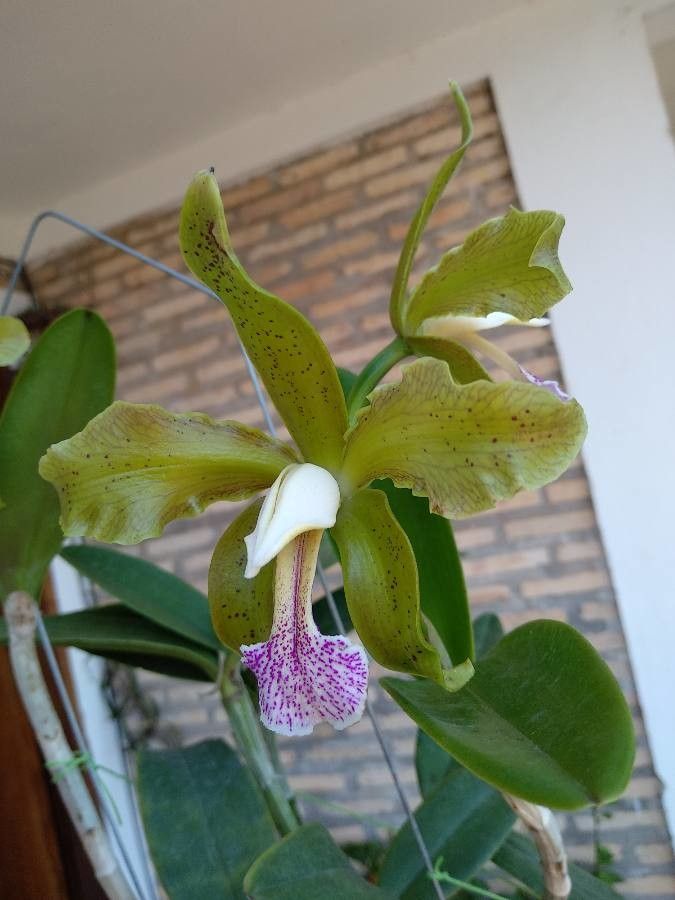
Hello fellow plant lovers! I’m so glad you’re here. Cattleya granulosa captured my heart years ago with its grand, ruffled blooms and unique appeal. If you’ve ever admired this gorgeous orchid, you might be wondering how to get more of them to grace your home. This guide is all about sharing that joy through propagation, and I’m here to walk you through it.
While Cattleya granulosa can be a bit of a diva, don’t let that discourage you! With a little patience and the right approach, propagating it is absolutely achievable and incredibly rewarding. Seeing a tiny new growth unfurl into a full plant is a special kind of magic.
The Best Time to Start
For Cattleya granulosa, the absolute sweet spot for propagation is during its active growing season. This usually means spring and early summer, after the plant has finished its blooming cycle. You’ll be looking for new root or shoot development on the parent plant. Trying to propagate when the plant is dormant or stressed is a recipe for disappointment, so let’s wait for the right moment.
Supplies You’ll Need
Gathering your tools beforehand makes the whole process smoother. Here’s what I always have on hand:
- Sterilized Pruning Shears or a Sharp Knife: Cleanliness is paramount to prevent disease.
- Orchid Bark Mix: A coarse, well-draining blend is essential. I often use a mix of medium-grade bark, perlite, and horticultural charcoal.
- Rooting Hormone (Optional but Recommended): A powder form works well for this orchid.
- Plastic Pots or Trays with Drainage: Clear pots are great for monitoring root development.
- Long-Fibered Sphagnum Moss: For holding moisture.
- Misting Bottle: For gentle hydration.
- Labels and a Permanent Marker: To keep track of your new plant babies!
- Bottom Heat Source (e.g., a seedling heat mat): This can be a game-changer.
Propagation Method: Division
For Cattleya granulosa, division is the most reliable and commonly used method. This orchid grows by producing pseudobulbs (those swollen stems) that form new growth points. When these pseudobulbs get crowded, it’s time to divide.
- Assess Your Plant: Look for a mature Cattleya granulosa that has at least three to four healthy pseudobulbs. You want to see new root growth or the beginnings of a new shoot emerging from one of the older pseudobulbs.
- Prepare Your Tools: Make sure your pruning shears or knife are sparkling clean. I usually wipe mine down with rubbing alcohol.
- Gently Remove from Pot: Carefully take the orchid out of its current pot. Don’t be afraid to gently shake off some of the old potting mix to get a better look at the root system.
- Identify Division Points: Look for natural breaks in the rhizome (the creeping stem that connects the pseudobulbs). You want to divide the plant into sections, ensuring each new division has at least two to three healthy pseudobulbs and preferably some healthy roots.
- Make the Cut: Using your sterilized shears or knife, make a clean cut through the rhizome between the sections you’ve chosen. Try to do this with one decisive cut.
- Treat the Wounds: Once you’ve separated your divisions, you can dust the cut surfaces with rooting hormone powder if you’re using it. This helps encourage root growth and can offer some protection against disease.
- Pot Up Your New Divisions:
- Take your new division and place it in a clean pot.
- Position the division so that the oldest pseudobulb is closest to the edge of the pot, allowing plenty of room for new growth to expand towards the center.
- Gently fill the pot with your fresh orchid bark mix. Work the mix in around the roots, making sure to avoid packing it too tightly. You want good air circulation.
- The base of the pseudobulbs should be at or just slightly above the surface of the potting mix.
The “Secret Sauce” (Pro Tips)
Over the years, I’ve learned a few tricks that make a big difference.
- Don’t Overwater New Divisions: This is probably the biggest pitfall. After dividing, your new plants don’t have an established root system to take up much moisture. Water sparingly for the first couple of weeks. Mist the potting medium lightly or water just enough to moisten it. You’re aiming to keep things from drying out completely, not to soak them.
- Embrace Bottom Heat: Orchids love a little warmth from below. Placing your newly potted divisions on a seedling heat mat set to around 70-75°F (21-24°C) can significantly speed up root development. It mimics the conditions they’d experience in nature.
- Patience with Pseudobulbs: Sometimes, a division might look a little sad for a while, with the older pseudobulbs shriveling slightly. Don’t despair! As long as the newest pseudobulb shows life (a tiny green nub), it’s likely working on establishing roots. Keep them in good light and humidity, and trust the process.
Aftercare & Troubleshooting
Once you see new roots actively growing and pushing through the potting mix, you can gradually increase your watering frequency. Continue to use your orchid bark mix and provide good light.
The most common issue you’ll face is rot. This usually happens from overwatering, especially in the early stages. Signs of rot include mushy, blackening pseudobulbs or roots. If you spot this, remove the affected parts immediately with your sterilized tools and try to let the remaining parts dry out a bit more before resuming watering. Ensure good air circulation around your plants.
A Little Encouragement to Finish
Propagating Cattleya granulosa might seem a bit daunting at first, but it’s a truly rewarding journey. Watching that tiny spark of life develop into a flourishing plant is a joy that keeps me going. Be patient with yourself and your new divisions. Every gardener has had their share of wilting leaves and failed attempts – it’s all part of learning! Enjoy the process, celebrate the small victories, and soon you’ll be surrounded by the stunning beauty of your own Cattleya granulosa creations. Happy growing!
Resource:
https://identify.plantnet.org/k-world-flora/species/Cattleya%20granulosa%20Lindl./data