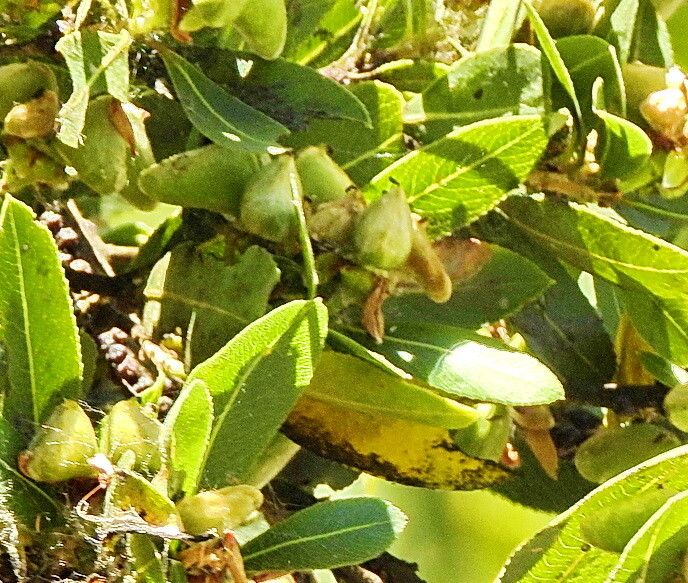
Hello, fellow plant lovers! Today, I want to chat about a plant that’s really captured my heart over the years: Kageneckia oblonga. You might know it by its common name, Chilean Plum or Chilean Peach. It’s got these gorgeous, leathery evergreen leaves and in the spring, it’s absolutely covered in delicate, star-shaped white flowers. It’s a wonderfully tidy shrub, perfect for adding structure and year-round appeal to your garden.
Now, if you’re thinking about trying to propagate Kageneckia oblonga, I’m here to tell you it’s a deeply satisfying endeavor. While not the absolute easiest plant for a complete beginner to propagate, it’s certainly achievable with a little patience and the right approach. Seeing a new little plant thrive from just a cutting is a special kind of magic, and it’s a fantastic way to fill your garden or share a piece of your love with friends.
The Best Time to Start
For the highest chance of success with Kageneckia oblonga, I find that late spring or early summer is your sweet spot. This is when the plant is actively growing and has plenty of energy. You’ll want to look for new growth that’s just starting to firm up but is still a bit flexible – we call this “semi-hardwood.” Avoid trying this with brand-new, bright green, floppy growth or with old, wood that’s become really tough.
Supplies You’ll Need
Before we get our hands dirty, let’s gather our tools:
- Sharp, clean pruning shears or a craft knife: Cleanliness is key to preventing disease.
- Rooting hormone powder or gel: This isn’t strictly essential for every plant, but it can give your Kageneckia cuttings a wonderful boost.
- Small pots or seedling trays: Make sure they have drainage holes!
- A well-draining potting mix: I like to use a mix of equal parts peat moss (or coco coir) and perlite or coarse sand. This ensures good aeration and prevents waterlogging.
- A plastic bag or propagator lid: To create a humid environment.
- Labels and a waterproof marker: So you don’t forget what you’ve planted!
- Watering can or spray bottle: For gentle watering.
Propagation Methods: Stem Cuttings
The most reliable way I’ve found to propagate Kageneckia oblonga is through stem cuttings. Here’s how I do it:
- Take Your Cuttings: Using your clean shears, select a healthy stem from your established plant. Cut a piece that’s about 4-6 inches long. Try to make your cut just below a leaf node (where a leaf attaches to the stem). This is where rooting hormones often work best.
- Prepare the Cuttings: Gently remove the lower leaves from the cutting, leaving just a few at the very top. This reduces water loss and prevents leaves from rotting when they’re in the soil. If your leaves are quite large, you can even cut them in half horizontally to further minimize water loss.
- Apply Rooting Hormone: Dip the cut end of the stem into your rooting hormone, making sure it’s coated. Tap off any excess.
- Plant the Cuttings: Fill your pots or trays with your prepared potting mix. Make a small hole in the center of the mix with your finger or a pencil. Insert the cutting into the hole, ensuring that the hormone-coated part is buried in the soil. Gently firm the soil around the cutting.
- Water Gently: Water the soil thoroughly but gently. You want it to be moist, not soggy.
- Create Humidity: Cover the pots with a clear plastic bag or a propagator lid. This creates a mini-greenhouse effect, which is crucial for cuttings as they don’t yet have roots to absorb water. Make sure the plastic isn’t touching the leaves too much.
The “Secret Sauce” (Pro Tips)
Over the years, I’ve picked up a few little tricks that seem to really help these cuttings get going:
- Bottom Heat is Your Friend: If you have a bit of extra workspace and the means, placing your pots on a gentle heated propagator mat can make a huge difference. It encourages root development from the bottom up. You don’t want it too hot – just a nice, cozy warmth.
- Air Circulation is Key: While humidity is vital, stagnant air can lead to fungal issues. Open the plastic bag or propagator lid for about 15-30 minutes each day to allow for some air exchange. It’s a bit of a balancing act, but it’s worth it.
- Don’t Disturb Too Soon: Resist the urge to tug at your cuttings to check for roots! Give them at least 6-8 weeks before you even consider trying to gently pull one to feel for resistance. Patience here is rewarded.
Aftercare & Troubleshooting
Once you start seeing new leaves emerging or feel a gentle tug when you very carefully check, you know your Kageneckia cuttings are rooting!
- Gradual Acclimatization: As your cuttings develop roots, gradually reduce the humidity. Start by opening the plastic bag for longer periods, then remove it entirely for a few hours a day, and finally, remove it altogether over the course of a week or two.
- Gentle Watering: Continue to keep the soil consistently moist but not waterlogged. As the plant grows, you can begin to water it as you would a small, established plant.
- Signs of Trouble: The most common issue is rot, which usually appears as a black, mushy stem. This is often caused by too much moisture and not enough drainage or air circulation. If you see this, unfortunately, that cutting is unlikely to recover. Another sign of not rooting is if the leaves start to wither and shrivel, despite being in a humid environment. This could indicate that the cutting simply didn’t take, or it might need more time.
Propagating Kageneckia oblonga is a journey, and like any gardening venture, there will be successes and may be a few failures. Don’t get discouraged if your first few attempts don’t pan out. Each time you try, you learn a little more. Enjoy the process of nurturing these tiny beginnings, and soon you’ll have beautiful new Chilean Plums to admire and share! Happy propagating!
Resource:
https://identify.plantnet.org/k-world-flora/species/Kageneckia%20oblonga%20Ruiz%20&%20Pav./data