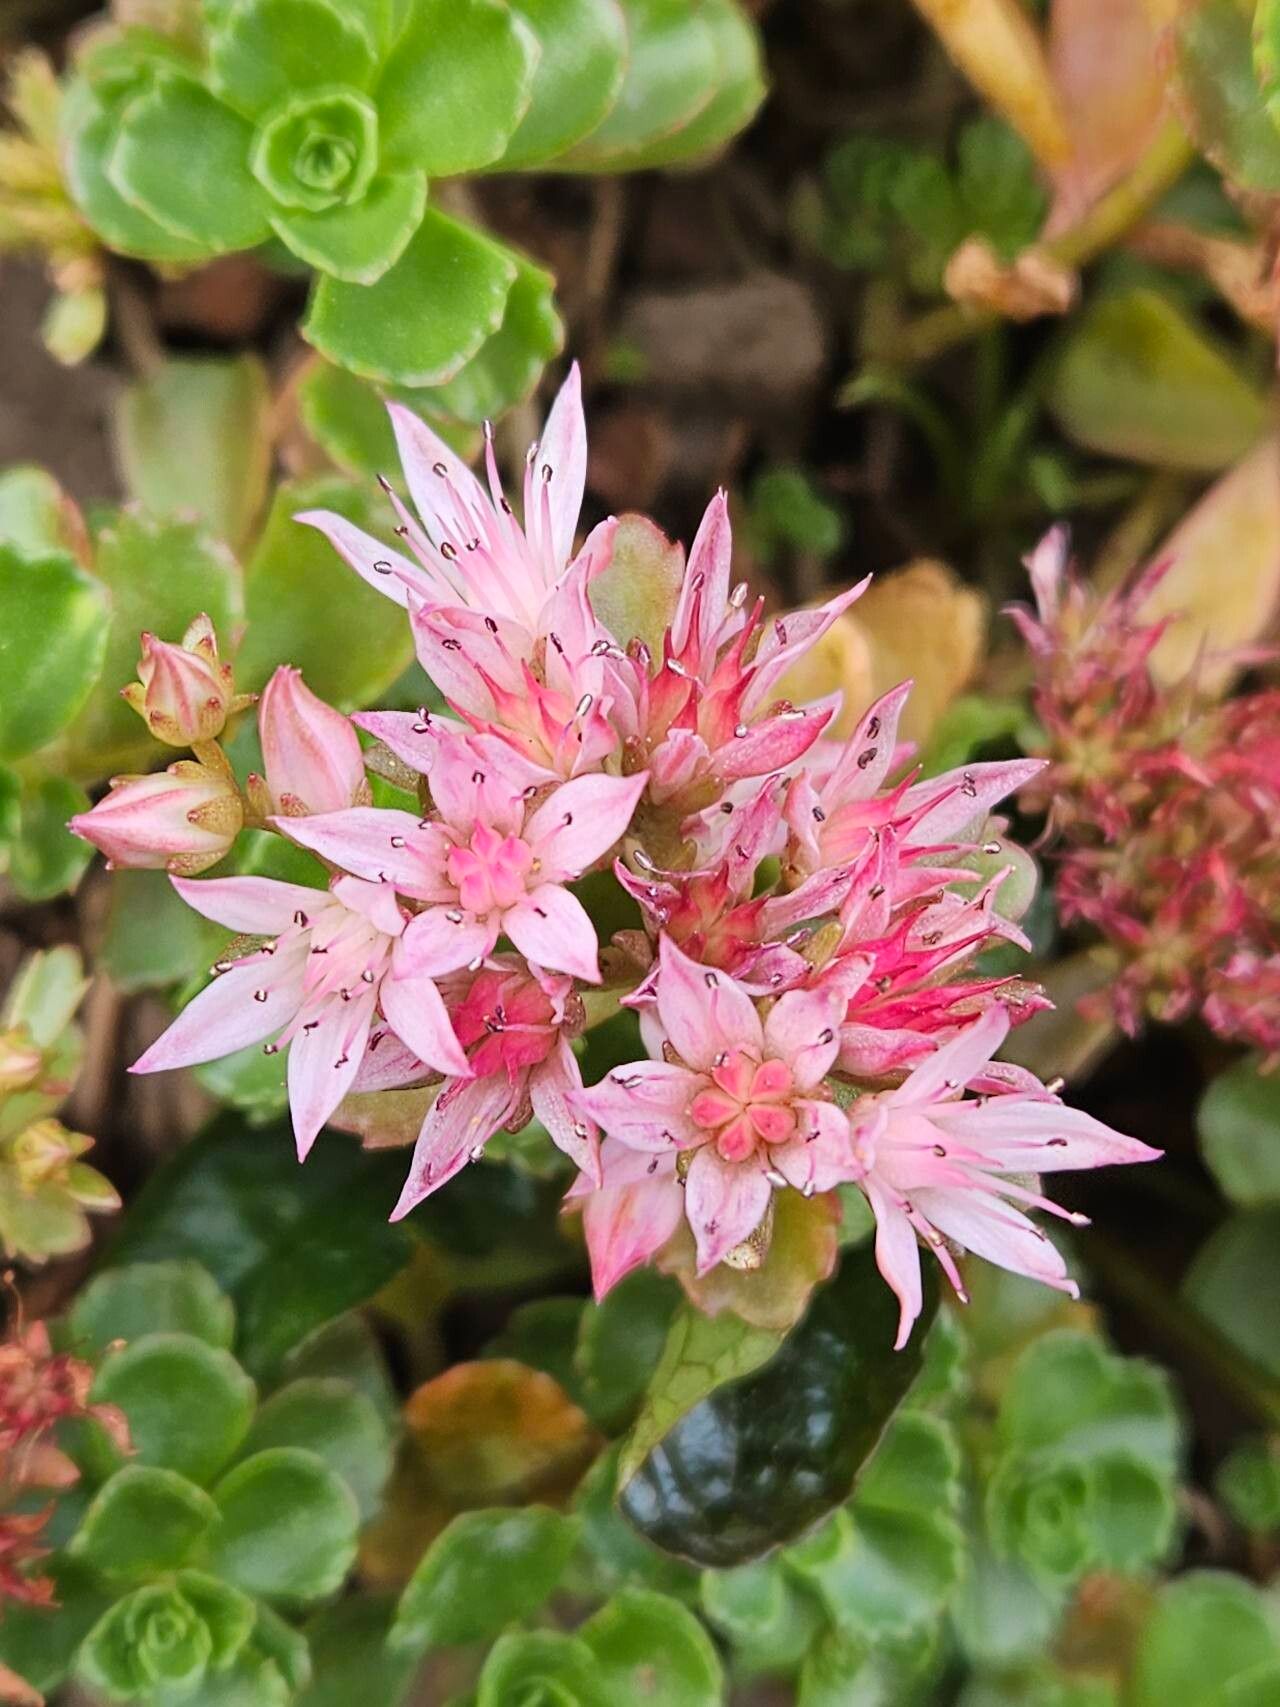
Hey there, fellow plant lover! Let’s chat about Phedimus spurius, sometimes called Caucasian Stonecrop. If you’re looking for a plant that’s as forgiving as it is gorgeous, you’ve found a winner. Its trailing stems, adorned with jewel-like succulent leaves and topped with cheerful pinkish-red flowers in late summer, really brighten up any garden bed, rock garden, or even a container. And the best part? Propagating it is a breeze, making it a fantastic project for beginners and seasoned gardeners alike. It’s incredibly rewarding to watch a tiny piece of plant transform into a whole new, beautiful specimen.
The Best Time to Start
For Phedimus spurius, I’ve found that the late spring or early summer is truly the sweet spot. This is when the plant itself is actively growing after the chill of winter has passed. The days are getting longer and warmer, giving your new cuttings plenty of energy and time to establish themselves before the cooler weather rolls in. You can also have success with this plant a little later in the season, but starting in spring gives you the best insurance policy for robust growth.
Supplies You’ll Need
- Sharp pruning shears or a clean knife: For taking clean cuts.
- Small pots or trays: With drainage holes, of course!
- Well-draining potting mix: I love a succulent/cactus blend, or you can make your own by mixing equal parts potting soil, perlite, and coarse sand.
- Rooting hormone (optional but recommended): This little helper can speed things up.
- Watering can or spray bottle: For gentle hydration.
- Labels and a marker: To keep track of your new darlings.
Propagation Methods
Let’s get our hands dirty and talk about the easiest ways to multiply your Phedimus spurius.
1. Stem Cuttings: My Go-To Method
This is probably the most straightforward and successful way to propagate this plant.
- Take the Cuttings: Using your sharp shears or knife, cut healthy, non-flowering stems that are about 4-6 inches long. Try to make your cuts just below a leaf node, which is where new roots are most likely to form.
- Let Them Callus: This is a crucial step for succulents! Remove the lower leaves from your cuttings. Then, lay them on a dry surface (like a paper towel on a tray) in a shady spot for 2-3 days. You’ll see a tiny “seal” form over the cut end – this is called callusing, and it prevents rot when you plant them.
- Plant Them: Once callused, you can dip the cut end into some rooting hormone, if you’re using it. Then, gently insert the cuttings into your prepared well-draining potting mix. Don’t bury them too deeply, just enough so they stand upright.
- Water Sparingly: Give them a light watering, just enough to settle the soil around the cuttings. We’re going for slightly damp, not soggy.
2. Division: A Faster Option (When Ready)
If your Phedimus spurius plant is already a bit of a clump, you can split it up.
- Gently Remove the Plant: Carefully dig up the entire plant and loosen the soil around the root ball.
- Separate the Divisions: You can often tease apart sections of the plant by hand. Look for areas where the stems have rooted themselves. If you need to, use your clean knife or trowel to cut through dense roots. Each division should have some roots and a few stems.
- Replant Immediately: Pot up your divisions as you would a regular plant, using your well-draining mix. Give them a good watering to help them settle in.
The “Secret Sauce” (Pro Tips)
- Don’t Overwater Initially: This is probably the biggest mistake beginners make with succulents. Cuttings don’t have established roots yet, so they can’t absorb much water. Too much moisture leads to rot. Wait until you see signs of new growth or feel some resistance when you gently tug on the cutting before watering more regularly.
- Give Them a Little Warmth: While not absolutely essential, placing your pots in a warm spot, perhaps on a heat mat if you have one, can really kickstart root development. Just a gentle warmth is all they need.
- Don’t Rush the Callusing: I know it’s tempting to get your cuttings into soil right away, but that drying period is vital. It’s the plant’s defense mechanism against pathogens in the soil, and it’s the key to preventing rot in those vulnerable cut ends.
Aftercare & Troubleshooting
Once your cuttings have rooted (you’ll notice new growth, and they’ll feel a bit firm when gently tugged), you can start watering them a bit more regularly, letting the soil dry out slightly between waterings. Treat them like any other established Phedimus spurius.
If your cuttings start to look mushy or black at the base, that’s a sign of rot, usually from too much moisture. Unfortunately, if this happens, that cutting is likely lost. Peel off any rotted parts and try again, making sure your soil is extra gritty and you’re watering less often. You might also notice cuttings that just seem to shrivel up and not grow; sometimes, they just don’t have the right energy or conditions to take off, and that’s okay too. Gardening is all about learning and trying again!
Keep Nurturing
Be patient! Propagation is a journey, and each plant has its own pace. I find so much joy in watching these little bits of green life mature. Go ahead, snip a stem, get your hands a little dirty, and create some more beauty in your garden. Happy propagating!
Resource:
https://identify.plantnet.org/k-world-flora/species/Phedimus%20spurius%20(M.Bieb.)%20’t%20Hart/data