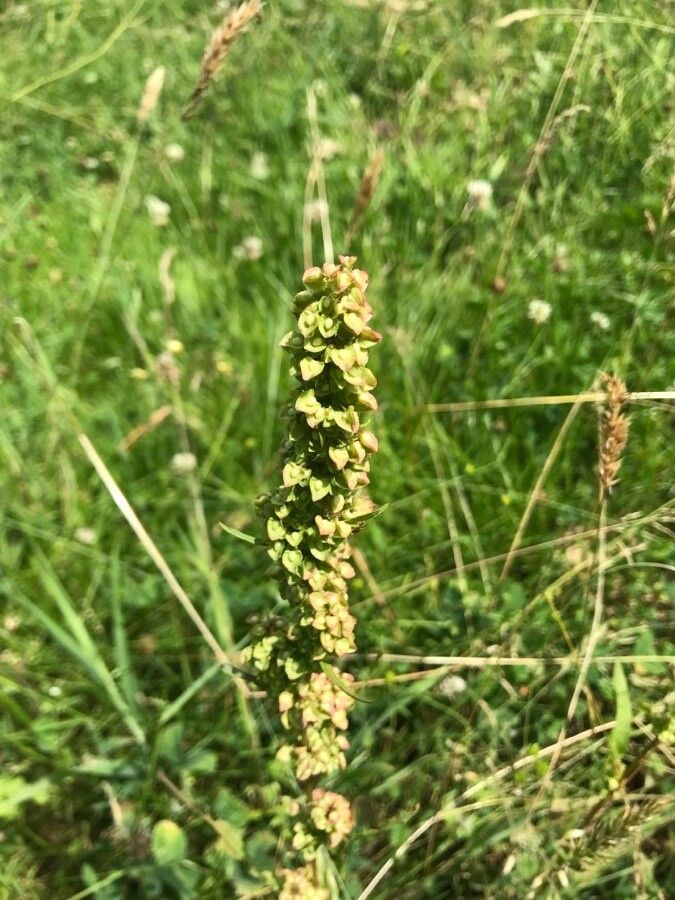
Oh, hello there! So you’ve fallen for the charm of Rumex aquitanicus, haven’t you? I don’t blame you. Those gorgeous, architectural leaves and delightful flower spikes are a real showstopper in any garden, whether it’s a lush border or a more naturalized setting. And the best part? Bringing new life from an existing plant is one of the most deeply satisfying gardening experiences. Propagating Rumex aquitanicus is a wonderfully accessible project, even for those just dipping their toes into the world of plant propagation. You’ll find it’s quite forgiving and generous with its willingness to grow.
The Best Time to Start
For the absolute best odds of success with your Rumex aquitanicus propagation, I always aim for late spring to early summer. This is when the plant is typically in its most vigorous growth phase after the chill of winter has passed. It has plenty of stored energy to put into developing new roots. Waiting until after the initial flush of spring growth gives you strong, healthy material to work with.
Supplies You’ll Need
Gathering your supplies ahead of time makes the whole process so much smoother. Here’s what I usually have on hand:
- Sterile potting mix: A good quality, well-draining mix is key. I like a blend of peat moss or coco coir with perlite or vermiculite. For division, a standard potting soil works fine.
- Sharp pruning shears or a clean knife: Essential for making clean cuts to avoid damaging the parent plant or your cuttings.
- Small pots or seed trays: Clean pots are crucial to prevent disease.
- Rooting hormone (optional but helpful): A powder or gel can give your cuttings a little boost.
- A watering can with a fine rose: For gentle watering.
- Labels and a permanent marker: So you don’t forget what you’ve tucked away!
Propagation Methods
Rumex aquitanicus is a plant that embraces a couple of different propagation techniques quite happily.
Division: The Most Reliable Way
This is my go-to method for Rumex aquitanicus, especially for more mature plants. It’s straightforward and the success rate is very high.
- Dig Carefully: In late spring or early summer, gently dig up your Rumex aquitanicus plant. Try to disturb the root ball as little as possible.
- Expose the Roots: Gently shake off excess soil to get a good look at the root system and crown. You’ll see distinct sections or crowns where new growth is emerging.
- Divide the Plant: Using your hands or a clean, sharp spade or knife, carefully separate the plant into smaller sections. Each section should have at least one healthy bud or growing point and a good portion of roots. For older, tougher plants, a sharp spade might be necessary.
- Replant Immediately: Plant your divisions directly into their new homes, whether that’s back into the garden or into pots. Water them in well.
Stem Cuttings: A Bit More Finesse
While division is my favorite, you can also try stem cuttings, though it can be a little less foolproof for this specific plant.
- Take Cuttings: In late spring or early summer, select healthy, non-flowering stems. Using your sterile secateurs, take cuttings about 4-6 inches long. Make the cut just below a leaf node (where a leaf attaches to the stem).
- Prepare the Cuttings: Remove the lower leaves, leaving just a couple at the very top. If you’re using rooting hormone, dip the cut end into it.
- Pot Them Up: Fill small pots with your sterile, well-draining potting mix. Make a small hole in the center of each pot and insert the cutting, firming the soil around it.
- Water Gently: Water the cuttings thoroughly but gently.
The “Secret Sauce” (Pro Tips)
Here are a few little tricks I’ve picked up over the years that can make all the difference:
- Don’t Overcrowd Divisions: When dividing, be patient. Resist the urge to cram too many divisions into a small pot or space. Give each new plant enough room to breathe and establish itself. This prevents competition for resources and reduces stress.
- Provide Gentle Bottom Heat for Cuttings: If you’re trying stem cuttings, placing the pots on a heated propagator mat can significantly speed up root development. It mimics the warmth they’d get naturally in the soil during the growing season and encourages root growth from below.
- Keep Air Humidity Up for Cuttings: Cuttings, especially those without roots, can dry out quickly. I like to place a plastic bag loosely over the pot, creating a mini-greenhouse effect. Ensure the leaves don’t touch the plastic, as this can encourage rot.
Aftercare & Troubleshooting
Once your divisions are planted or your cuttings show signs of rooting (you can gently tug on a cutting – if there’s resistance, roots have formed), it’s time for continued care.
Keep the newly planted divisions or rooted cuttings consistently moist, but not waterlogged. A good rule of thumb is to water when the top inch of soil feels dry. As they establish, you can gradually reduce watering frequency.
The most common issue you might encounter, especially with cuttings, is rot. This is usually a sign of too much moisture and poor air circulation. If you see stems becoming mushy or blackening, remove them immediately to prevent the problem from spreading. Ensuring good drainage and not overwatering are your best defenses.
A Encouraging Closing
So there you have it! Propagating Rumex aquitanicus is a rewarding journey. Trust the process, be patient with your new plant babies, and don’t be afraid to get your hands dirty. Every gardener has lost a plant or two during propagation – it’s all part of the learning curve. The joy of watching those new leaves unfurl is absolutely worth it. Happy gardening!
Resource:
https://identify.plantnet.org/k-world-flora/species/Rumex%20aquitanicus%20Rech.f./data