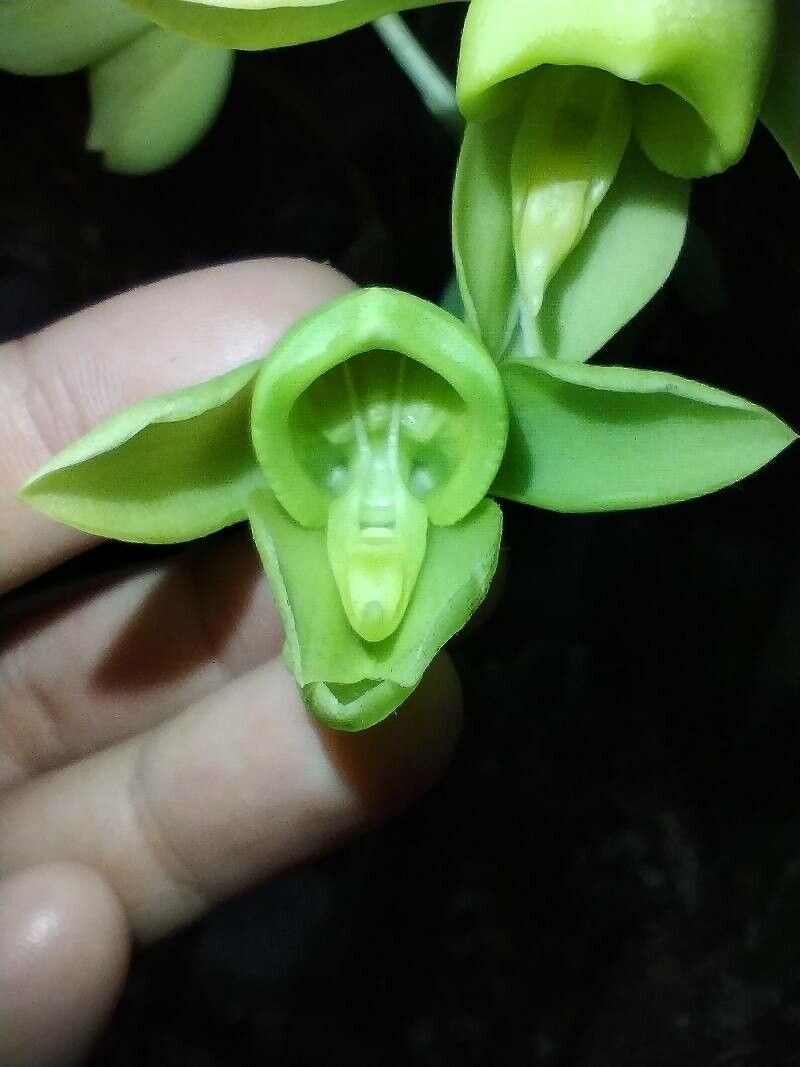
Hello there, fellow plant enthusiasts! It’s so lovely to have you joining me today. We’re going to dive into the wonderful world of Catasetum hopkinsonianum, a truly captivating orchid that, for me, has always brought a special kind of joy to the greenhouse. Its unique, almost alien-looking blooms are a conversation starter, and successfully coaxing a new one from an existing plant is incredibly satisfying. Now, I won’t sugarcoat it – while delightful, Catasetum orchids are not the most beginner-friendly when it comes to propagation. They have a specific way of doing things, but with a little patience and the right approach, you can absolutely achieve success!
The Best Time to Start
For Catasetum hopkinsonianum, the absolute sweet spot for propagation is when the plant is actively growing. This typically means late spring through early summer. You want to catch them when they’re brimming with energy, pushing out new shoots or pseudobulbs. Trying to propagate when they’re dormant is like asking someone to run a marathon on an empty stomach – not ideal!
Supplies You’ll Need
Here’s what you’ll want to have on hand before you begin:
- Sharp, sterile pruning shears or a clean knife: Sterilize with rubbing alcohol to prevent disease.
- Orchid Bark Mix: A good quality, well-draining bark mix is essential. I often use a blend with added perlite for extra aeration.
- Sphagnum Moss: High-quality long-fibered sphagnum moss is a lifesaver for retaining a bit of moisture without waterlogging.
- Clear Plastic Pots or Containers: These allow you to easily monitor root development.
- Rooting Hormone (optional but recommended): A powder or gel can give cuttings a helpful boost.
- Watering Can or Mister: For gentle watering.
- A Well-Draining Potting Medium: Think very porous!
- Labels and a Permanent Marker: To keep track of your propagations.
Propagation Methods
The most reliable method for Catasetum hopkinsonianum is division. These orchids tend to form clumps, and separating them is usually the easiest route to new plants.
Division Method:
- Assess Your Plant: Look for a mature plant with multiple pseudobulbs. You want to see at least two or three pseudobulbs connected by a healthy rhizome, with at least one of those pseudobulbs showing signs of active growth or with a developing shoot.
- Gently Remove from Pot: Carefully slide the orchid out of its pot. If it’s stuck, a gentle squeeze around the edges or a sharp knife run along the inside of the pot might be necessary.
- Clean the Roots: Gently brush away as much of the old potting mix as you can from the root system. This allows you to clearly see the rhizome and where to make your cuts.
- Locate the Rhizome: The rhizome is the thick, horizontal stem that connects the pseudobulbs. Look for a natural growing point or joint.
- Make the Cut: Using your sterile shears or knife, carefully cut through the rhizome to separate the clump. Aim for divisions that have at least two healthy pseudobulbs and a good root system attached. Ensure each new division has a portion of the rhizome.
- Inspect and Trim: Remove any dead or mushy roots. If any of the pseudobulbs look shriveled, you can gently trim those away too.
- Pot Up Your Divisions: Place each new division into its own pot. Use your well-draining orchid bark mix. Make sure the pseudobulbs are sitting on top of the mix, not buried too deeply. You want the new roots to be able to find their way into the airy medium.
- Initial Watering: I do not water immediately after dividing. Instead, I let the cut surfaces dry for a day or two to prevent rot. Then, I’ll give it a light watering or misting.
The “Secret Sauce” (Pro Tips)
Here are a few things I’ve learned over the years that really make a difference:
- Don’t Rush the Cut: Take your time assessing where to divide. A clean cut through a healthy rhizome is crucial. If you see signs of rot on the rhizome, it’s best to avoid that section altogether.
- The Power of a Good Soak (Post-Rest): After you’ve potted up your divisions and they’ve had a few days to settle, I like to give them a good, thorough soak with a product that encourages root growth. Think of it as a spa day for your new orchids!
- Airflow is Your Friend: While we want to keep the humidity up, constant stagnant air is the enemy of orchids, especially when they are recovering from division. Good air circulation helps new roots develop and prevents fungal issues.
Aftercare & Troubleshooting
Once your divisions are potted, give them a bit of TLC. Keep them in a warm, humid environment out of direct sunlight. You’ll want to mist them regularly, but always allow the potting mix to dry out slightly between waterings.
The most common pitfall you’ll encounter is rot. If you see a pseudobulb turning black and mushy, that’s usually a sign of too much moisture or a fungal infection. If this happens, you may need to remove the affected part. Wilting leaves can also be a sign your new division isn’t getting enough moisture, or conversely, is sitting in too much. Keep an eye on the new root growth – that’s your best indicator of success! It can take several weeks, even months, for new roots to show. Be patient!
A Closing Thought
Propagating Catasetum hopkinsonianum might seem a little daunting at first, but it’s a deeply rewarding process. Watching those new roots emerge and a tiny shoot unfurl is like witnessing a miracle. Don’t be discouraged if your first attempt isn’t perfect; gardening is all about learning and adapting. Enjoy the journey, savour the small victories, and before you know it, you’ll have a whole collection of these fascinating orchids! Happy growing!
Resource: