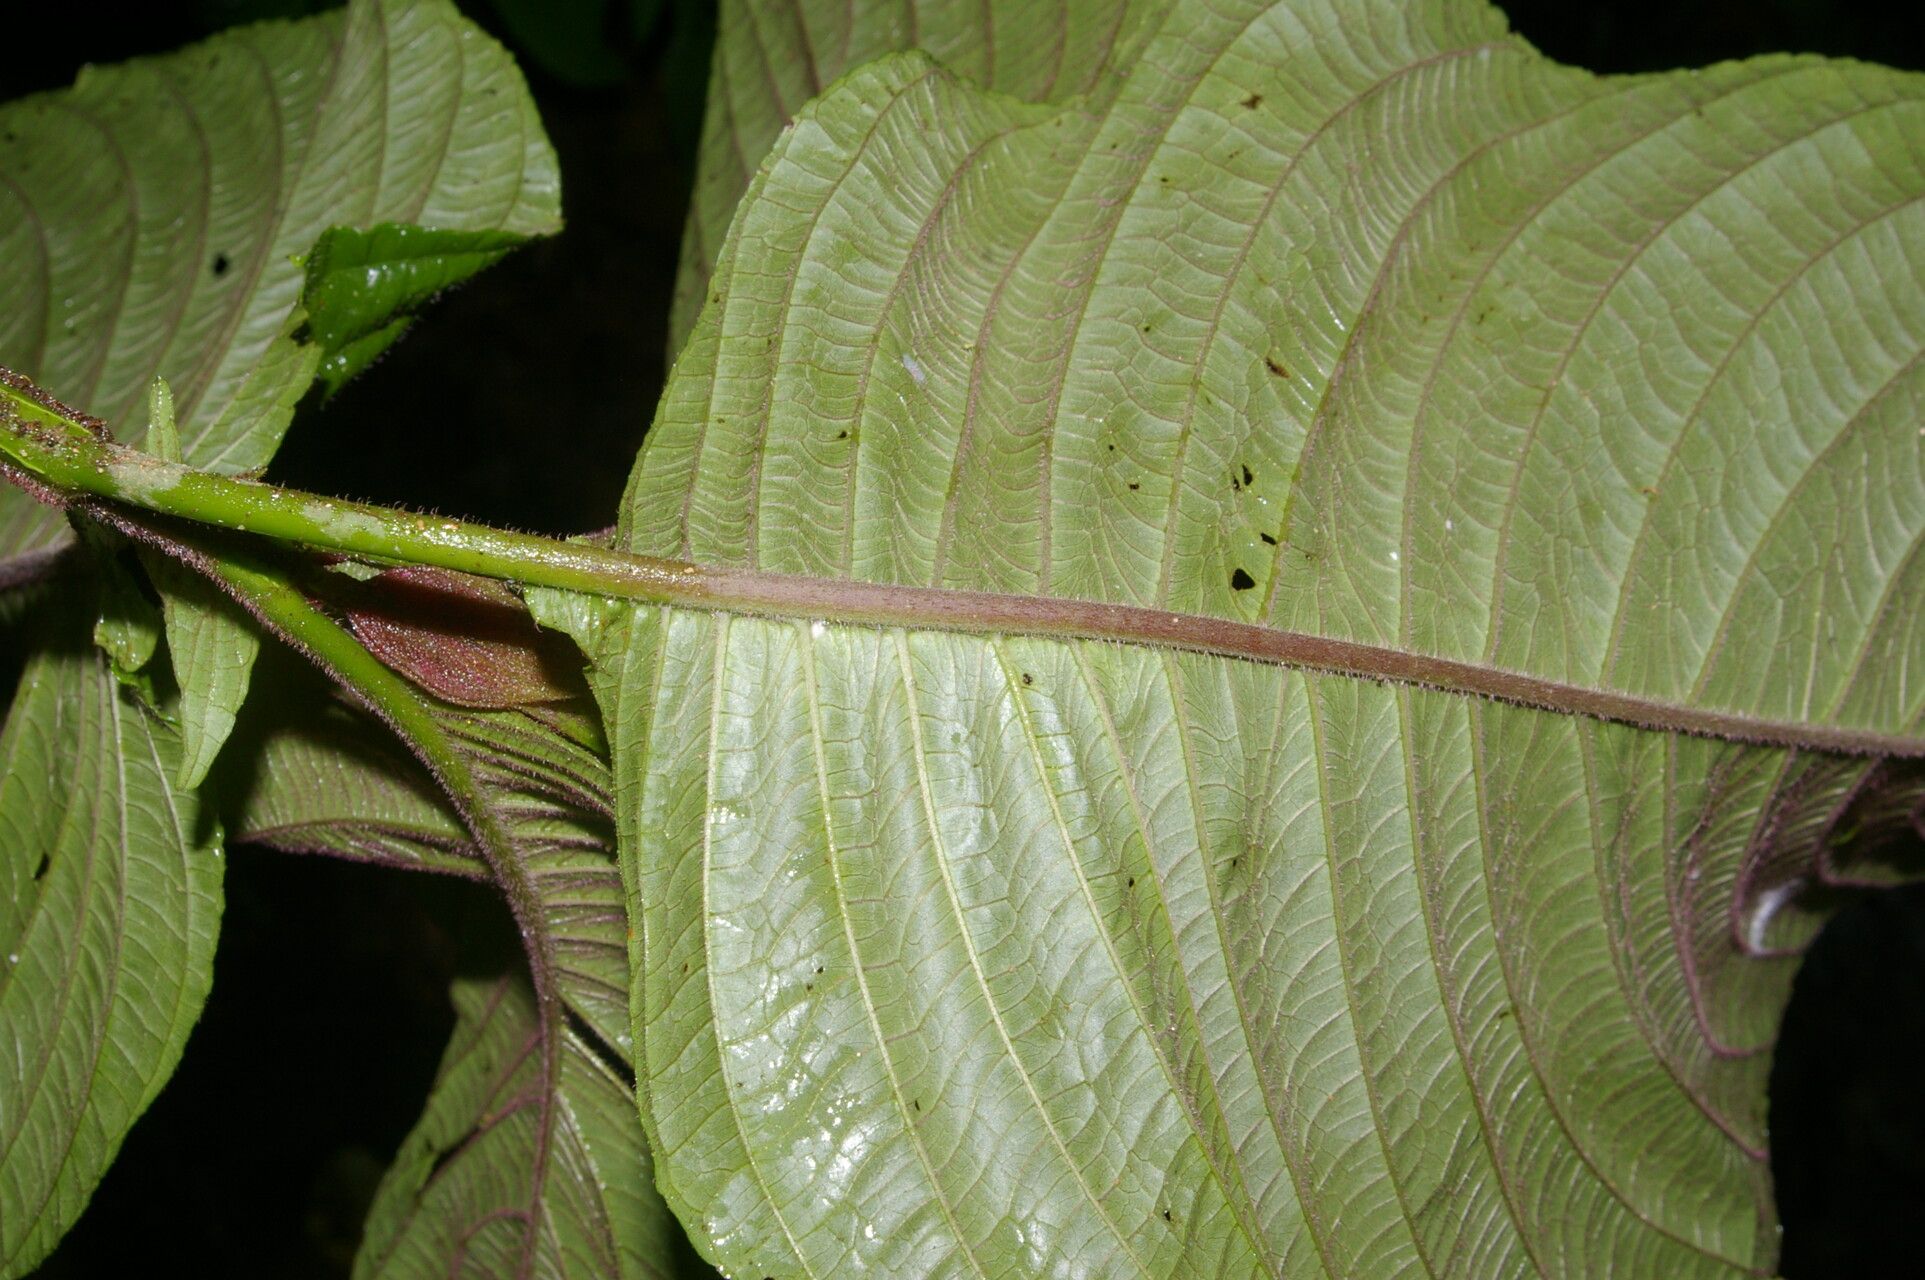
Ah, Stenostephanus villosus! That lovely plant with its fuzzy leaves and vibrant blooms is a real gem in the garden. Seeing a new one sprout from a tiny cutting is just one of those little joys that makes gardening so special, don’t you think? It’s a rewarding experience, and while it might seem a tad fiddly at first, I find it’s quite achievable once you get the hang of it. It’s not one of those “stick it in dirt and hope for the best” plants, but definitely not too advanced for someone willing to give it a go.
The Best Time to Start
My favorite time to get Stenostephanus villosus going is in the late spring or early summer. This is when the plant is actively growing, and those new shoots are just bursting with life. They have the best energy reserves then, which really helps them focus on rooting instead of just trying to survive.
Supplies You’ll Need
Here’s what I always have on hand when I’m starting cuttings:
- Sharp pruning shears or a clean knife: For making nice, clean cuts.
- A well-draining potting mix: I usually mix my own – about equal parts perlite and peat moss or coco coir. This keeps things airy.
- Small pots or seed trays: Whatever you have that can hold the mix and provide space for roots to develop.
- Rooting hormone (optional but helpful): A powder or gel will give your cuttings a boost.
- A clear plastic bag or dome: To create a humid environment.
- A spray bottle: For misting.
- Labels and a marker: So you don’t forget what’s what!
Propagation Methods
We’ll focus on starting from stem cuttings, as that’s my go-to for this plant.
- Take Cuttings: Gently select healthy, non-flowering stems from your established plant. Look for stems that are about 4-6 inches long and have at least a couple of sets of leaves. Using your sharp shears, make a clean cut just below a leaf node (that’s where the leaves join the stem).
- Prepare the Cuttings: Carefully remove the lower leaves from the bottom half of the cutting. You want a clean stem to insert into the soil. If any leaves are very large, you can halve them to reduce water loss.
- Apply Rooting Hormone (Optional): If you’re using rooting hormone, dip the cut end of the stem into the powder or gel. Tap off any excess.
- Potting Up: Fill your small pots or trays with your prepared potting mix. Moisten the mix so it’s damp but not soggy.
- Plant the Cuttings: Make a small hole in the center of the soil with your finger or a pencil. Insert the cut end of the stem into the hole, pushing it in just deep enough so it’s stable. Gently firm the soil around it.
- Create Humidity: Water gently from the bottom if possible, or with a very fine mist from your spray bottle. Then, cover the pot with a clear plastic bag or place it under a clear dome. This traps moisture and creates a mini-greenhouse effect.
The “Secret Sauce” (Pro Tips)
Now for a couple of my little tricks that often make a difference:
- Don’t let the leaves touch the water if you happen to be trying water propagation (though I prefer soil for this one). If leaves sit in water, they tend to rot before roots can even think about forming.
- Bottom heat is a game-changer. If you have a seed tray with a heating mat, give your cuttings a little warmth from below. This encourages root development much faster than just ambient room temperature. I find it makes a huge difference when I’m trying to hurry things along!
Aftercare & Troubleshooting
Once your cuttings are potted, place them in a bright spot, but out of direct sunlight. Too much sun can scorch those delicate new stems. Keep the soil consistently moist, but never waterlogged. A good check is to feel the soil – if the top inch feels a little dry, it’s time to water.
You’ll know your cuttings are rooting when you see new leaf growth or feel a gentle resistance when you tug on the stem. This usually takes anywhere from 4-8 weeks.
The most common issue you might encounter is rot. If your cuttings start looking mushy or yellowing and wilting, it’s often a sign of too much moisture and not enough air circulation. Discard any rotten cuttings and ensure your remaining ones have good airflow. Sometimes, just lifting the plastic cover for an hour a day can help.
A Encouraging Closing
Don’t get discouraged if not every cutting takes. It’s a natural part of the process! Be patient, keep an eye on them, and enjoy the journey of coaxing new life into being. Soon enough, you’ll have a whole new set of these delightful plants to share or enjoy yourself. Happy propagating!
Resource: