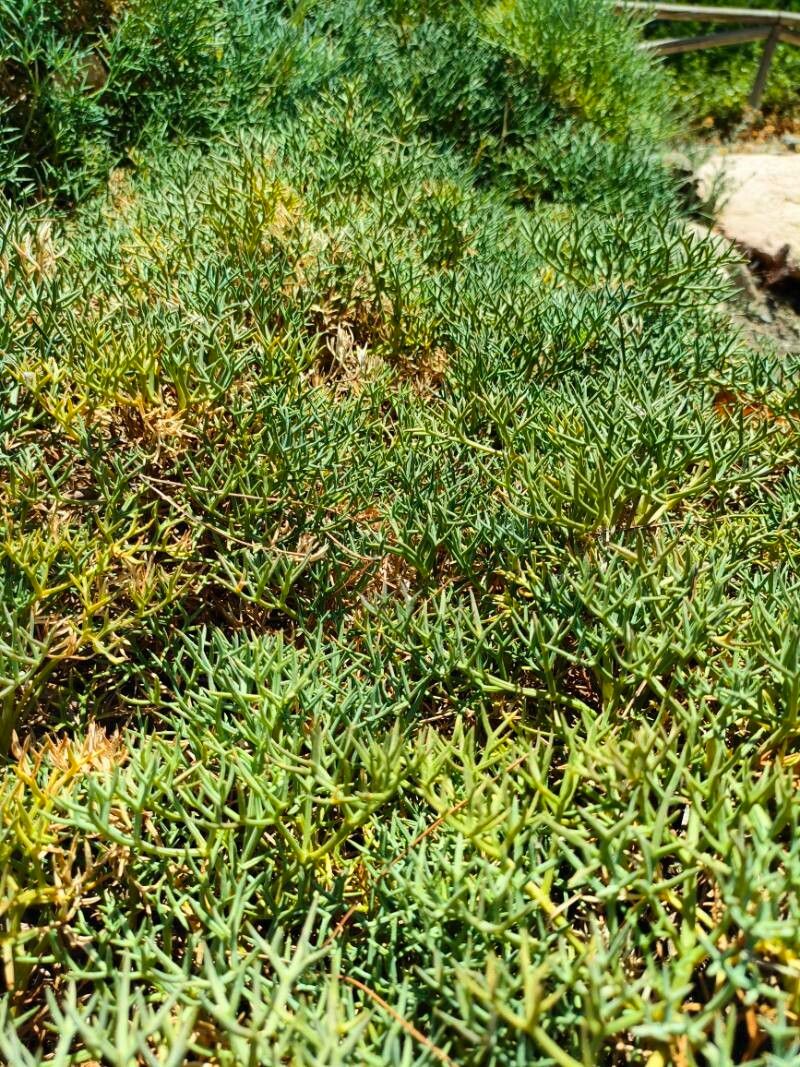
Oh, hello there! Come on in, grab a cup of tea. I’ve been itching to chat with you about Seseli bocconei. This little gem is such a delight in the garden, isn’t it? Its delicate, airy white flowers and feathery foliage bring a touch of elegance without demanding a whole lot of fuss. And the best part? It’s surprisingly rewarding to propagate. You get to multiply that beauty and share it with friends. Some might find propagating plants a bit daunting, but honestly, Seseli bocconei is quite forgiving, even for those of you just starting your green-thumb journey.
The Best Time to Start
For the highest success rate with Seseli bocconei, I always recommend late spring or early summer, right after the main flush of blooming has passed. This is when the plant is actively growing and has plenty of energy to put into developing new roots. You want to take cuttings from healthy, non-flowering stems.
Supplies You’ll Need
Gathering your tools beforehand makes the whole process much smoother. Here’s what I usually have on hand:
- Sharp, clean pruning shears or a craft knife: For making clean cuts.
- Rooting hormone (optional but recommended): Especially for stem cuttings.
- Seed starting mix or a well-draining potting mix: I like to mix in some perlite or coarse sand for extra drainage.
- Small pots or trays: With drainage holes, of course!
- Clear plastic bags or domes: To create a humid environment for cuttings.
- Watering can with a fine rose: For gentle watering.
- Labels: So you don’t forget what you’ve planted.
Propagation Methods
Seseli bocconei is a pretty adaptable plant, and I’ve had success with a couple of methods.
Stem Cuttings
This is my go-to method for Seseli bocconei. It’s efficient and gives you a good chance of success.
- Select your stems: Look for healthy, non-flowering stems that are roughly pencil-thick.
- Make the cut: Using your sharp shears or knife, take cuttings that are about 3-4 inches long. Make the cut just below a leaf node (where a leaf attaches to the stem).
- Prepare the cutting: Gently remove the lower leaves, leaving just a couple at the top.
- Dip in rooting hormone: If you’re using rooting hormone, dip the cut end into it. Just a light coating is all you need.
- Plant your cuttings: Fill your small pots with your prepared soil mix. Make a small hole with your finger or a pencil and insert the cutting. Gently firm the soil around it.
- Water gently: Water them in well, making sure the soil is moist but not waterlogged.
- Create humidity: Cover the pots with a clear plastic bag or a dome to create a mini-greenhouse effect. You can secure the bag with a rubber band around the pot.
Division
If you have an established clump of Seseli bocconei, dividing the roots is another excellent way to propagate.
- Dig it up: In early spring, before new growth really takes off, carefully dig up the entire plant.
- Separate the roots: Gently shake off some of the excess soil. You should be able to see where the plant naturally splits into smaller sections. You can use your hands or a clean trowel to carefully pull apart the root ball into smaller pieces. Each piece should have some roots and at least one or two shoots.
- Replant immediately: Plant each division into its new location in the garden or into pots, just as you would a young plant. Water them thoroughly.
The “Secret Sauce” (Pro Tips)
Here are a few little tricks I’ve picked up over the years that really help:
- Don’t let those lower leaves touch the soil: When you’re making cuttings, any leaves that would be below the soil line are just begging for rot. Pinch them off cleanly.
- A little warmth goes a long way: Placing your pots on a heat mat designed for seedlings can significantly speed up root formation. It mimics that lovely spring soil warmth.
- Air circulation is key: While you want humidity, you don’t want stagnant air. I often open the plastic bag or dome for a few minutes each day to let fresh air in and prevent fungal issues.
Aftercare & Troubleshooting
Once your cuttings have started to root – you’ll see new growth appearing, and if you gently tug on a cutting, you’ll feel resistance – it’s time for a bit of adjustment. Gradually acclimate them to normal room humidity by opening the plastic bag or dome a little more each day over a week. Once they’re looking strong and have a good root system, you can transplant them into slightly larger pots or their permanent garden spot.
The most common issue you might encounter is rot. This usually happens from overwatering or poor drainage. If you see stems turning black and mushy, unfortunately, that cutting is likely lost. Don’t be discouraged! Just adjust your watering for the remaining cuttings. Sometimes, cuttings just don’t take, and that’s okay. Nature has its own rhythm.
Keep Growing!
Propagating Seseli bocconei is a wonderful way to connect with your plants and expand your garden’s beauty. Be patient with yourself and with your new little plantlets. Some take their time, and that’s part of the charm. Enjoy the process, celebrate each tiny success, and soon you’ll have more of that lovely airy white magic to admire! Happy gardening!
Resource:
https://identify.plantnet.org/k-world-flora/species/Seseli%20bocconei%20Guss./data