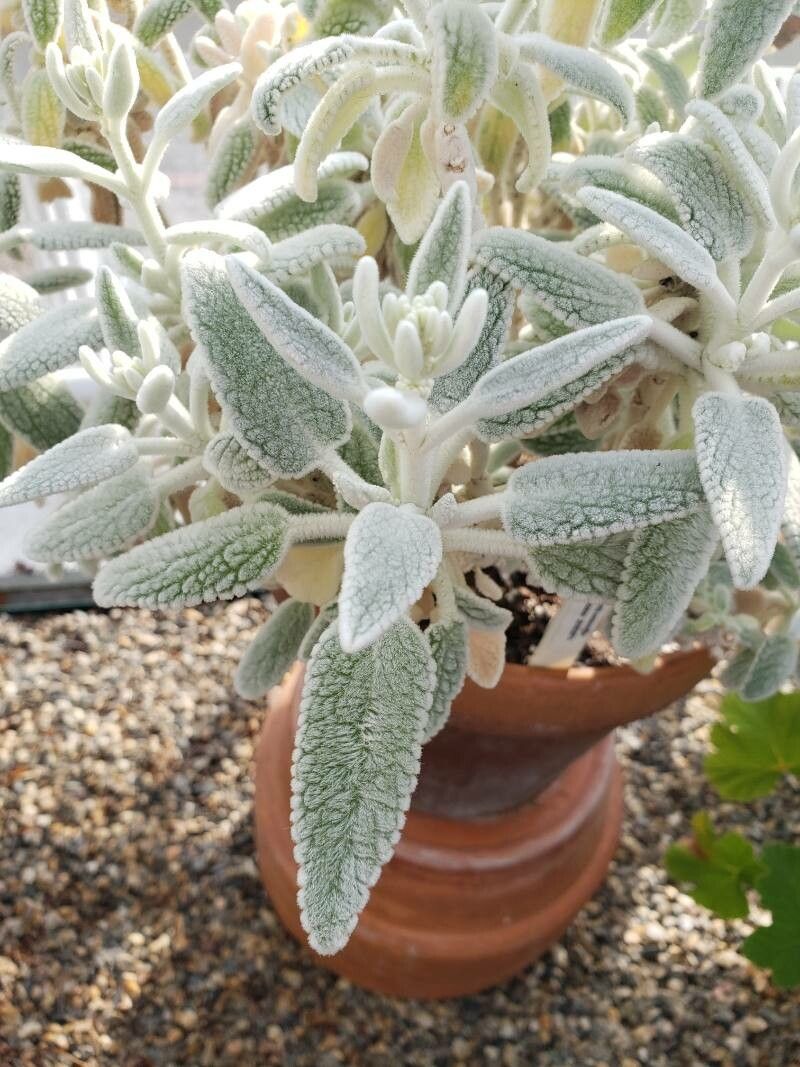
Oh, hello there! Pull up a chair and let’s chat about a truly special plant: Sideritis oroteneriffae. I’ve been captivated by this little beauty for years, and trust me, it’s worth getting to know. Sometimes called “Mountain Tea” or “Shepherd’s Tea,” it has these lovely, silvery-green foliage and produces delicate, often white to pale pink, flowers that are just charming. Propagating it myself has brought me so much joy, watching these new little ones take root and grow. Now, is it easy for a complete beginner? Honestly, it’s not the absolute easiest plant to start with, but with a little patience and a few key tricks, you’ll find it quite manageable and incredibly rewarding.
The Best Time to Start
For Sideritis oroteneriffae, the sweet spot for propagation is generally late spring to early summer. This is when the plant is actively growing, and the new shoots are firm but not yet woody. You want to take cuttings when the plant is bursting with life – that’s when they have the most energy to root.
Supplies You’ll Need
Here’s a little kit to get you started. You probably have most of this already!
- Sharp pruning shears or a clean, sharp knife: For making clean cuts.
- Rooting hormone (optional but helpful): A powder or gel can give your cuttings a nice boost.
- Potting mix: A well-draining mix is crucial. I like to use a blend of equal parts perlite, peat moss, and a bit of compost. You can also get a dedicated cactus and succulent mix, as they often have the right drainage.
- Small pots or seed trays: Make sure they have drainage holes!
- Plastic bags or a propagation dome: To create a humid environment.
- Watering can or spray bottle: For gentle watering.
Propagation Methods
I find stem cuttings to be the most reliable way to get more Sideritis oroteneriffae. Here’s how I do it:
- Select Your Cuttings: Look for healthy, non-flowering stems about 4-6 inches long. You’re aiming for cuttings that are firm but still somewhat flexible – not too soft, not too woody.
- Make the Cut: Using your clean shears or knife, make a clean cut just below a leaf node (where the leaves attach to the stem). This is where rooting is most likely to occur.
- Prepare the Cutting: Gently remove the lower leaves from the cutting. You want to expose a few nodes. If the leaves are large, you can even cut them in half to reduce water loss.
- Apply Rooting Hormone (Optional): Dip the cut end into your rooting hormone, tapping off any excess.
- Plant the Cuttings: Fill your small pots with your well-draining potting mix. Make a small hole with your finger or a pencil, and insert the cutting, ensuring at least one or two leaf nodes are buried in the soil. Firm the soil gently around the base of the cutting.
- Water Gently: Water the soil thoroughly but gently. You don’t want to dislodge the cutting.
- Create Humidity: Cover the pot with a plastic bag, a clear plastic dome, or place it inside a larger clear plastic bag. Make sure the leaves aren’t touching the sides of the bag if possible. This traps humidity, which is vital for cuttings to root.
Water propagation is another method that can work, though I’ve found it to be a bit trickier with Sideritis oroteneriffae for initial rooting. If you do try it:
- Prepare your cuttings as above, removing lower leaves.
- Place the cuttings in a clean glass jar or vase filled with water.
- Crucially, ensure no leaves are submerged in the water. Submerged leaves will rot and can kill your cutting.
- Place the jar in a bright spot with indirect light and change the water every few days.
- Once you see tiny white roots forming, carefully transplant them into your prepared potting mix. This step requires a gentle touch, as the baby roots are delicate.
The “Secret Sauce” (Pro Tips)
Here are a couple of things I’ve learned that make a real difference:
- Don’t let the leaves touch the water. Seriously. Whether you’re propagating in soil or water, any leaf submerged will invite rot. It’s a surefire way to lose a cutting.
- Bottom heat is your friend. If you have a heated propagator mat or can place your pots on top of a gently warm surface (like a router or a window sill that gets sun but isn’t scorching), it can significantly speed up root development. It mimics the warmth of the soil in summer.
Aftercare & Troubleshooting
Once your cuttings have been planted, place them in a bright location but out of direct, harsh sunlight. Keep the soil consistently moist but not waterlogged. The humidity inside the bag or dome is key here.
You’ll know they’re rooting when you see new growth, or when you gently tug on the cutting and feel resistance. This can take anywhere from 3-8 weeks, sometimes longer. Don’t be discouraged if it takes a while!
The most common problem you’ll face is rot. If you see your cutting turning black and mushy, or if the leaves start to yellow and fall off prematurely, it’s likely too much moisture or not enough air circulation. It’s often best to discard rotten cuttings to prevent them from affecting others. If the soil feels constantly soggy, try to gently wick away some of the excess moisture with a paper towel or increase air circulation by slightly opening the bag.
A Encouraging Closing
Propagating Sideritis oroteneriffae is a journey, not a race. Be patient with your little cuttings, give them the right conditions, and celebrate each tiny success. Watching a new plant emerge from a simple stem is one of the most magical parts of gardening, and I know you’ll find it just as fulfilling as I do. Happy propagating!
Resource: