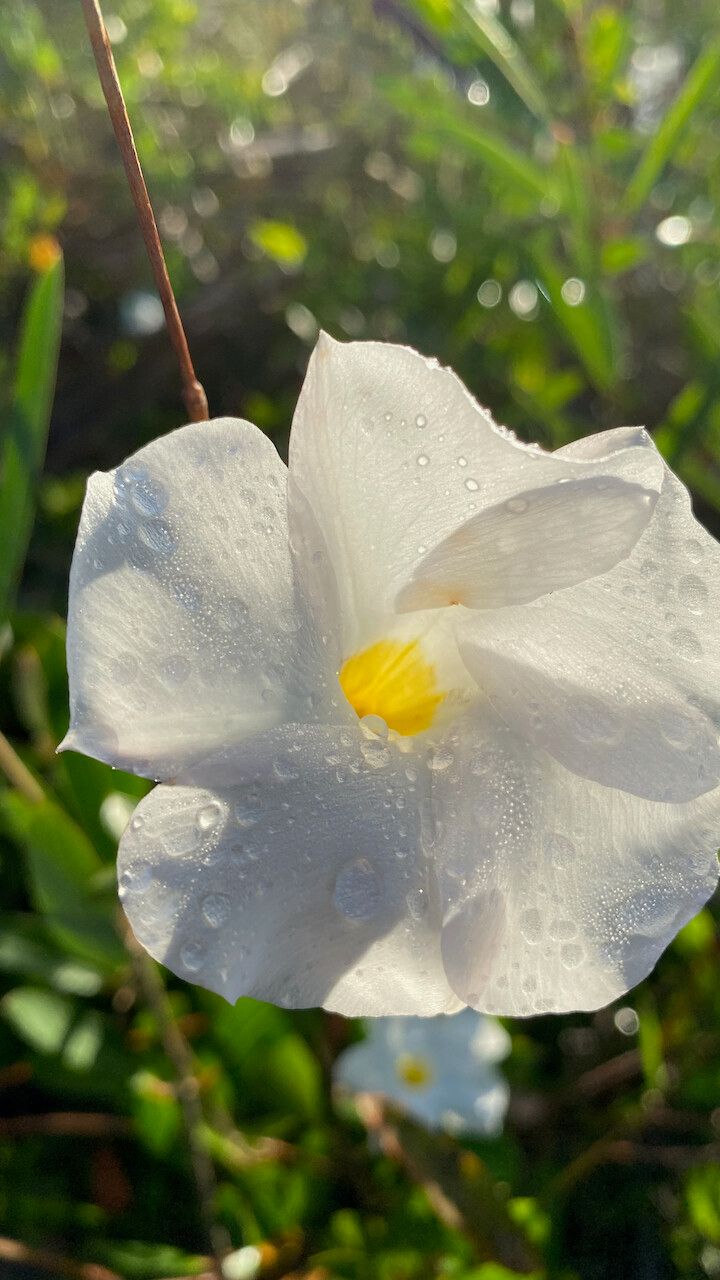
Oh, Rhabdadenia biflora! If you’ve ever had the pleasure of seeing this beautiful vine draped over a fence or spilling out of a hanging basket, you know exactly what I’m talking about. Its trumpet-shaped, typically white or pink flowers are just a dream, and it brings such a lush, tropical feel to the garden. I’ve spent years with this plant, and propagating it is one of those little gardening joys that truly pays off.
For beginners, I’m happy to say that Rhabdadenia biflora is a pretty forgiving plant to propagate. You don’t need to be a seasoned pro to have success. It’s a wonderfully rewarding way to get more of those gorgeous blooms for free!
The Best Time to Start
Generally, I find the spring and early summer to be the sweet spot for propagating Rhabdadenia biflora. This is when the plant is actively growing, meaning it has the energy and sap flow needed to push out new roots. Look for healthy, new growth that’s not yet woody.
Supplies You’ll Need
Gathering your tools beforehand makes the whole process smoother. Here’s what I usually have on hand:
- Sharp pruning shears or a clean knife: For making clean cuts.
- Rooting hormone (optional but recommended): Helps kickstart root development. I prefer powdered types.
- A well-draining potting mix: A good blend is usually equal parts perlite and peat moss or coco coir. You can also use a standard seed-starting mix.
- Small pots or trays: Clean pots are crucial to avoid diseases.
- A clear plastic bag or propagation dome: To maintain humidity.
- Watering can or spray bottle: For gentle watering.
- Labels: Because, let’s be honest, we often forget what we planted what!
Propagation Methods
I find stem cuttings to be the most reliable method for Rhabdadenia biflora. It’s straightforward and gives you a great chance of success.
1. Taking Stem Cuttings:
- Select healthy stems: Look for non-flowering, current-season’s growth. You want stems that are flexible but not floppy, about 4-6 inches long.
- Make clean cuts: Using your sharp shears or knife, make a cut just below a leaf node (where a leaf attaches to the stem). This is where the magic happens for root development.
- Prepare the cuttings: Remove the lower leaves, leaving just one or two sets at the top. This prevents them from rotting in the soil and reduces water loss.
- Apply rooting hormone (optional): Dip the cut end of the stem into your rooting hormone powder, tapping off any excess.
- Plant the cuttings: Fill your small pots with the well-draining potting mix. Make a small hole with your finger or a pencil, and gently insert the cutting, ensuring the leaf nodes are buried. Firm the soil gently around the stem.
2. Water Propagation (An Alternative):
If you’re feeling adventurous, you can try water propagation, though I find it sometimes leads to softer roots that transplant less successfully.
- Follow steps 1 and 2 for taking stem cuttings.
- Place the prepared cuttings in a jar of clean water. Make sure no leaves are submerged; trim them if they are.
- Place the jar in bright, indirect light. Change the water every few days to keep it fresh.
- You should see roots appear in a few weeks. Once the roots are about an inch long, you can pot them up into your well-draining mix.
The “Secret Sauce” (Pro Tips)
Here are a few little things I’ve learned over the years that really boost my success rates:
- My top tip? Avoid letting the leaves touch the soil or water. This is a prime spot for fungal issues and rot to set in, and we definitely don’t want that for our precious little cuttings.
- Bottom heat makes a world of difference! If you can get your hands on a seedling heat mat, place your pots on it. This gentle warmth encourages root formation from below, giving your cuttings a significant advantage. It mimics that feeling of warm soil that plants just love in the spring.
- Don’t be afraid to experiment with different lengths. While 4-6 inches is a good guide, sometimes a slightly longer cutting with a few more leaves can also be successful. Variety in your attempts can lead to unexpected wins!
Aftercare & Troubleshooting
Once your cuttings are planted, the real waiting game begins!
- Maintain humidity: Cover the pots with a clear plastic bag or a propagation dome. This creates a mini-greenhouse effect, keeping the humidity high, which is vital for cuttings that haven’t developed roots yet. Open the bag for a few minutes each day to allow for air circulation and prevent mold.
- Provide bright, indirect light: Place your pots in a spot that gets plenty of light but no direct, harsh sun, which can scorch the delicate new growth.
- Water gently: Keep the soil consistently moist but not soggy. A light spray from a watering can or spray bottle is often best. I like to give the soil a gentle poke to feel for moisture levels.
- Check for roots: After a few weeks, you can give your cuttings a gentle tug. If you feel resistance, it means roots have started to form! You can also look for new leaf growth, which is a very good sign.
- Troubleshooting: The most common issue is rot. If a cutting turns black and mushy, it’s time to discard it. This is usually caused by too much moisture and poor air circulation. If you see any signs of mold on the soil, increase ventilation.
A Encouraging Closing
Propagating Rhabdadenia biflora is a journey. There might be a few failed attempts along the way – that’s perfectly normal! Don’t get discouraged. Celebrate each little success, and enjoy the process of nurturing these new plants. Soon enough, you’ll have more of this stunning vine to share, gift, or simply enjoy around your own garden. Happy propagating!
Resource:
https://identify.plantnet.org/k-world-flora/species/Rhabdadenia%20biflora%20(Jacq.)%20Müll.Arg./data