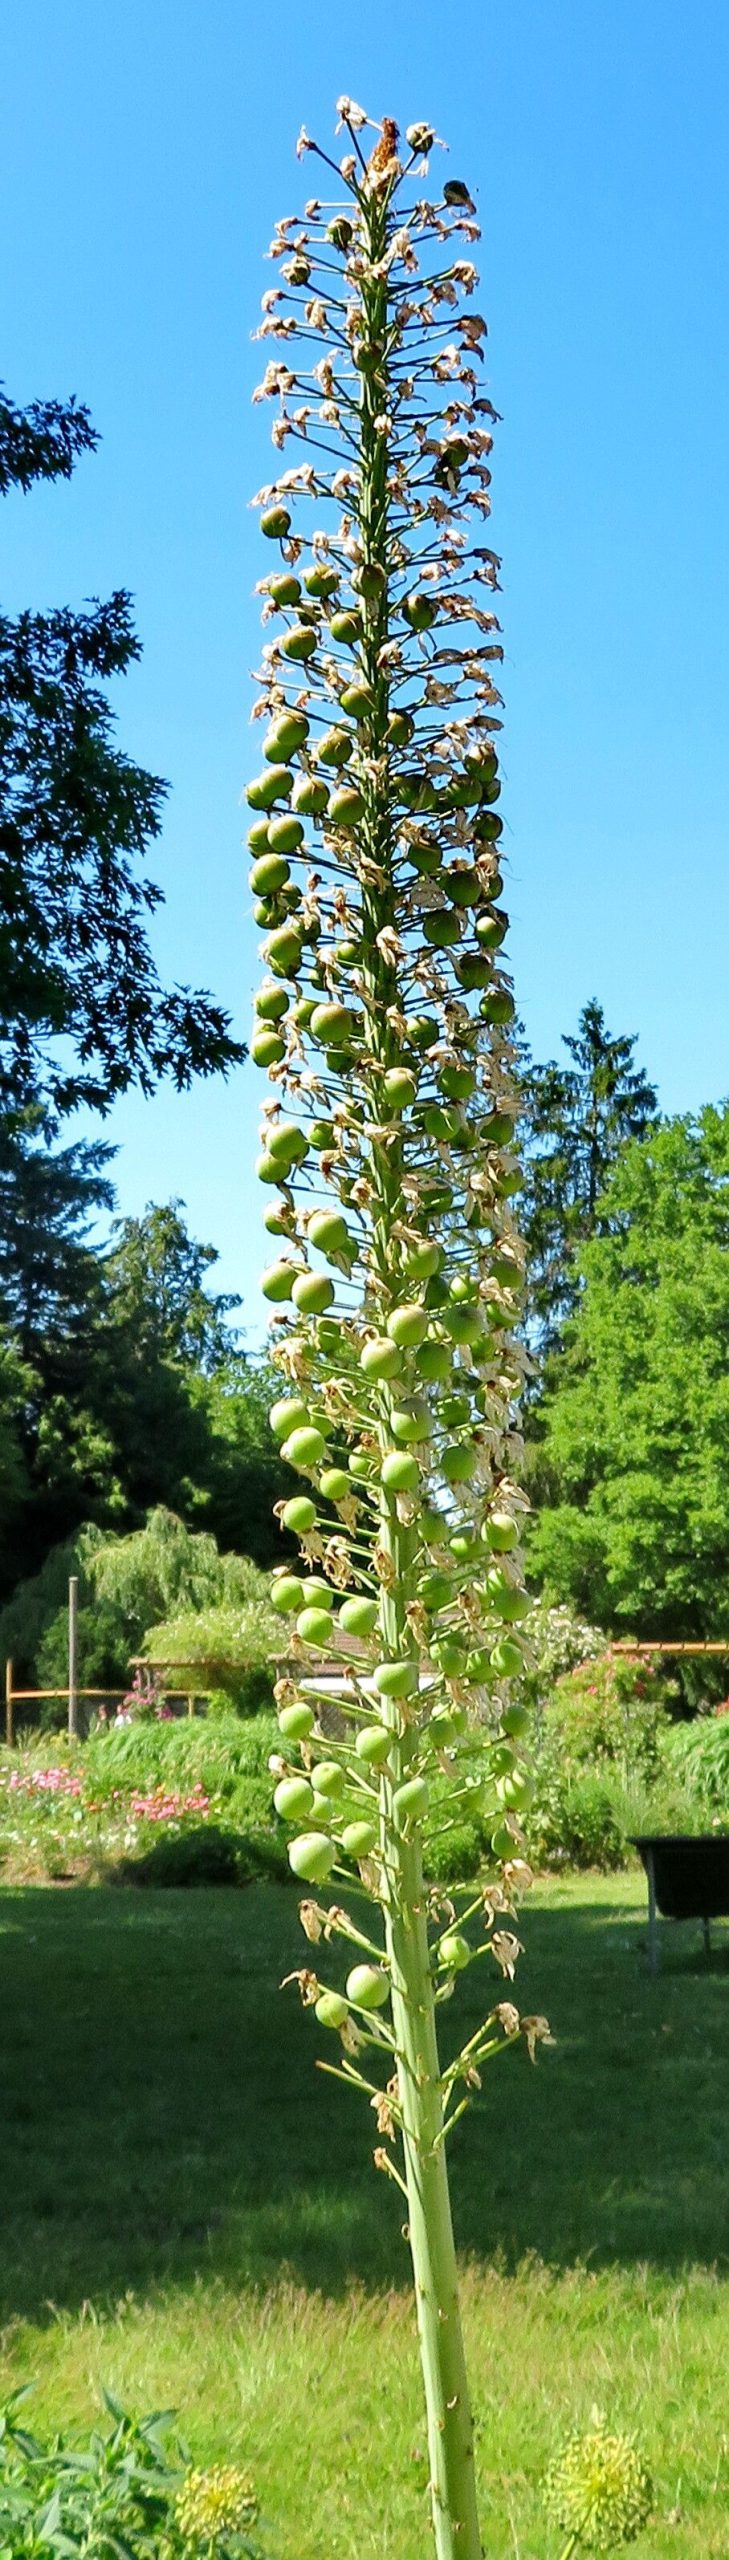
Oh, Eremurus! When those magnificent spires of foxtail lilies begin to unfurl in the garden, it’s truly a sight to behold. With their elegant blooms reaching towards the sky, they bring a touch of grandeur that’s hard to match. And the thought of creating more of these beauties from your existing plants? Well, that’s a gardener’s dream, isn’t it?
You might be wondering if this is a project for seasoned pros or if even a beginner can dive in. Honestly, Eremurus can be a little particular, so it’s not quite as straightforward as propagating a spider plant. But with a little patience and a few key steps, you’ll be well on your way. The reward of seeing those first tiny shoots emerge from a piece you nurtured yourself is just immense.
The Best Time to Start
For Eremurus robustus, the sweet spot for propagation is late summer or early autumn. This is when the plant is winding down its active growth for the year, and the energy is redirected towards its roots and storage organs, making them plump and ready. Waiting until after the foliage has yellowed and started to die back is your signal. Trying to divide or take cuttings when the plant is in full bloom or actively growing just asks for too much stress, both for the parent plant and your new little ones.
Supplies You’ll Need
Gathering your supplies beforehand makes the whole process so much smoother. Here’s what I usually have on hand:
- Sharp pruning shears or a clean knife: For making precise cuts. Sterilize them with rubbing alcohol before you begin!
- Well-draining potting mix: A blend of equal parts peat moss, perlite, and compost works wonderfully. Good drainage is non-negotiable for Eremurus.
- Rooting hormone (optional, but helpful): A powder or liquid can give your cuttings a little boost.
- Small pots or seed trays: With drainage holes, of course.
- Watering can with a fine rose: For gentle watering.
- Gloves: To keep your hands clean.
- A trowel or hand fork: For gently loosening the soil.
Propagation Methods
Eremurus robustus is primarily propagated through division of its rhizomatous roots. You won’t typically use stem cuttings or water propagation for this particular plant as you might with other species.
Division: Gentle Splitting of the Roots
- Dig with Care: Around the base of your established Eremurus plant, gently dig around the perimeter with your trowel. You want to expose the fleshy roots without damaging them.
- Lift the Plant: Once you’ve loosened the soil, carefully lift the entire plant out of the ground. You’ll see a cluster of thick, fleshy rhizomes.
- Inspect and Separate: Gently brush away excess soil to get a clear view of the rhizome system. Look for natural divisions – places where the rhizomes are already starting to split or have visible buds (eyes) where new growth can emerge.
- Make the Cut (if needed): If the rhizomes are tightly clustered, you might need to use your sterilized pruning shears or knife to carefully cut through them. Aim for divisions that have at least one healthy bud and a good chunk of root attached. Don’t be afraid to be a bit decisive, but always prioritize the health of the piece.
- Apply Rooting Hormone (optional): If you like, you can dip the cut ends of the divisions in rooting hormone. This can encourage faster root development, but it’s not strictly necessary.
- Replant Immediately: This is crucial! Eremurus rhizomes do not like to dry out. Replant your divisions as soon as possible in their new locations or in temporary pots filled with your well-draining potting mix. Plant them so the top of the rhizome is just barely covered by soil, with the buds pointing upwards. Water them in gently.
The “Secret Sauce” (Pro Tips)
You know, sometimes the smallest things make the biggest difference. Here are a couple of tricks I’ve learned over the years:
- Don’t Overcrowd the Pot: When you’re potting up divisions, give each one plenty of space. They need room to establish those roots without competing for resources. A pot that’s a bit too large is better than one that’s crammed.
- Mulch is Your Friend: After replanting your divisions, apply a good layer of mulch around them. This helps to retain moisture, suppress weeds, and regulate soil temperature – all things Eremurus appreciates.
Aftercare & Troubleshooting
Once your divisions are in their new homes, give them a good watering. Keep the soil consistently moist but never waterlogged. This is where that excellent drainage really pays off!
Keep an eye out for signs of rot. If you see any mushy, discolored tissue on your divisions, it’s a strong indicator of too much moisture. Be vigilant about watering, especially if you’ve had a period of heavy rain or if the soil isn’t draining well. Sometimes, a division might just fail to take. Don’t get discouraged; it happens! The key is to learn from it and adjust your approach for the next time.
A Little Patience, A Lot of Beauty
Propagating Eremurus robustus is a journey, not a race. It requires a gentle touch and a bit of foresight. Those magnificent spires won’t appear overnight, but with the right care and a dash of patience, you’ll soon have more of these stunning garden jewels to enjoy. Happy gardening!
Resource:
https://identify.plantnet.org/k-world-flora/species/Eremurus%20robustus%20(Regel)%20Regel/data