Hello fellow plant lovers! It’s so wonderful to connect with you today. We’re going to dive into something truly special: growing more of the beautiful Bridelia tomentosa. This lovely plant, with its interesting bark and often lovely flowers, is like a little secret waiting to be shared. And the best part? You can easily grow your own!
Why Propagate Bridelia tomentosa?
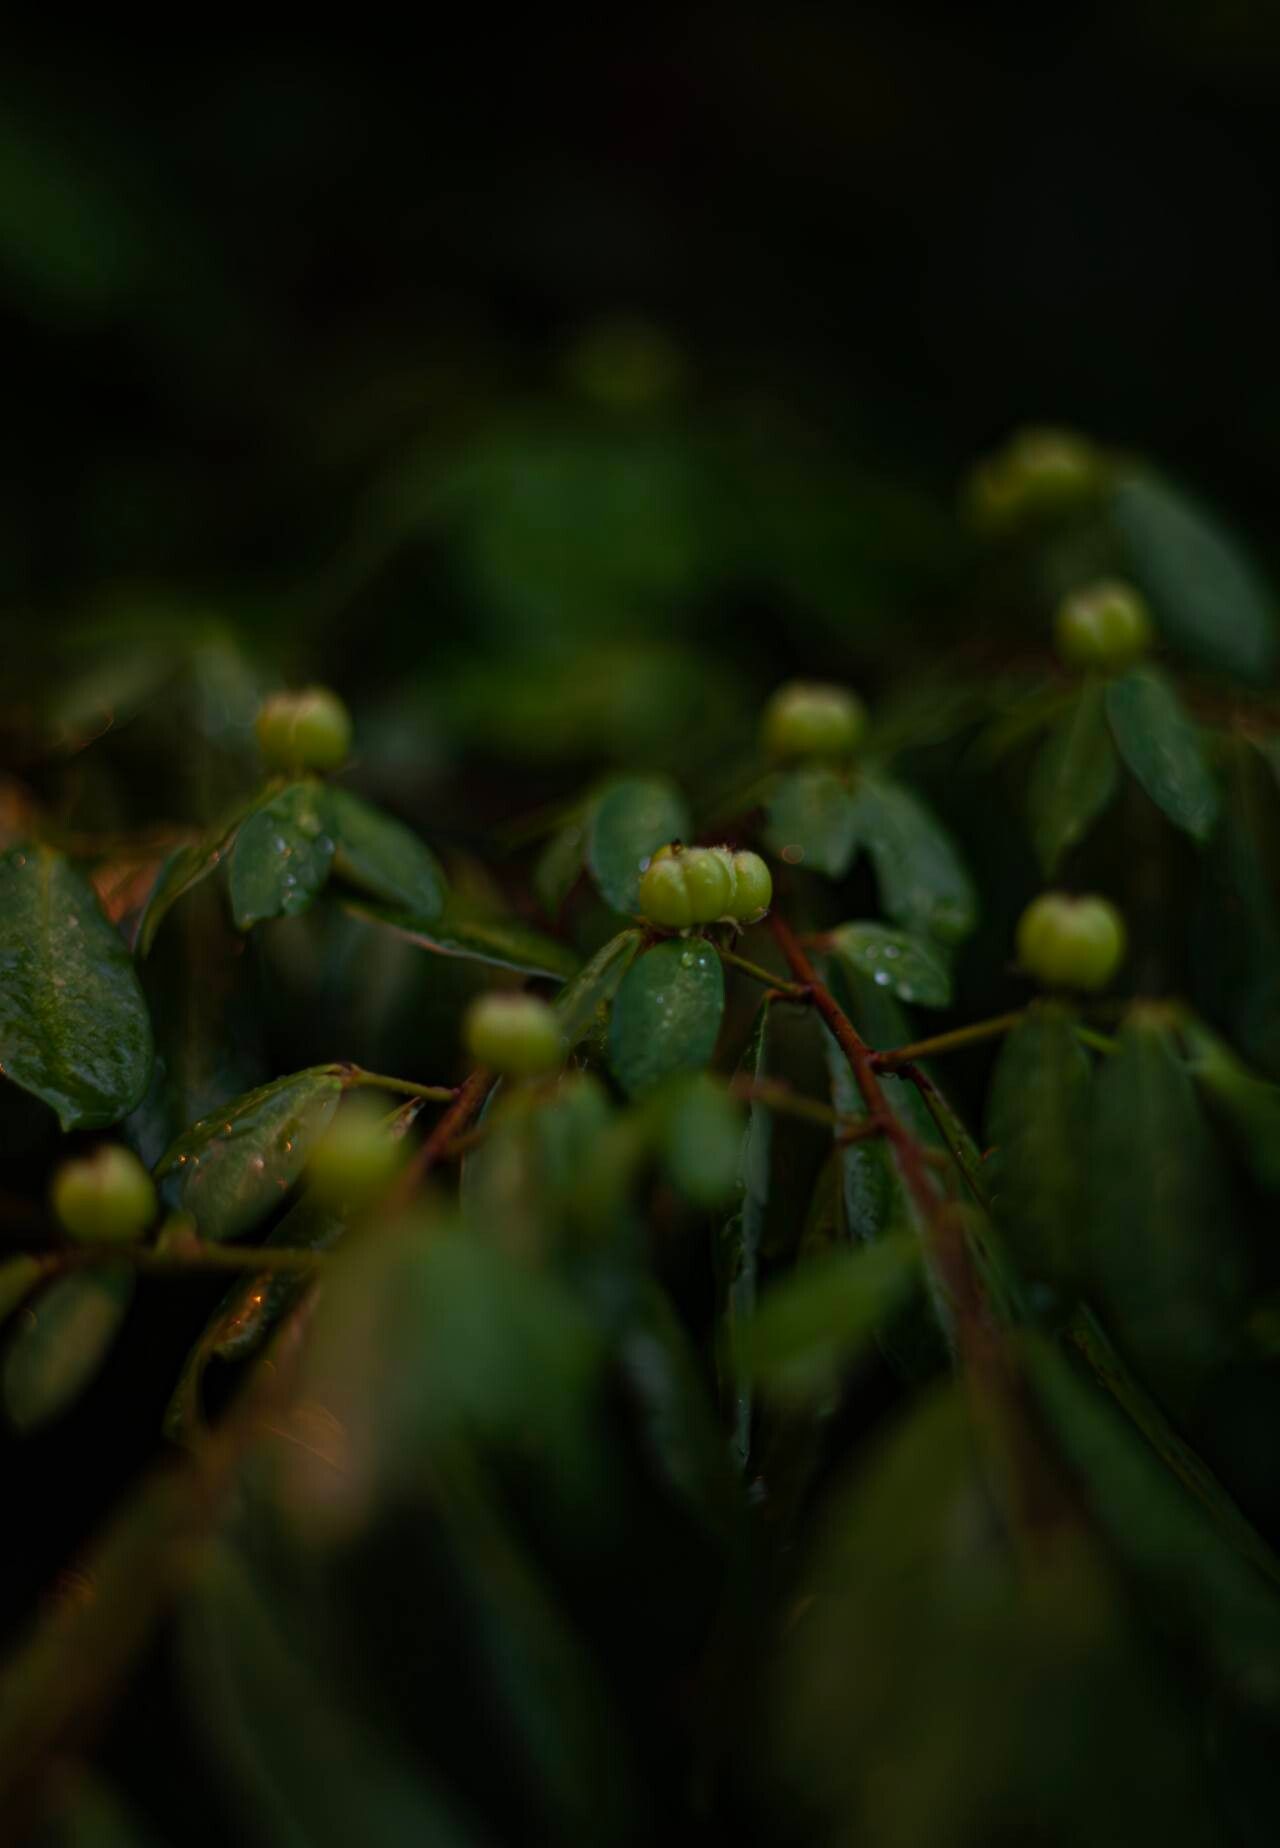
There’s a special kind of magic in creating new life from an existing plant. Bridelia tomentosa, also known as the “Cashmerewood,” has this wonderfully textured bark that feels fantastic to the touch. Its delicate flowers, often appearing in clusters, bring a gentle charm to any garden. Propagating it means you can fill your garden with more of this beauty, share it with friends, or even start a little nursery of your own. For beginners, I’d say Bridelia tomentosa is moderately easy to propagate. With a little care and the right approach, you’ll be enjoying success!
When to Get Your Hands Dirty
The absolute best time to take cuttings from your Bridelia tomentosa is during its active growing season. Think late spring through early summer. This is when the plant has plenty of energy to put into root development. You’ll be looking for stems that are firm but not woody. These are often called “semi-hardwood” cuttings. Avoid taking cuttings from brand new, bright green, floppy growth, as it tends to be too soft and prone to rot.
What You’ll Need for Success
Gathering your supplies beforehand makes the whole process smoother. Here’s what I usually have on hand:
- Sharp Pruning Shears or a Clean Knife: For making clean cuts.
- Well-Draining Potting Mix: A good blend of peat moss, perlite, and a bit of compost works wonders. You can also find specialized cuttings mix.
- Rooting Hormone: This is a lifesaver! Look for one that contains indole-3-butyric acid (IBA). It significantly boosts root formation.
- Small Pots or Seed Trays: With drainage holes, of course!
- Plastic Bags or a Clear Propagating Lid: To create a humid microclimate.
- Water: For misting and watering.
- Optional: Bottom Heat Mat: This can speed up rooting, especially if your home is on the cooler side.
Let’s Get Propagating!
We’ll focus on stem cuttings, as this is the most reliable method for Bridelia tomentosa.
- Select Your Cuttings: Choose healthy, vigorous shoots from your parent plant. Look for stems that are pencil-thick and have recently hardened off – they should snap rather than bend.
- Make the Cut: Using your clean, sharp shears, take cuttings about 4-6 inches long. Make your cut just below a leaf node. A leaf node is a tiny bump on the stem where a leaf grows. This is where the magic of roots often begins.
- Prepare the Cutting: Gently remove the lower leaves from the cutting, leaving just the top few leaves. If the remaining leaves are very large, you can cut them in half horizontally. This reduces water loss through transpiration.
- Apply Rooting Hormone: Dip the cut end of the stem into your rooting hormone powder. Tap off any excess. You want a good coating on the wounded end.
- Plant Your Cuttings: Make a hole in your prepared potting mix with a pencil or your finger. Insert the cutting about an inch or two into the soil, ensuring the node where you removed the leaves is buried. Gently firm the soil around the cutting.
- Create a Humid Environment: Water the soil lightly until it’s moist but not waterlogged. Then, cover the pots with a plastic bag or place them under a clear propagating lid. This traps humidity. You can support the bag with stakes so it doesn’t touch the leaves.
The “Secret Sauce” from My Garden
Here are a few things I’ve learned over the years that really seem to give cuttings a boost:
- Bottom Heat is Your Friend: If you can, place your pots on a bottom heat mat. Bridelia tomentosa roots love a bit of warmth from below. It mimics the conditions the plant experiences in its natural habitat and encourages root development much faster.
- Don’t Let Leaves Touch the Soil: When you’re preparing your cuttings, I always make sure no leaves are resting on the surface of the soil. This is a prime invitation for rot, and we definitely don’t want that!
- Air It Out: Even though we want humidity, open the bag or lid for a few minutes each day to allow for some air circulation. This helps prevent fungal diseases from taking hold.
Aftercare and What to Watch For
Once your cuttings are planted, keep them in a bright, indirect light location. Avoid direct sun, which can scorch them. Water whenever the top inch of soil feels dry.
You should start to see signs of life, like tiny new leaves emerging, within 4-8 weeks. The real test is to give the cutting a gentle tug. If you feel resistance, that means roots have formed!
Now, what if things don’t go as planned? The most common issue is rot. If your cuttings turn black and mushy, it’s usually a sign of too much moisture and not enough air circulation. Unfortunately, a rotten cutting can’t be saved. The good news is, you can always take more!
Keep Growing and Enjoy!
Propagating plants like Bridelia tomentosa is a journey. There will be times of success and perhaps a few learning experiences along the way. Be patient with your cuttings, give them good care, and celebrate every new leaf and root you discover. Happy growing, and enjoy the process of bringing more of this beautiful plant into your life!
Resource:
https://identify.plantnet.org/k-world-flora/species/Bridelia%20tomentosa%20Blume/data