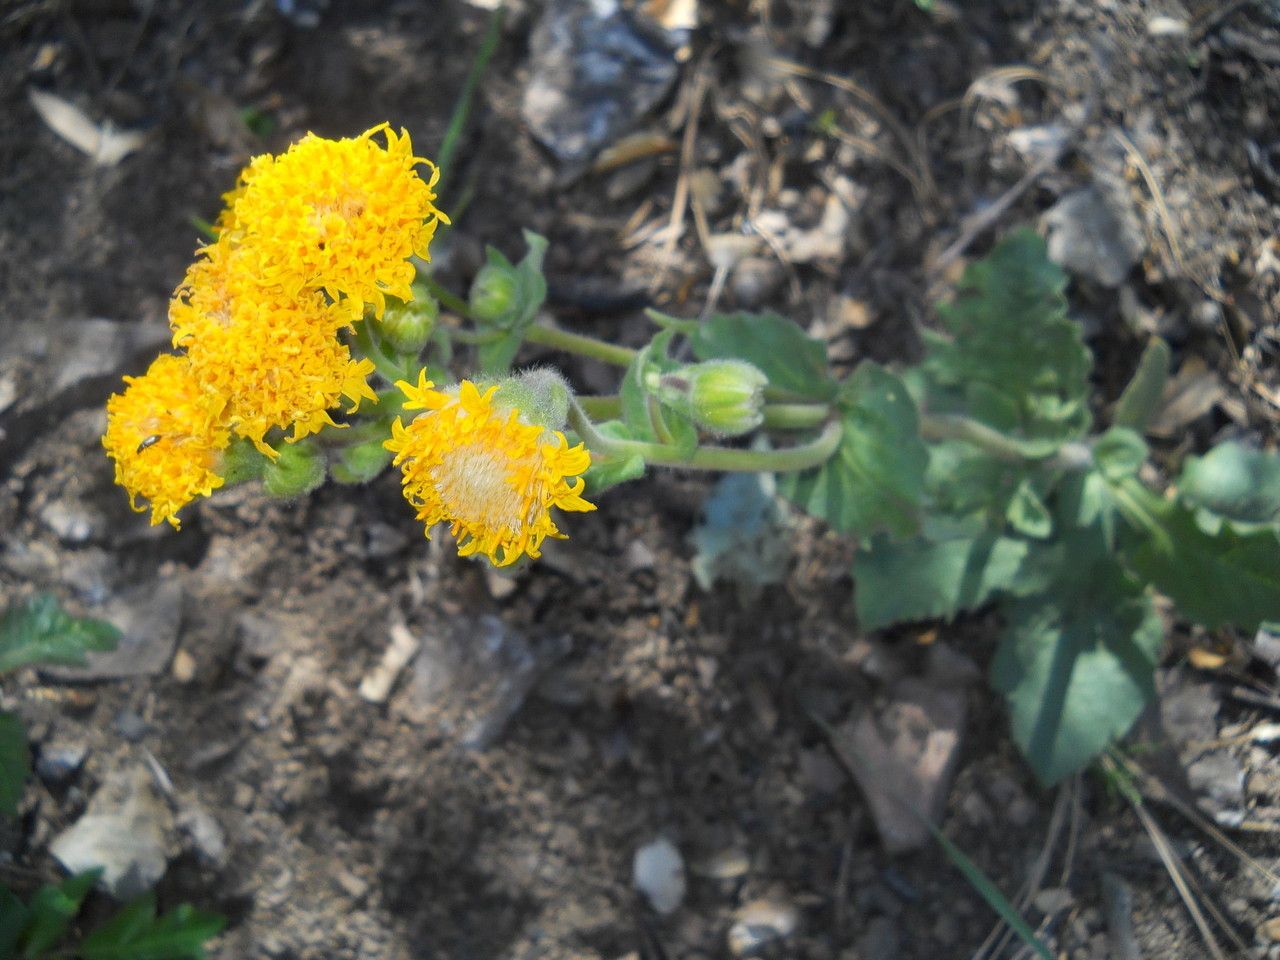
Oh, Arnica discoidea! If you’re drawn to those sunny, daisy-like blooms and the potential for wonderful herbal remedies, you’re in for a treat. Growing Arnica discoidea from scratch is incredibly satisfying. It’s a plant that rewards a little patience, and while not a complete walk in the park, it’s definitely manageable for most curious gardeners. Let’s get our hands dirty!
The Best Time to Start
For Arnica discoidea, spring is absolutely your best bet. As the soil warms up and the plant itself is showing signs of new growth after winter, it’s ready to be divided. If you’re thinking about cuttings, late spring to early summer, when the stems are actively growing but not yet woody, is ideal.
Supplies You’ll Need
Here’s what I like to have on hand:
- Sharp pruning shears or a clean knife: For making precise cuts.
- Well-draining potting mix: A blend of compost, perlite, and sand works beautifully. Arnica hates soggy feet!
- Small pots or seed trays: With drainage holes, of course.
- Rooting hormone (optional but helpful): Especially for cuttings.
- Watering can with a fine rose: To avoid disturbing delicate new roots.
- Labels and a marker: Trust me, you’ll thank yourself later.
- A small trowel or dibber: For making planting holes.
Propagation Methods
Arnica discoidea is most commonly propagated by division, which is my personal favorite. Cuttings can also work, but division tends to be more robust for this particular plant.
Division (My Go-To Method)
- Dig carefully: In early spring, as the plant starts to stir, gently dig around the existing Arnica. You want to lift the entire root ball.
- Inspect the root ball: Once it’s out of the ground, you’ll see where the plant has naturally formed multiple crowns.
- Gently tease apart: Using your fingers or a clean knife, carefully separate the root ball into sections. Each section should have at least one or two healthy shoots and a good chunk of roots.
- Replant immediately: Place your new divisions into pots filled with your well-draining mix, or directly into their new garden homes. Firm the soil gently.
- Water well: Give them a good soak to help settle the soil and reduce transplant shock.
Stem Cuttings (A Bit More Finesse)
- Take cuttings: In late spring or early summer, select healthy, non-flowering stems that are about 3-4 inches long. Make a clean cut just below a leaf node (where a leaf attaches to the stem).
- Prepare the cuttings: Remove the lower leaves, leaving just a couple at the top. If you’re using rooting hormone, dip the cut end into it now.
- Plant the cuttings: Insert the cut end into small pots filled with your well-draining mix. Make a little hole with a pencil or dibber first to avoid rubbing off the hormone.
- Water gently: Mist the cuttings lightly.
- Provide humidity: Cover the pots with a clear plastic bag or place them in a propagator to keep humidity high. Make sure the leaves don’t touch the plastic.
The “Secret Sauce” (Pro Tips)
- Don’t over-water divisions: While they need to be kept moist, Arnica absolutely loathes sitting in water. Ensure excellent drainage and water when the top inch of soil feels dry.
- Bottom heat works wonders for cuttings: If you’re trying stem cuttings, popping them on a seedling heat mat will significantly speed up root development. It mimics the warmth of spring soil.
- Be patient with cuttings: Arnica can be a bit slower to root than some other perennials. Don’t pull them up too soon to check for roots. Look for new leaf growth as a sign of success.
Aftercare & Troubleshooting
Once your divisions or cuttings have established themselves (you’ll see new growth!), treat them much like you would a mature Arnica. Keep them watered, especially during dry spells, and ensure they have good air circulation.
The biggest issue you’ll likely face is rot, often caused by overwatering or poor drainage. If you see stems turning mushy or black at the base, you’ve probably got rot. It’s hard to save a plant that’s succumbed to rot, so prevention through good drainage is key. If you catch it very early on a cutting, you might be able to salvage it by repotting in drier soil, but it’s a long shot.
A Encouraging Closing
Propagating Arnica discoidea is such a wonderful way to multiply your enjoyment of this sun-loving beauty. Don’t be discouraged if your first attempt isn’t perfect. Gardening is a journey of learning and discovery. Be patient, observe your plants, and celebrate every little success. Happy propagating!
Resource:
https://identify.plantnet.org/k-world-flora/species/Arnica%20discoidea%20Benth./data