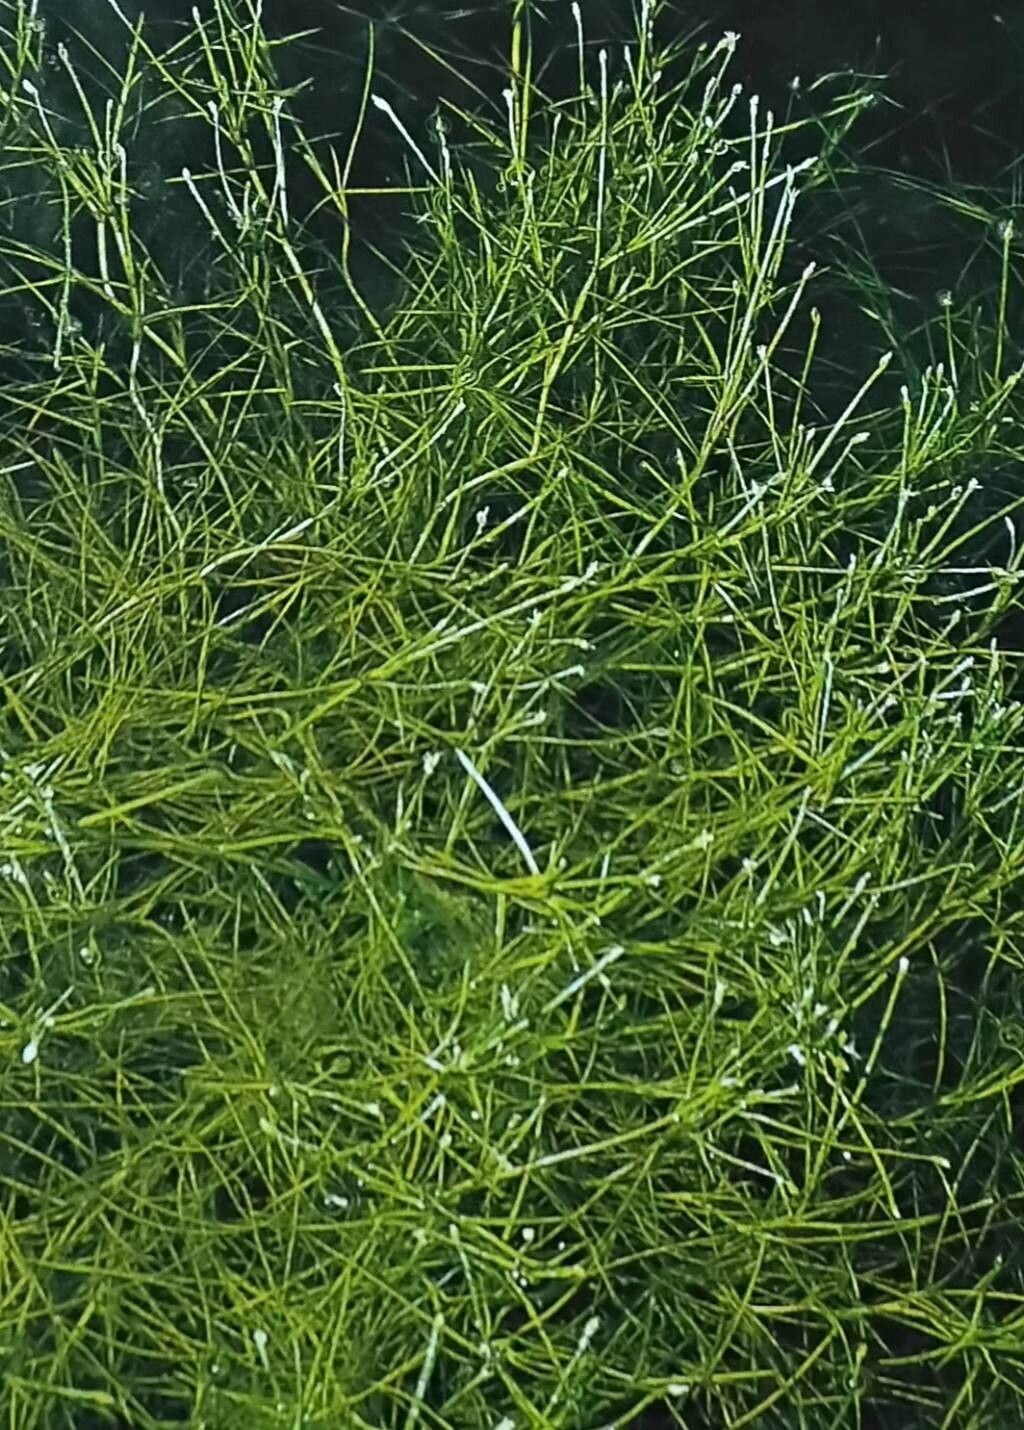
Multiply Your Magic: Easy Ways to Propagate Isolepis Fluitans
There’s something truly special about seeing a plant you started yourself thrive. And with Isolepis fluitans, also known as flowing club-rush, it’s a particularly joyful experience. This graceful aquatic or semi-aquatic plant, with its delicate, grass-like foliage, adds a touch of serene movement to ponds, water features, or even damp corners of the garden. Propagating it is incredibly rewarding, and I’m happy to report, it’s also quite beginner-friendly. You’ll be amazed at how easily you can create more of this lovely green cascade.
When to Get Your Hands Dirty
The absolute best time to coax new life from your existing Isolepis fluitans is during its active growing season. Think late spring through summer. The plant will be full of vigor, making it much more receptive to new beginnings. You can also have success with division in early autumn, giving the divisions a chance to establish before winter truly sets in, but spring and summer offer the highest chance of quick rooting.
Your Propagator’s Toolkit
Gathering your supplies beforehand makes the whole process smoother. Here’s what you’ll want to have on hand:
- Sharp Pruning Shears or Scissors: Clean, sharp tools are essential for making neat cuts.
- A Small Trowel or Dibber: For gently loosening soil or making planting holes.
- Shallow Trays or Pots: For water propagation or potting up divisions. Terracotta or plastic works fine.
- A Well-Draining Potting Mix: For divisions, I recommend a mix of peat moss, perlite, and coarse sand. For containers, a standard houseplant mix with extra perlite for drainage is a good start.
- Water: Clean, fresh water is key. If you have very hard tap water, letting it sit out overnight can be beneficial.
- Optional: Rooting Hormone: While not strictly necessary for Isolepis fluitans, a little powdered rooting hormone can sometimes give cuttings an extra boost.
Letting the Magic Happen: Propagation Methods
Isolepis fluitans is a generous plant, and you have a couple of super simple ways to multiply it.
Method 1: Stem Cuttings (The Quickest Way)
This is my go-to method for Isolepis fluitans. It’s fast and effective.
- Find a healthy stem: Look for a vibrant stem that is at least 4-6 inches long.
- Make the cut: Using your sharp shears, make a clean cut just below a leaf node (where a leaf attaches to the stem). Try to take cuttings that have several nodes.
- Prepare the cutting: Gently remove the lower leaves. You want to expose at least one or two leaf nodes; this is where roots will emerge.
- Rooting in Water: Fill a shallow container or glass with fresh water. Place your cuttings in the water, ensuring that the leaf nodes you’ve exposed are submerged, but the remaining leaves are out of the water. Change the water every few days to keep it fresh. You should see tiny roots begin to form in a couple of weeks.
Method 2: Division (For Established Plants)
If your Isolepis fluitans is looking a bit crowded or has grown into a dense clump, division is a great option.
- Gently remove the plant: Carefully take the entire plant out of its pot or its spot in the water feature.
- Inspect the root ball: Loosen any compacted soil. You’ll often see that the plant naturally forms distinct sections or crowns.
- Separate the divisions: With your fingers, or a clean knife if the clumps are very tough, gently pull apart the plant into smaller sections. Each division should have a good amount of roots and some healthy foliage. Don’t worry if you break a few roots; the plant is quite resilient.
- Pot them up: Plant each division in its own pot filled with your well-draining potting mix. Water them in thoroughly.
The “Secret Sauce”: Experienced Gardener Tips
Here are a couple of tricks I’ve learned over the years that can really help your cuttings thrive:
- Keep Those Leaves Dry! When propagating in water, it’s crucial that the foliage doesn’t sit in the water. This can lead to rot very quickly. If a cutting is too long, trim it down so the upper leaves are well above the water line.
- Embrace Imperfection: Don’t be disheartened if some of your initial cuttings don’t take.Gardening is a journey of learning and experimenting. Focus on what worked and try again!
Aftercare and When Things Go Awry
Once your cuttings have developed a good network of roots (look for roots about an inch long in water propagation), or your divisions are potted up, it’s time for a little aftercare.
- Watering: For potted divisions, keep the soil consistently moist, but not waterlogged. For water-propagated cuttings that you’re about to pot, plant them in moist soil and keep them well-watered. Isolepis fluitans loves moisture, so don’t be afraid to give them a good soak, especially in warmer weather.
- Location: Place your new plants in a bright spot, but avoid direct, scorching sunlight initially. A bit of dappled shade is perfect.
- Troubleshooting Rot: The most common issue you might encounter is rot, especially with water propagation. Soft, mushy, or brown stems are the tell-tale signs. This usually happens if the leaves are in the water or if the water isn’t changed regularly. If you see rot, discard the affected cutting and try again, being extra careful about keeping leaves dry and changing the water. For potted divisions, overwatering is the main culprit for rot. Ensure your pot has drainage holes and that the soil isn’t constantly saturated.
Go Forth and Propagate!
Seeing those tiny roots emerge, or watching a divided clump unfurl new growth, is incredibly satisfying. Be patient with your new plant babies, give them consistent moisture and bright, indirect light, and I have no doubt you’ll be enjoying more of this beautiful Isolepis fluitans in no time. Happy gardening!
Resource:
https://identify.plantnet.org/k-world-flora/species/Isolepis%20fluitans%20(L.)%20R.Br./data