Hey there, fellow plant lovers!
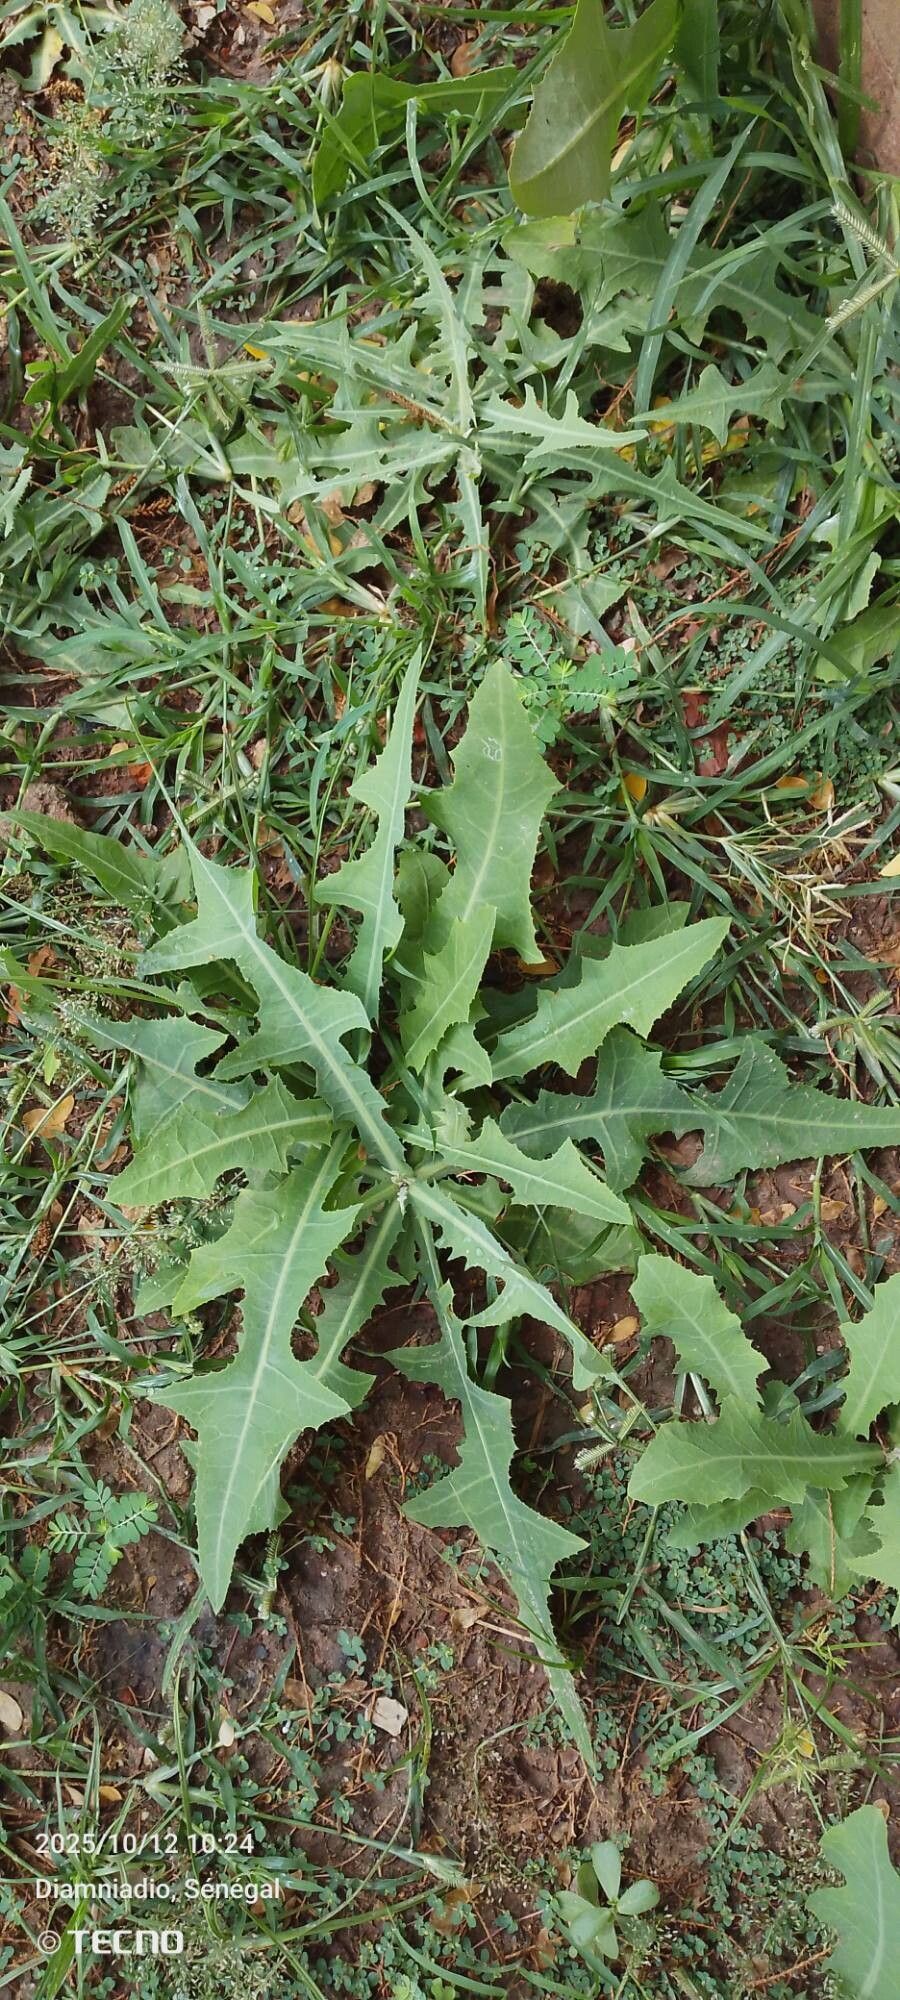
I’m so excited to chat with you today about a delightful little plant that’s been gracing my garden for years: Launaea taraxacifolia. You might know it by some other names, but I’ve always found its dandelions-esque charm utterly captivating. Plus, the satisfaction of multiplying your plant collection from a single specimen? It’s pure gardening magic! And the best part? If you’ve ever felt a little hesitant about propagation, Launaea taraxacifolia is surprisingly forgiving, making it a fantastic choice for beginners looking to dip their toes into the world of plant babies.
The Best Time to Start
When it comes to getting the most bang for your buck with propagation, I’ve found that spring and early summer are your best friends. This is when the plant is actively growing, full of vigor, and just bursting with energy. New growth is tender and more receptive to rooting, so you’ll see the best results then. Patience is always key in gardening, but nature really gives us a helping hand during these warmer months.
Supplies You’ll Need
Before we get our hands dirty, let’s gather our trusty tools. You don’t need a fancy shed full of equipment, just a few essentials:
- Sharp Pruning Shears or a Clean Knife: For making clean cuts.
- Potting Mix: A good quality, well-draining potting mix is crucial. I often use a blend of peat moss and perlite for excellent aeration.
- Small Pots or Seedling Trays: Clean containers to start your new plants.
- Rooting Hormone (Optional but Recommended): This can really speed up the process and improve success rates, especially for trickier cuttings.
- Watering Can or Spray Bottle: For gentle watering.
- Plastic Bag or Humidity Dome (Optional): To create a mini greenhouse effect for cuttings.
Propagation Methods
Launaea taraxacifolia is quite amenable to a few different methods, but my favorite is certainly stem cuttings. It’s straightforward and yields great results.
Stem Cuttings:
- Select Your Cutting: Look for a healthy, actively growing stem. Aim for a piece that’s about 4-6 inches long. It’s best to cut just above a leaf node (where a leaf meets the stem).
- Make the Cut: Using your sharp shears or knife, make a clean cut. Remove any lower leaves that would otherwise be submerged in soil or water.
- Apply Rooting Hormone (if using): If you’ve decided to use rooting hormone, dip the cut end of the stem into the powder or gel. Just a light coating is all you need. Tap off any excess.
- Plant Your Cutting: Moisten your potting mix. Then, gently insert the cut end of the stem into the soil, ensuring the leaf nodes are below the surface. You can make a little hole with a pencil or your finger to avoid rubbing off the rooting hormone.
- Water Gently: Water the soil thoroughly but gently. You don’t want to dislodge your cutting.
- Create a Humid Environment: Now for the magic! You can cover the pot with a clear plastic bag (making sure the leaves don’t touch the sides) or use a humidity dome. This helps the cutting retain moisture while it develops roots. Place the pot in a bright spot with indirect light. It’s crucial to avoid direct, scorching sun at this stage.
Division (for established plants):
If you have a more mature clump of Launaea taraxacifolia, you can also divide it.
- Gently Remove from Pot: Carefully take the entire plant out of its pot.
- Inspect the Roots: Look for natural divisions in the root ball. You should see where the plant has branched out.
- Separate the Divisions: Using your hands or a clean trowel, gently pull apart the root ball into smaller sections. Each section should have some roots and at least one stem or bud.
- Pot Up: Pot each division into its own container with fresh potting mix, watering it in as you would a new plant.
The “Secret Sauce” (Pro Tips)
Now, for a few little secrets I’ve picked up over the years:
First, when you’re doing stem cuttings, don’t be afraid to take a few extra cuttings than you think you’ll need. Sometimes, not every single one takes, and it’s far more discouraging to wish you’d made more than to have a few spares. Second, if you find your cuttings are struggling, consider adding bottom heat. A heating mat designed for seedlings can significantly speed up root development by keeping the soil at a consistent, warm temperature. It truly makes a difference!
Aftercare & Troubleshooting
Once you start seeing those tiny roots emerging (usually after a few weeks, but Launaea taraxacifolia can be a bit of a slow starter sometimes, so be patient!), it’s time to adjust their care. Gradually introduce your new plants to more light and begin watering them as you would a mature plant. Check the soil moisture regularly; you want it to be consistently moist but not waterlogged.
The most common issue you might encounter is rot. This usually happens if the cuttings are kept too wet or if there isn’t enough airflow. If you notice a cutting turning mushy or black, it’s best to remove it to prevent it from affecting others. Don’t get discouraged; it’s a learning process!
A Little Patience Goes a Long Way
Propagating plants is such a rewarding journey. It connects you more deeply with the life cycle of your green companions. Don’t be discouraged if your first few attempts aren’t perfect. Every gardener has their share of learning curves! Just keep experimenting, observe your plants, and most importantly, enjoy the process of bringing more beauty into your home and garden. Happy propagating!
Resource: