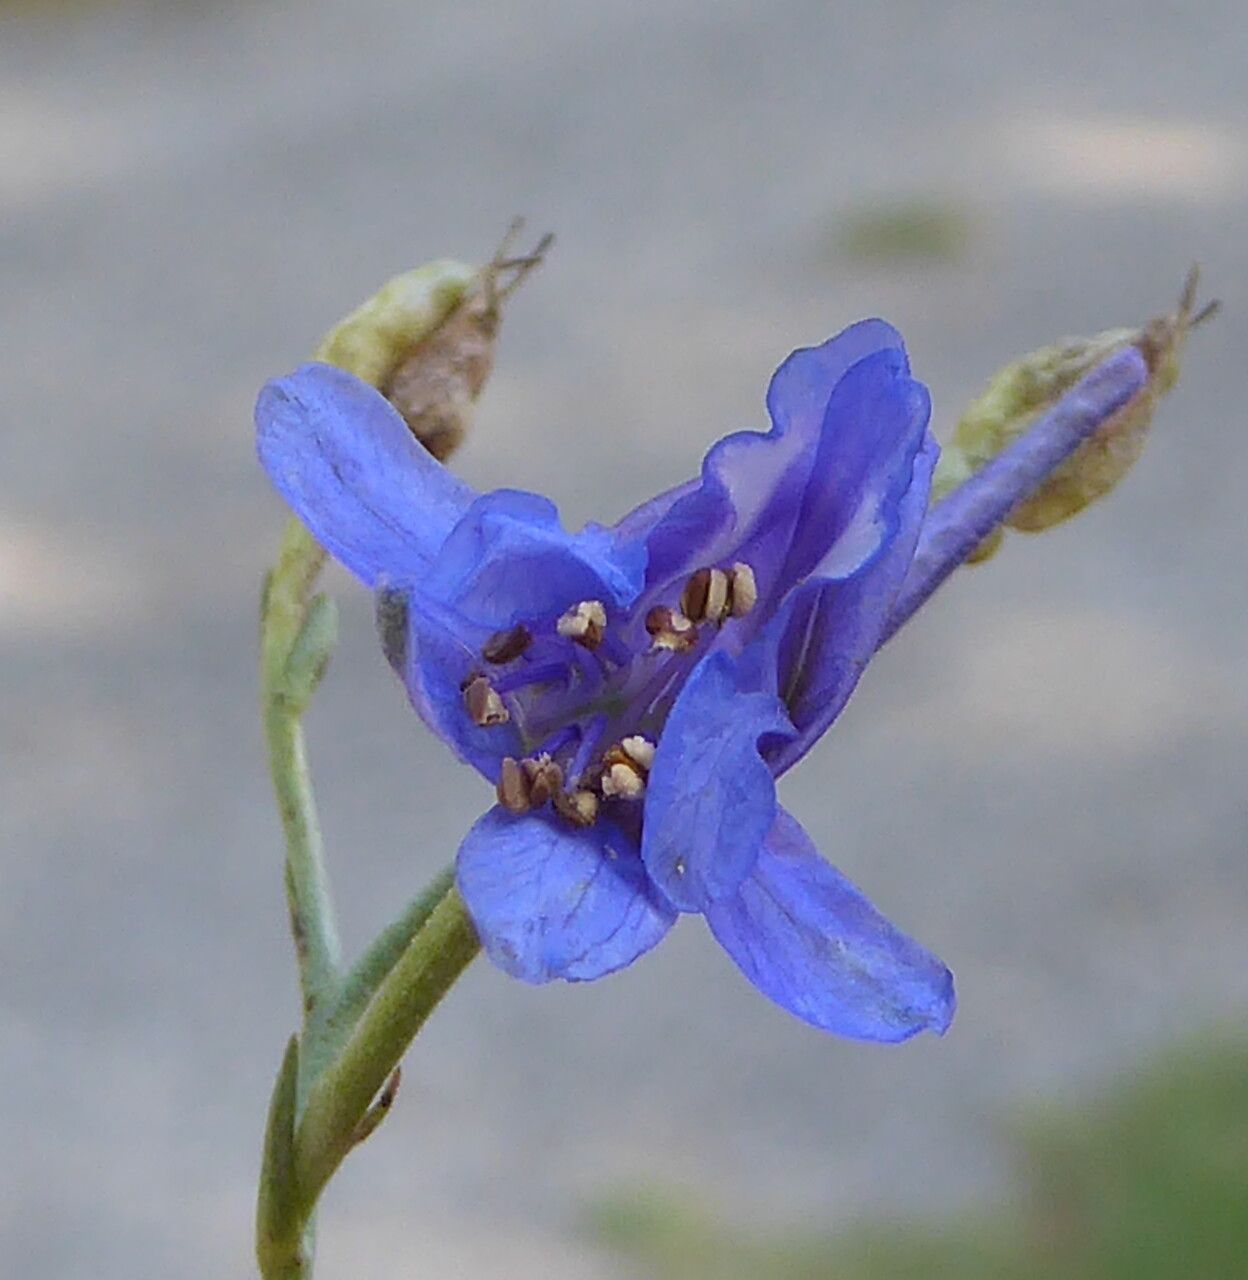
Hello fellow garden lovers! Let’s chat about Delphinium peregrinum, a plant that truly takes my breath away. Those spires of vibrant blue-to-purple flowers, often with delicate fringed petals, are just pure magic in the garden. Growing them from scratch is incredibly satisfying, and I’m here to share how you can do it too. Now, for the honest truth – propagating Delphinium peregrinum can be a little more involved than, say, a readily available Pelargonium. It requires a touch more patience and precision, but I promise, the reward is oh-so-worth-it. Don’t let that deter you; with a little guidance, you’ll be well on your way!
The Best Time to Start
My favorite time to tackle propagating Delphinium peregrinum is in the late spring to early summer. This is when the plant is actively growing, and its stems have the best energy reserves to put into developing roots. Aim for stems that are semi-hardwood, meaning they’re no longer floppy and green but not yet woody and stiff. You’ll find these perfect specimens on flowering stems that haven’t yet opened their blooms completely.
Supplies You’ll Need
Before we get our hands dirty, let’s gather our essentials:
- Sharp, clean pruning shears or a sharp knife: For making clean cuts.
- Seedling tray or small pots: With drainage holes!
- Rooting hormone powder or gel: This is your best friend for encouraging root development.
- A well-draining potting mix: I like a blend of equal parts seed starting mix and perlite or coarse sand. This ensures good aeration and prevents waterlogged roots.
- A plastic bag or misting bottle: To maintain humidity.
- Optional: Heat mat: For consistent bottom warmth, which really speeds things up.
Propagation Methods
We’ll focus on the most reliable method for Delphinium peregrinum: stem cuttings.
- Take Your Cuttings: Using your clean shears or knife, select a healthy, semi-hardwood stem. Cut a section about 4-6 inches long, making your cut just below a leaf node (where a leaf joins the stem). Remove any lower leaves, leaving just a couple at the top.
- Prepare the Cutting: Dip the cut end of the stem into your rooting hormone. Tap off any excess – you want a light coating.
- Plant Your Cuttings: Fill your pots or seedling tray with your prepared potting mix. Gently poke a hole in the center of the mix that’s deep enough to accommodate the leafless part of your cutting. Insert the cutting into the hole, and firm the soil gently around it to ensure good contact.
- Create a Humid Environment: Water the soil thoroughly but gently. If you’re using a seedling tray, you can place the whole tray into a larger plastic bag, making sure the leaves don’t touch the plastic. If you’re using individual pots, you can cover each pot with a clear plastic bag, propped up so it doesn’t smother the leaves. Alternatively, regular misting with water from a spray bottle will also work.
The “Secret Sauce” (Pro Tips)
Here are a couple of tricks I’ve picked up over the years that really make a difference:
- Think “Cleanliness is Next to Godliness”: I can’t stress this enough. Everything that touches your cuttings – your hands, your tools, your pots – should be spotlessly clean. This dramatically reduces the risk of fungal infections and rot taking hold.
- The Magic of Bottom Heat: If you can, place your pots or seedling tray on a gentle heat mat. This provides consistent warmth to the base of the cutting, encouraging root formation much faster and more reliably than relying on ambient room temperature alone. Aim for around 70-75°F (21-24°C).
Aftercare & Troubleshooting
Once your cuttings are planted, the waiting game begins. Keep the soil consistently moist but not waterlogged. You’ll want to air out the plastic covering daily for a few minutes to prevent condensation buildup, which can lead to fungal issues. Signs of success are when you see new leaf growth emerging from the top of the cutting. You might also feel a slight tug when you gently pull on the stem, indicating roots have formed.
The most common problem you’ll encounter is rot. If a cutting turns black and mushy, it’s a sign that it’s too wet and likely infected. Unfortunately, once this happens, the cutting is usually a goner. The best approach is to remove the affected cutting immediately to prevent it from spreading to others. Be patient; it can take 4-8 weeks for roots to develop, sometimes longer. If you don’t see any signs of life after several weeks, it doesn’t necessarily mean it’s a complete failure; sometimes they just take their sweet time!
A Encouraging Closing
So there you have it – a dive into propagating your own beautiful Delphinium peregrinum. It might seem a bit fiddly at first, but trust me, watching those tiny roots emerge and then seeing your new plant thrive is one of the most rewarding experiences in gardening. Be patient with yourself and your cuttings, celebrate every little success, and most importantly, enjoy the journey of growing something special from scratch. Happy propagating!
Resource:
https://identify.plantnet.org/k-world-flora/species/Delphinium%20peregrinum%20L./data